This guide explains how to use Add Expense to record non-tuition spending inside the Expense Console.
Short summary
Use Add Expense when the school needs to record an outgoing finance entry that should be tracked separately from fee collection. The current page combines summary cards with a structured expense-entry form.
Before you start
- Confirm the correct Expense Head already exists.
- Keep the expense name understandable enough for later search and audit.
- Prepare the amount, date, and invoice reference before opening the form.
- Keep the attachment ready if your school stores supporting receipts or bills.
Navigation path
Expense -> Add Expense
Step 1: Open Add Expense
In the sidebar, open Expense and choose Add Expense.
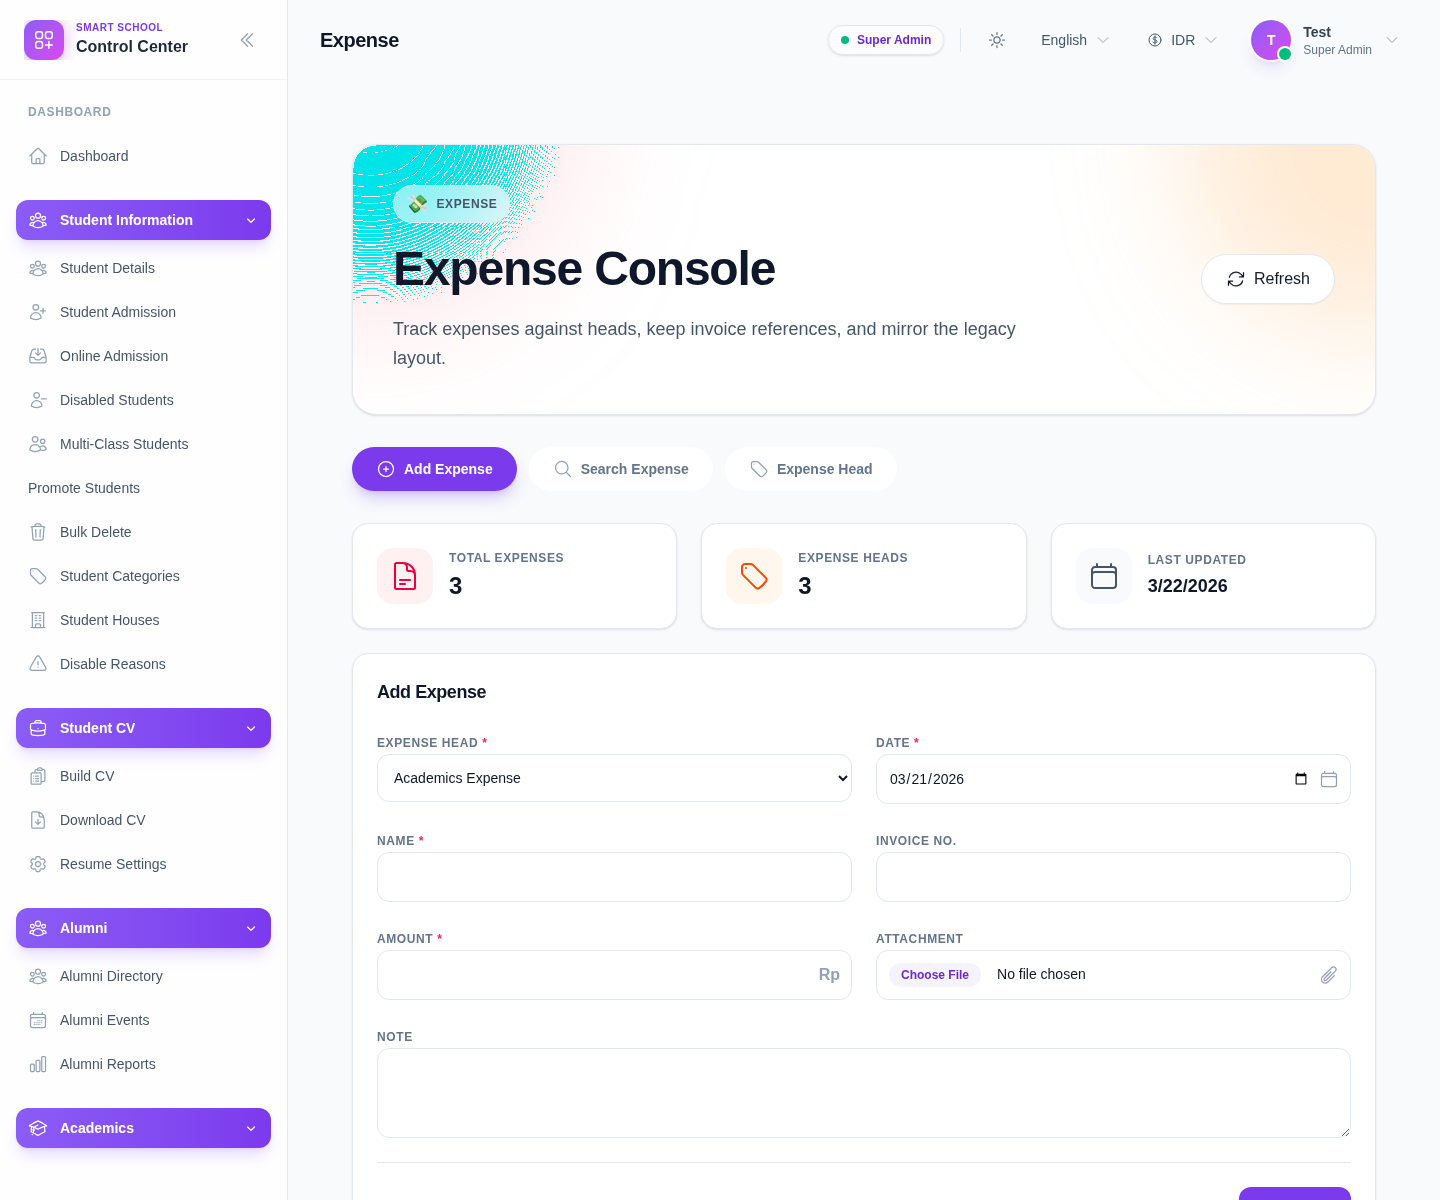
The current visible fields are:
- Expense Head
- Date
- Name
- Invoice No.
- Amount
- Attachment
- Note
Step 2: Choose the correct expense head
Start with Expense Head.
The head is the main category used later in search and reporting. If the right category is missing, create it first from Expense Head instead of misclassifying the expense under a similar but incorrect heading.
Step 3: Complete the expense details
Fill the form carefully:
- choose the Expense Head
- set the Date
- enter the Name
- add Invoice No. if your workflow uses one
- enter the Amount
- attach the supporting file if needed
- add a Note when extra context will help later reviewers
The current file field accepts document and image attachments, which helps when bills or receipts need to be preserved.
Step 4: Save the expense
Click Save when the form is complete.
Use Reset when:
- the wrong spending record is being entered
- the incorrect head was chosen
- the operator wants to clear the form before starting again
Step 5: Confirm the expense in later review
After saving:
- confirm the form resets or becomes ready for another entry
- review the summary cards if totals refresh
- open Search Expense to confirm the row appears with the right category and amount
Operational note: Expense Console is for outgoing finance activity, not for balancing tuition collections. Keep this ledger clean so later expense analysis remains meaningful.
Verify the result
- the expense is saved under the right head
- the amount matches the source document
- invoice and note data are present when required
- the record is available in the expense-search workflow
Troubleshooting
| Issue | Likely cause | What to do |
|---|---|---|
| Save does not create the row | Required fields were left incomplete | Recheck the head, date, name, and amount |
| The expense lands in the wrong category | The wrong expense head was chosen | Edit or recreate the row under the correct head |
| The receipt is missing | The attachment was not uploaded before save | Add the supporting file if your process requires it |
| Finance cannot find the record later | Search filters are hiding it | Clear the expense filters and retry the search |