This guide explains how to manage class-section links from the Class Assignments page in Migdafa Smart School.
Before you start
- Confirm the target class already exists.
- Confirm the target section already exists.
- Review the current list to avoid duplicate class-section links.
- Decide whether the new link should be active immediately.
Important: class assignments define the real roster containers used by admissions, attendance, and timetable workflows. Create links carefully and avoid accidental duplicates.
Navigation path
Academics -> Class Assignments
Step 1: Open Class & Section Assignments
Go to Academics and choose Class Assignments. The page provides:
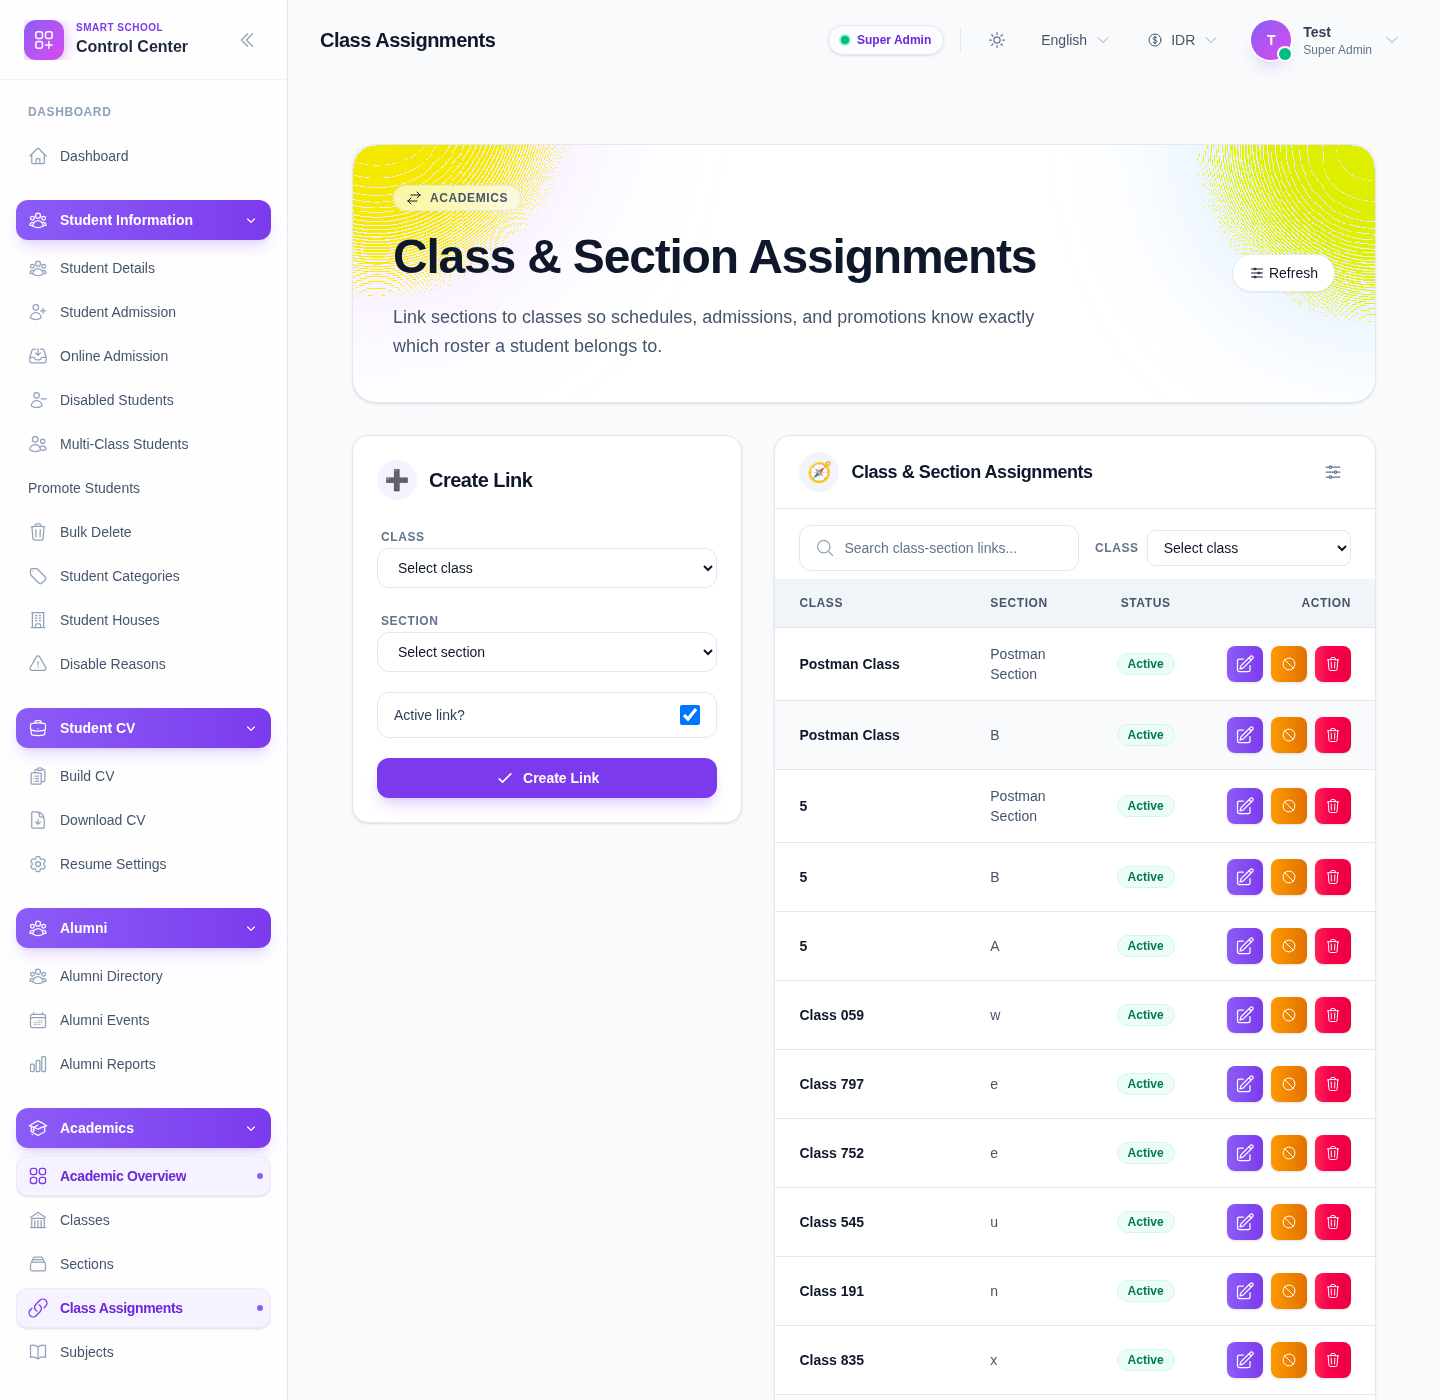
- a Create Link form
- a searchable Class & Section Assignments list
The current table includes:
- class
- section
- status
- action
Step 2: Review existing links
Before creating a new assignment, search the current list with Search class-section links… and, when useful, narrow the list by Class.
This helps you detect:
- links that already exist
- inactive links that might only need reactivation
- class-section combinations that should not be duplicated
Step 3: Create a new class-section link
Use the Create Link form in this order:
- Select Class.
- Select Section.
- Decide whether Active link? should stay enabled.
- Click Create Link.
Use Refresh after creation if the list does not update immediately.
Step 4: Review and maintain existing links
After saving, review the list and confirm:
- the class is correct
- the section is correct
- the status is correct
The current page also provides row-level actions:
- Edit
- Activate or Deactivate
- Delete
These actions are useful when a class-section structure changes over time.
Verify the result
Use this checklist after creating or updating a link:
- the intended class and section appear together
- the link is active only when it should be usable operationally
- no duplicate class-section pair exists
- downstream academic workflows can use the correct roster combination
Expected result: the class-section mapping is accurate, searchable, and ready to support admissions, attendance, timetables, and promotion workflows.
Troubleshooting
| Issue | Likely cause | What to do |
|---|---|---|
| A class-section pair already exists | The current list was not reviewed first | Search before creating a new link |
| The wrong section was linked | The selection was made too quickly in the create form | Edit the row or recreate the link after verification |
| A link should not be deleted | The pair may still be used by students or academic workflows | Confirm usage before deleting |
| The status is wrong | Activate/Deactivate was used on the wrong row | Recheck the class and section labels before changing status |
| The new row is hard to find | Search or filter context is hiding it | Clear filters, refresh the page, and search again |