This guide explains the Front CMS → Galleries workspace. Galleries are public image collections shown on the school FrontCMS site.
Before you start
- Gather the images that belong in the gallery.
- Decide whether the gallery needs a feature image or album cover.
- Confirm the gallery title and description before creating the record.
Navigation path
Front CMS -> Galleries
Step 1: Open the galleries workspace
Open Front CMS in the sidebar and choose Galleries.
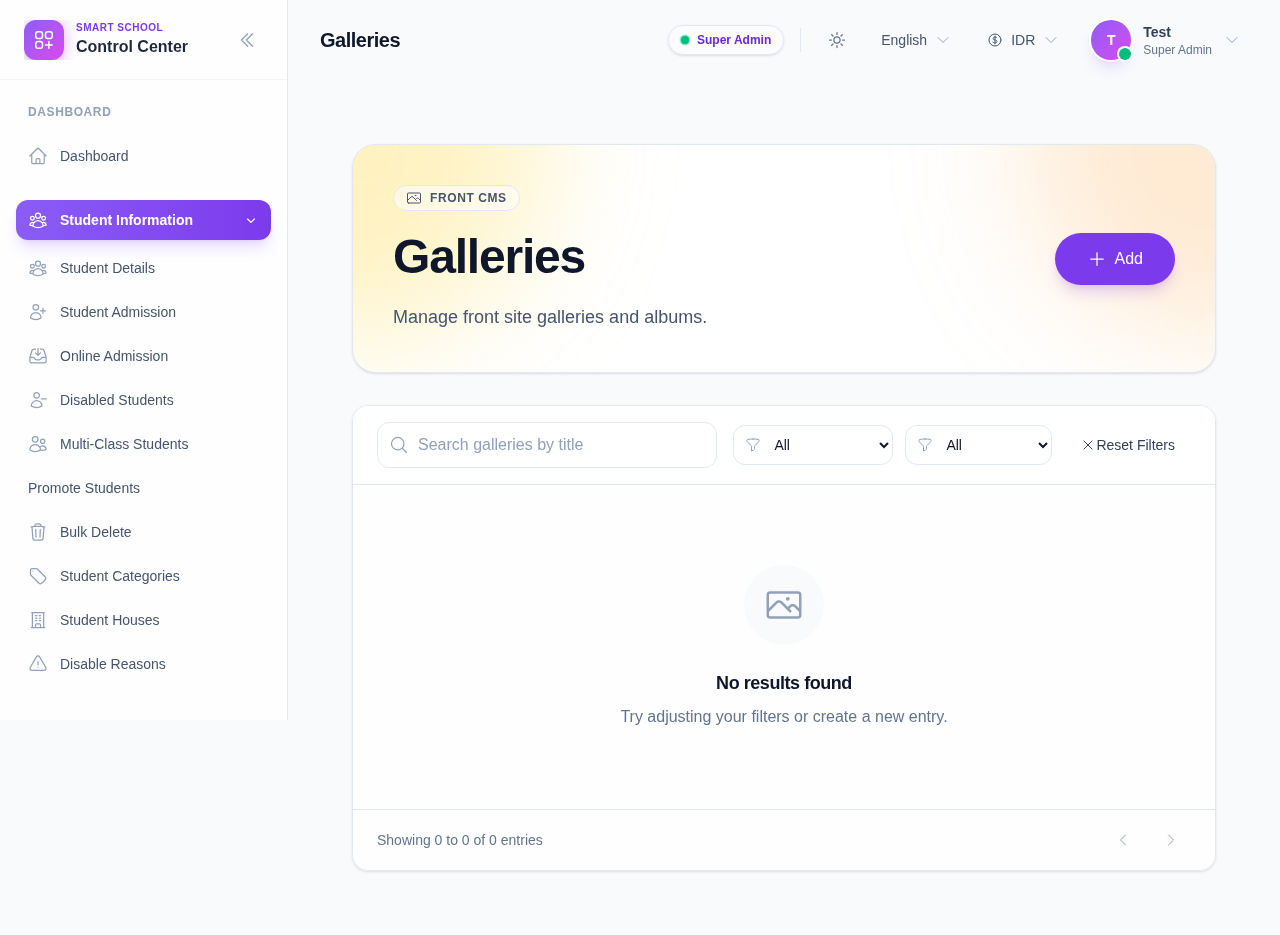
Step 2: Add a gallery
Click Add to create a new gallery record.
Add the basic information:
- title
- description
- publish state
- active state
Step 3: Attach gallery media
Use the media picker to attach one or more images to the gallery.
When you add media:
- the gallery keeps the selected images together as one album
- the public site can show the gallery as a collection instead of a single image
- the media count on the list reflects the attached assets
Step 4: Edit, duplicate, or delete a gallery
Use the row actions to update the gallery later:
- Edit changes the current gallery details
- Duplicate gives you a new record with the same base structure
- Delete removes the gallery from the public site and from the workspace
Verify the result
- The gallery appears in the workspace list.
- The attached images show the intended album content.
- The publish and active states match the desired public visibility.
Expected result: the gallery is available on the school FrontCMS site with the correct title and image collection.
Troubleshooting
| Issue | Likely cause | What to do |
|---|---|---|
| Gallery stays empty | No media was attached before saving | Reopen the gallery and attach images from the media picker |
| Gallery is not visible publicly | Publish or active is disabled | Reopen the record and enable the correct state |
| Wrong images are shown | The wrong media items were selected | Remove the wrong items and attach the correct media |