This guide explains how to manage staff designation titles from the Designations page in Migdafa Smart School.
Before you start
- Decide the exact designation title before creating it.
- Check the current list first so you do not create slightly different copies of the same role.
- Use active status only for titles that should be assignable right now.
- Keep designation names clean and stable because they affect filters and downstream HR context.
Important: designations are visible in staff directory filters, attendance views, and payroll-oriented contexts. If titles drift or duplicate, downstream reporting and role review become harder to trust.
Navigation path
Human Resource -> Designations
Step 1: Open the Designations workspace
Go to Human Resource and choose Designations.
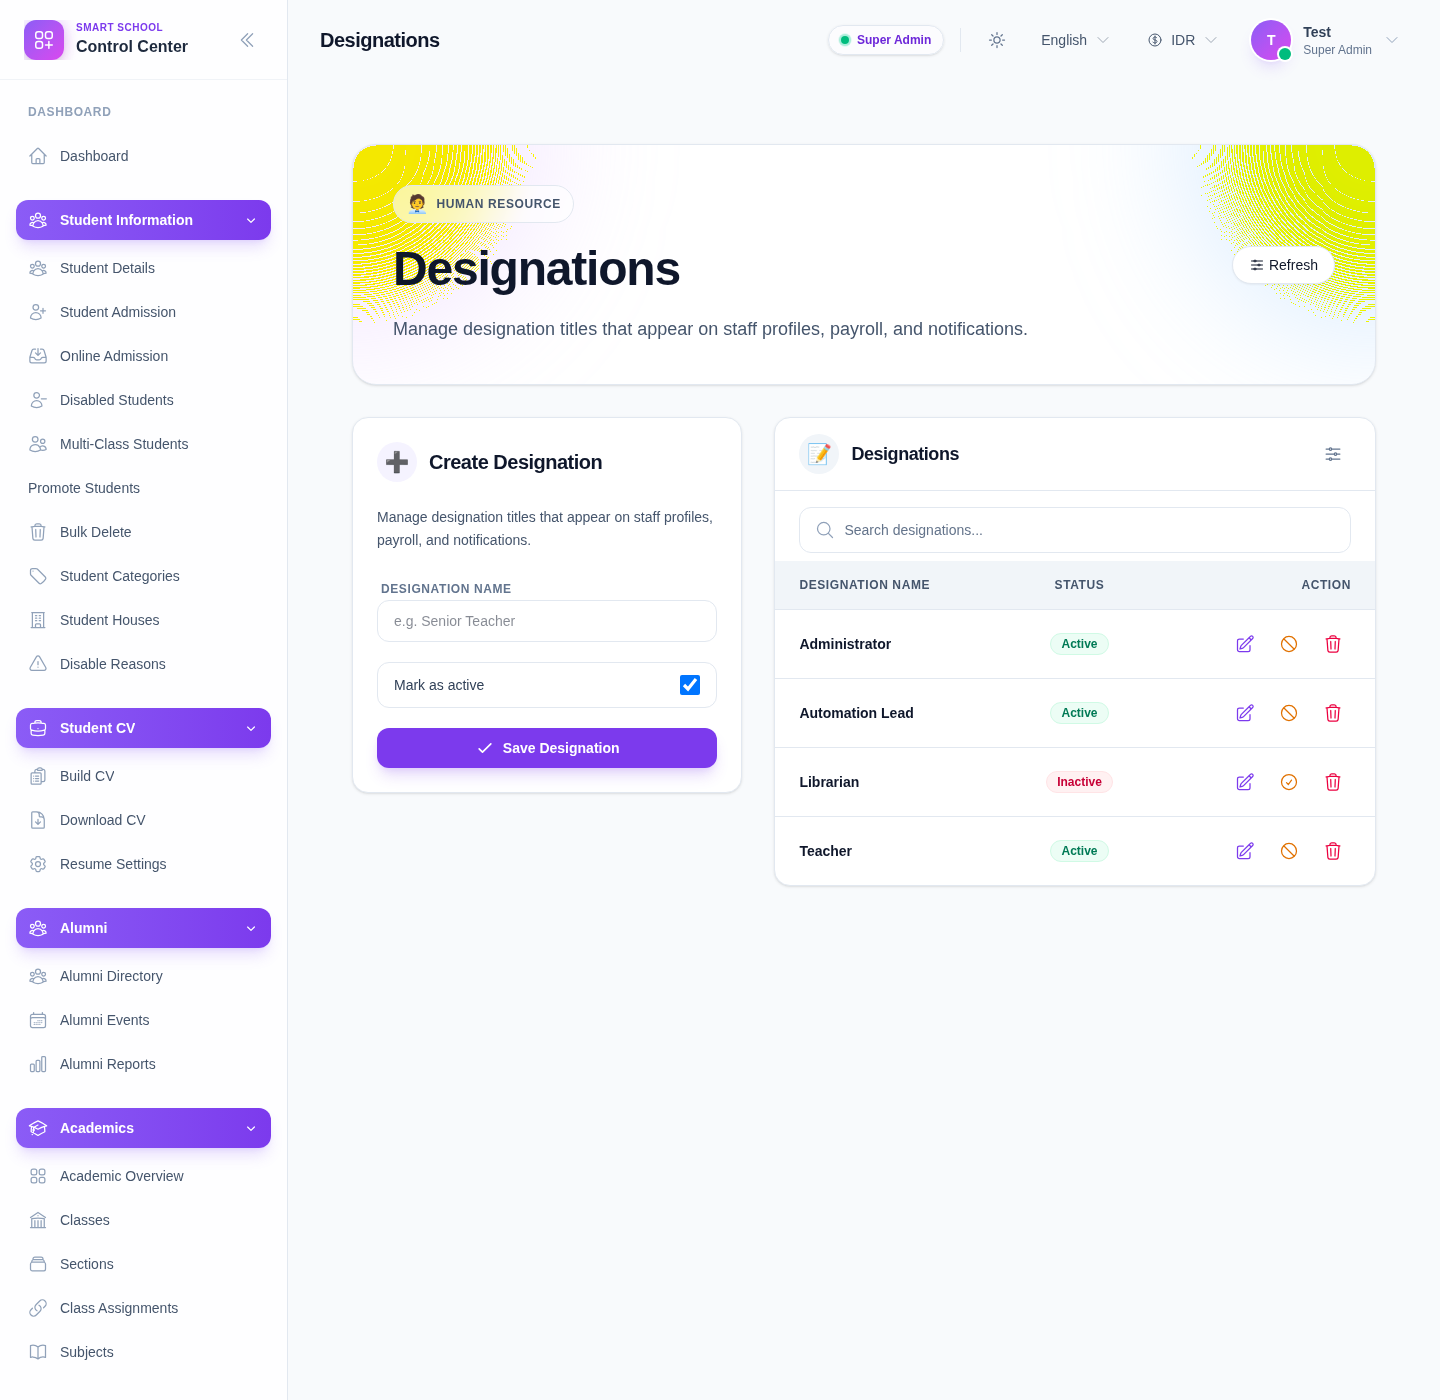
The current page includes:
- a Create Designation form
- a Designation name field
- a Mark as active toggle
- Save Designation
- a searchable list with row actions for Edit, Activate or Deactivate, and Delete
Step 2: Search the current titles before creating anything new
Use the Search designations… field to confirm whether the title already exists.
This matters when titles differ only slightly, for example:
TeacherSenior TeacherAdminAdministrator
If the existing record only needs refinement, edit it instead of creating another overlapping title.
Step 3: Create a designation
Use the left-side form to create the title.
The current form includes:
- Designation name
- Mark as active
Then click Save Designation.
Keep the name short enough to work well in tables, dropdowns, and staff-profile summaries.
Step 4: Maintain title status from the list
The list supports direct row actions.
What you can do:
- Edit the title
- Deactivate an active title
- Activate an inactive title
- Delete a title that should not remain
Use deactivation instead of deletion when the title still matters for historical staff records or audit context.
Step 5: Confirm the designation is ready for reuse
After saving or updating:
- search for the title again
- confirm the badge shows the intended status
- confirm the name is suitable for staff directory and payroll use
Verify the result
Use this checklist after designation maintenance:
- the title is correctly spelled
- the record is not a duplicate of an existing designation
- the status reflects whether the title should be assignable now
- the title is ready for use in staff records and HR filtering
Expected result: the designation record is stored with the correct title and status and is ready to be reused consistently across staff workflows.
Troubleshooting
| Issue | Likely cause | What to do |
|---|---|---|
| Two titles mean the same thing | Naming was not standardized before creation | Merge intent into one title and deactivate or delete the duplicate |
| A title should no longer be assigned | It is still active in the list | Deactivate the row so it remains visible historically but is no longer treated as current |
| Staff filtering feels inconsistent | Similar titles were created separately | Standardize designation naming and update the records |
| A title disappeared from current operations | It was set inactive | Reactivate it only if it is still a valid operational choice |