This guide explains how to manage the Attendance Schedules page in Migdafa Smart School.
Before you start
- Confirm the target class and section already exist.
- Decide the allowed entry window for that group.
- Decide which attendance type the schedule should permit.
- Review the list first so you do not duplicate an existing schedule rule.
Important: attendance schedules affect when QR attendance will be accepted for a class-section pair. Treat each schedule as an operational rule, not just a display setting.
Navigation path
Settings -> Attendance -> Attendance Schedules
Step 1: Open Attendance Schedules
Go to Settings, then open Attendance Schedules.
The current page includes:
- list filters for Class, Section, and Status
- Add Schedule
- Reset
- a schedule table
Step 2: Review existing schedule rules
Inspect the table before creating anything new.
The current list includes:
- class and section pair
- entry time window
- attendance type
- status
- row actions
This is important because schedule rules should be explicit and non-duplicated.
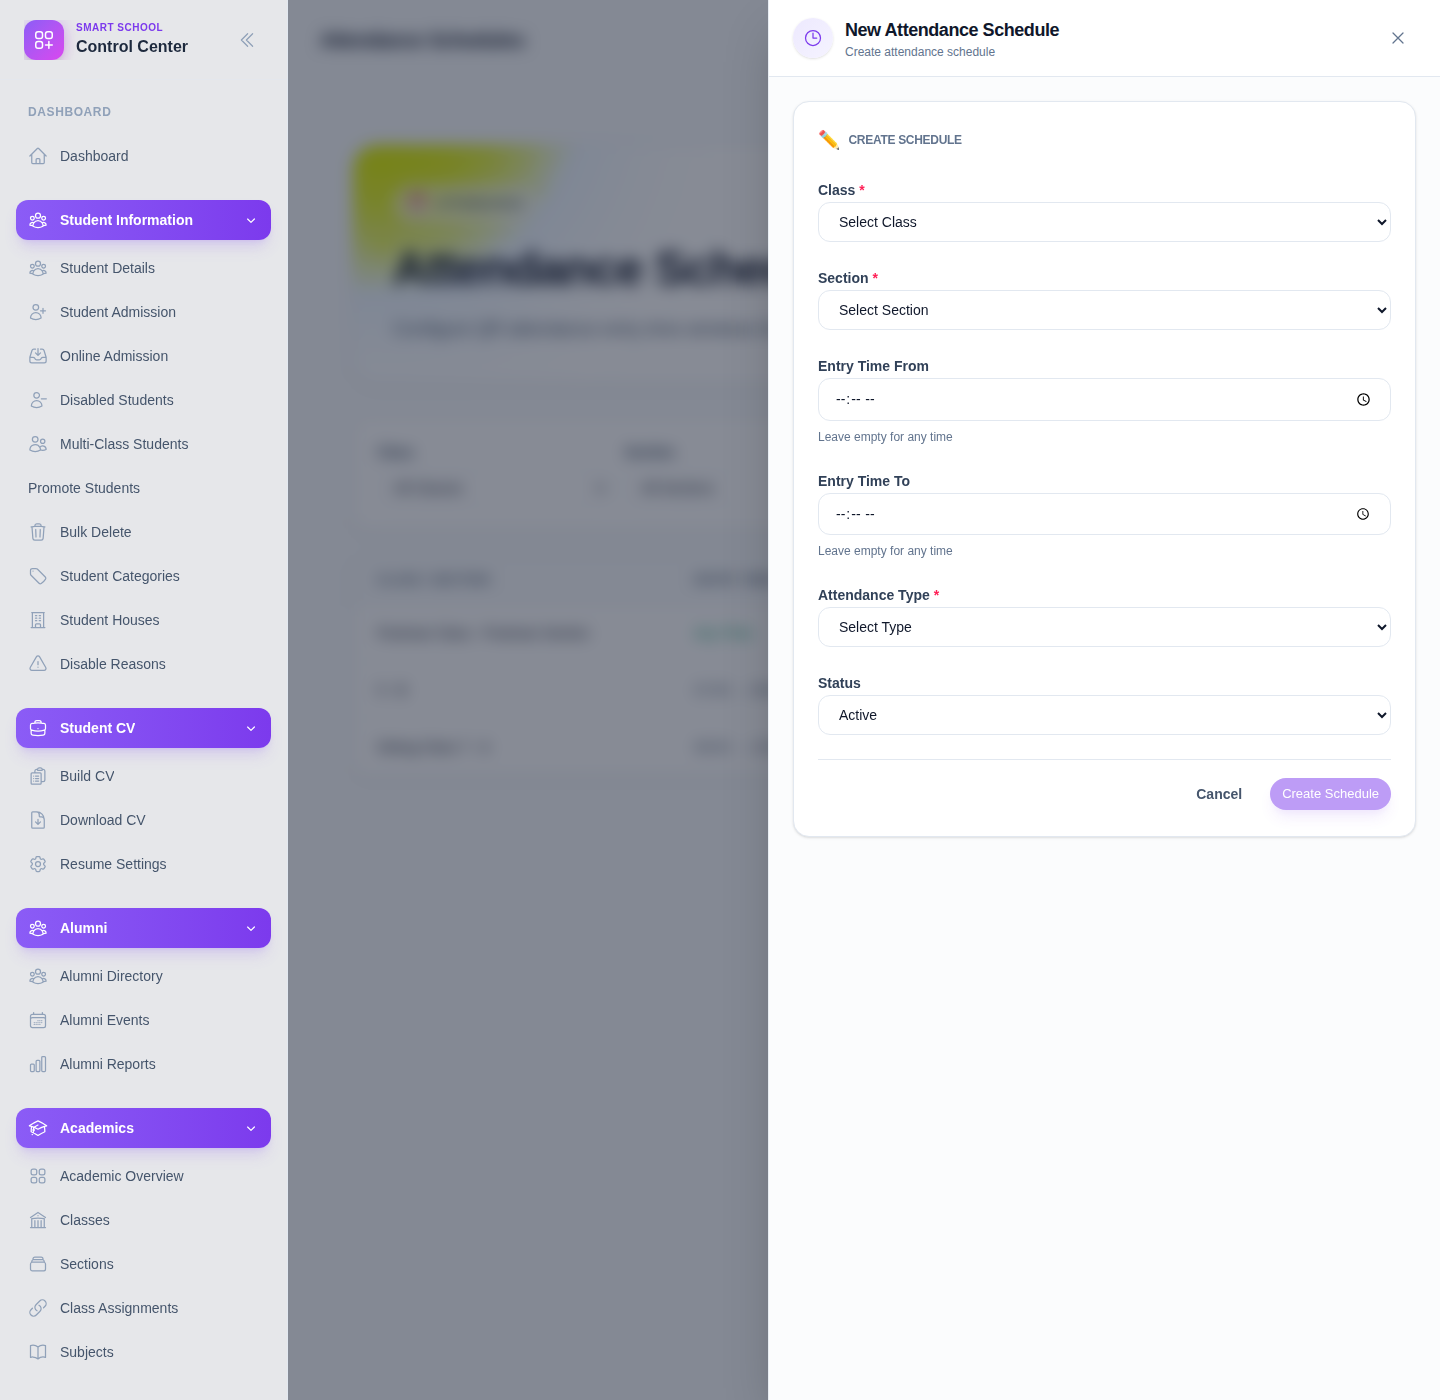
Step 3: Open the create schedule form
Click Add Schedule to open the new-schedule form.
The current form includes:
- Class
- Section
- Entry Time From
- Entry Time To
- Attendance Type
- Status
Use Create Schedule to save the rule or Cancel to exit without saving.
Step 4: Save and review the new rule
After saving, return to the list and confirm:
- the class-section pair is correct
- the entry window is correct
- the attendance type is correct
- the status is correct
The current list also supports row-level Edit and Delete actions for ongoing maintenance.
Verify the result
Use this checklist after schedule maintenance:
- the schedule applies to the intended class and section
- entry start and end times match policy
- the attendance type is correct
- duplicate or conflicting rules were not introduced
Expected result: the attendance schedule rule is saved for the correct class-section context and is available in the schedule list for later review or editing.
Troubleshooting
| Issue | Likely cause | What to do |
|---|---|---|
| The schedule already seems to exist | The existing list was not reviewed first | Filter by class and section before creating a new rule |
| The wrong time window was saved | Entry times were entered incorrectly | Edit the row and correct the time window |
| The rule should not be active yet | Status was left active by mistake | Edit the row and adjust the status |
| Class or section options are confusing | The academic structure has too many similarly named records | Recheck class-section mapping before saving |