This guide explains how to use the Timetable Reports page in Migdafa Smart School.
Before you start
- Confirm timetable data already exists for the target class or teacher.
- Decide whether you need a teacher view, class view, or calendar-style report.
- Know the target session, class, section, teacher, day, or month before loading the report.
- Reset old filters if the page was previously used for another context.
Important: timetable reports reflect the underlying timetable data. If the report looks incomplete, review timetable setup first before assuming the report page is wrong.
Navigation path
Academics -> Timetable Reports
Step 1: Open Timetable Reports
Go to Academics and choose Timetable Reports.
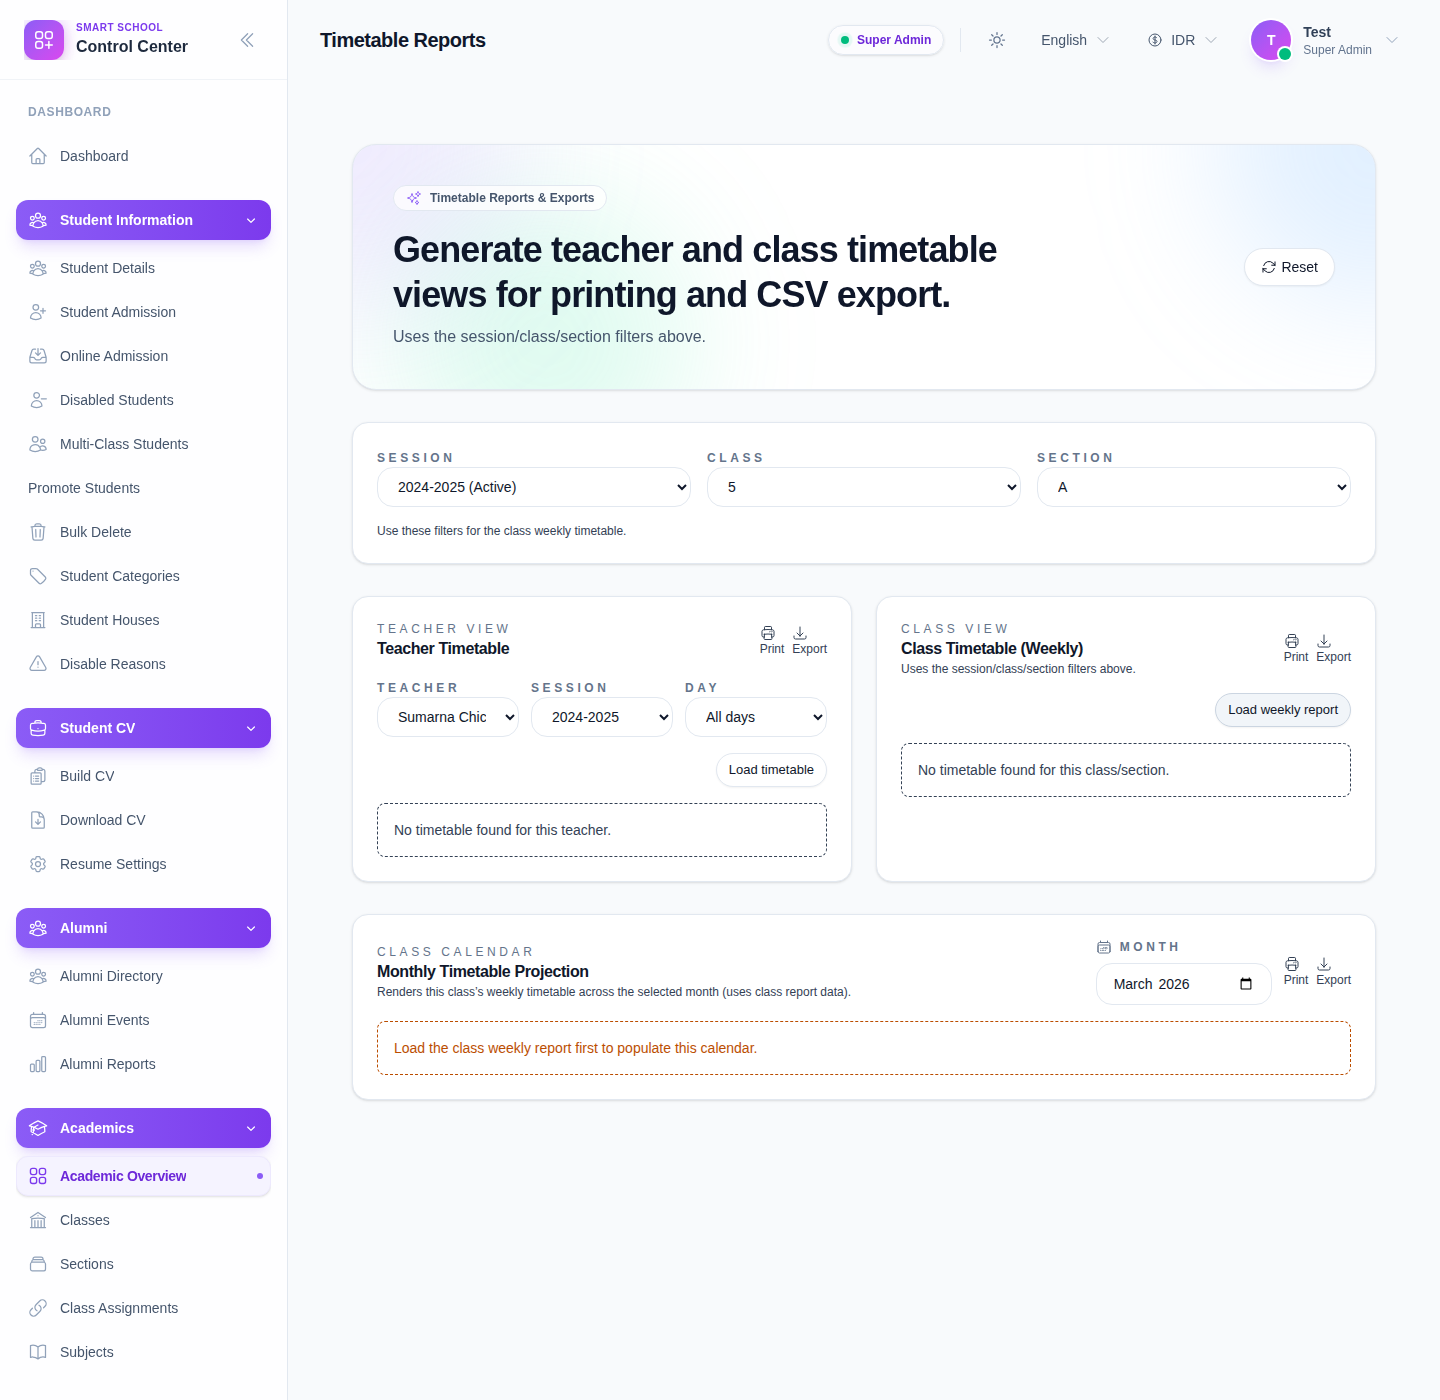
The current UI provides multiple reporting modes, including:
- Teacher View
- Class View
- Class Calendar
It also exposes actions such as:
- Reset
- Export
- Load timetable
- Load weekly report
Step 2: Set the reporting context
Choose the filters needed for the report type you want to run.
The current page exposes filters such as:
- Session
- Class
- Section
- Teacher
- Day
- Month
Not every filter matters for every report mode, so focus only on the controls relevant to the report you are loading.
Step 3: Run Teacher View
Use Teacher View when you need the schedule for one teacher.
Recommended sequence:
- Choose the relevant teacher.
- Set any supporting session or day filter if needed.
- Click Load timetable.
- Review the rendered teacher schedule.
- Use Print or Export if you need output beyond the screen view.
Step 4: Run Class View
Use Class View when you need the weekly timetable for a class and section.
Recommended sequence:
- Choose Session.
- Choose Class.
- Choose Section.
- Click Load timetable.
- Review the class schedule.
- Use Print or Export when the report looks correct.
The page copy confirms that the class report uses the session, class, and section filters above it.
Step 5: Run Class Calendar
Use Class Calendar when you want a broader monthly timetable perspective for a class.
Recommended sequence:
- Choose the class context.
- Select Month.
- Use the calendar-specific load action, shown in the current UI as Load weekly report.
- Review the rendered calendar view.
- Print or export if required.
Step 6: Reset and rerun when switching contexts
Use Reset before moving from one report context to another, especially when switching between teacher-based and class-based reporting.
This avoids carrying the wrong filter combination into the next report run.
Verify the result
Use this checklist after loading a report:
- the report mode matches the intended audience
- filters match the real teacher or class context
- the visible timetable looks complete for that context
- print or export actions are used only after the right report is loaded
Expected result: the timetable report loads in the selected mode with the correct academic context and is ready for print or export.
Troubleshooting
| Issue | Likely cause | What to do |
|---|---|---|
| The report looks empty | Timetable data does not exist for the chosen context | Recheck timetable setup and filter values |
| The wrong class schedule appears | Session, class, or section filters are incorrect | Reset and reload the report with the correct filters |
| Teacher report does not match expectations | The wrong teacher or day context was selected | Recheck the teacher filter and rerun the load action |
| Print or export output is wrong | The report was exported before the correct view loaded | Reload the intended report before printing or exporting |
| Switching between report types causes confusion | Old filters were left active | Use Reset before loading the next report type |