This guide explains the bulk student import flow available from the Students page in Migdafa Smart School.
Before you start
- Confirm that the destination class and section already exist.
- Prepare your spreadsheet in one of the accepted formats:
.csv,.xlsx, or.xls. - Use the system template rather than building your own headers from memory.
- Split the import file by class-section if students belong to different placements.
Important: the class and section are selected inside the import dialog and apply to the whole import batch. If your spreadsheet mixes multiple classes or sections, break it into separate files before uploading.
Navigation path
Student Information -> Student Details -> Import Students
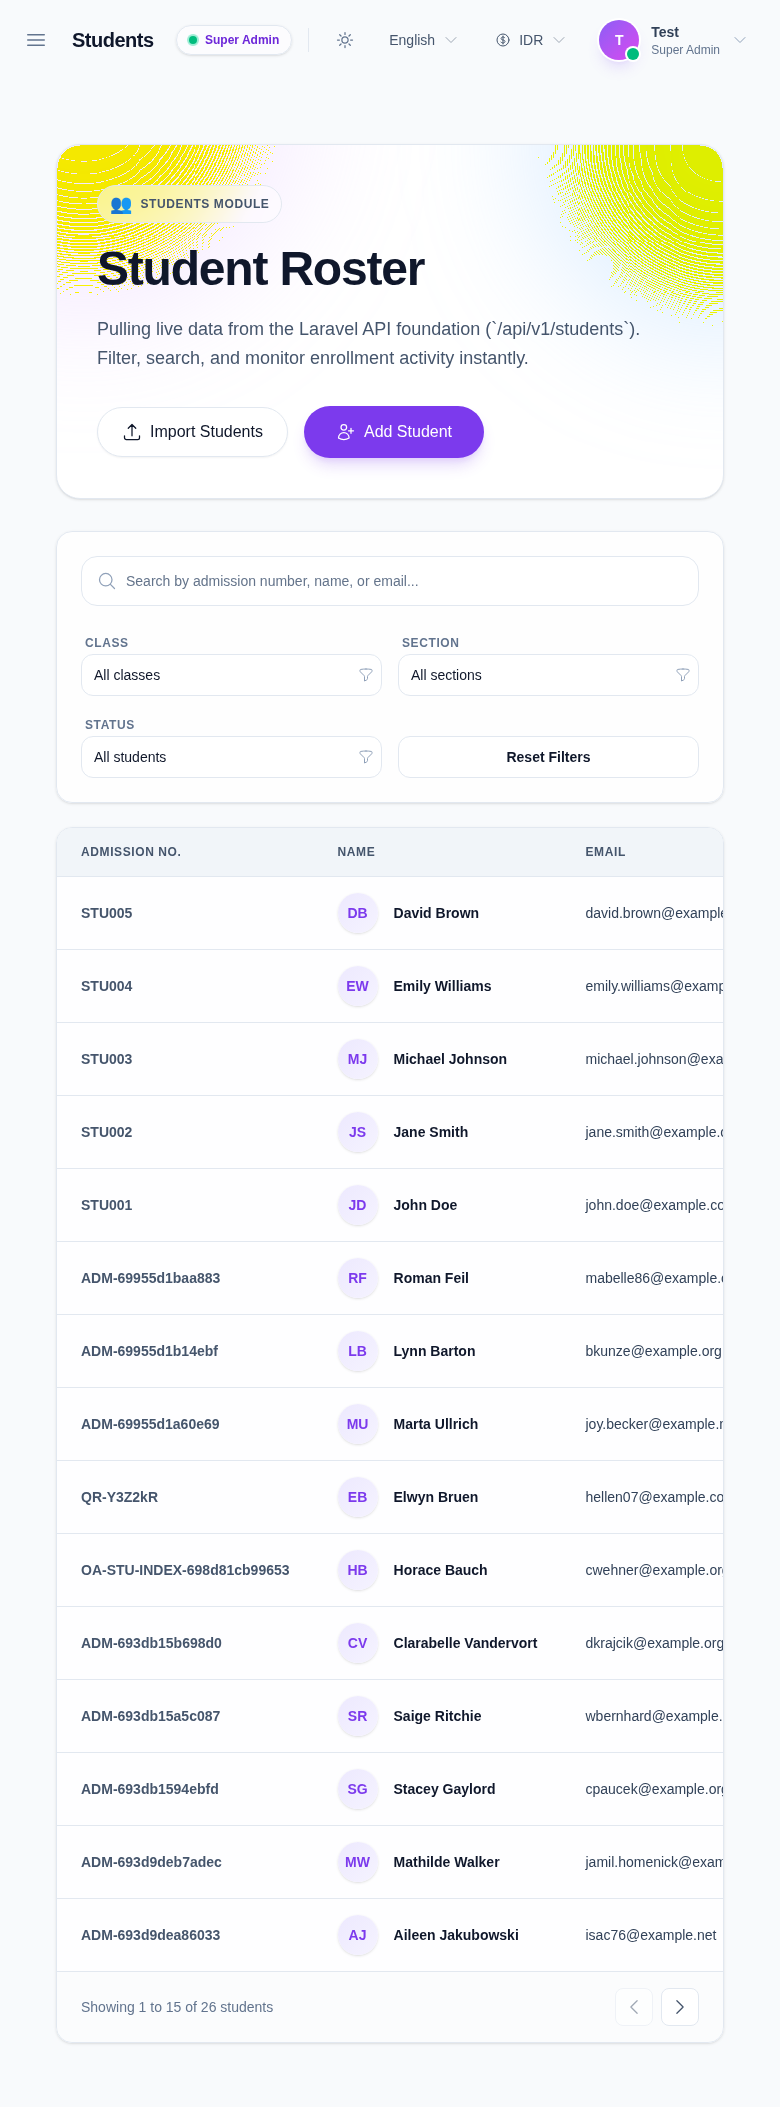
Step 1: Open the Students page
Go to Student Information in the sidebar, then choose Student Details. The roster page is the operational entry point for searching current students, filtering records, and starting a bulk import.
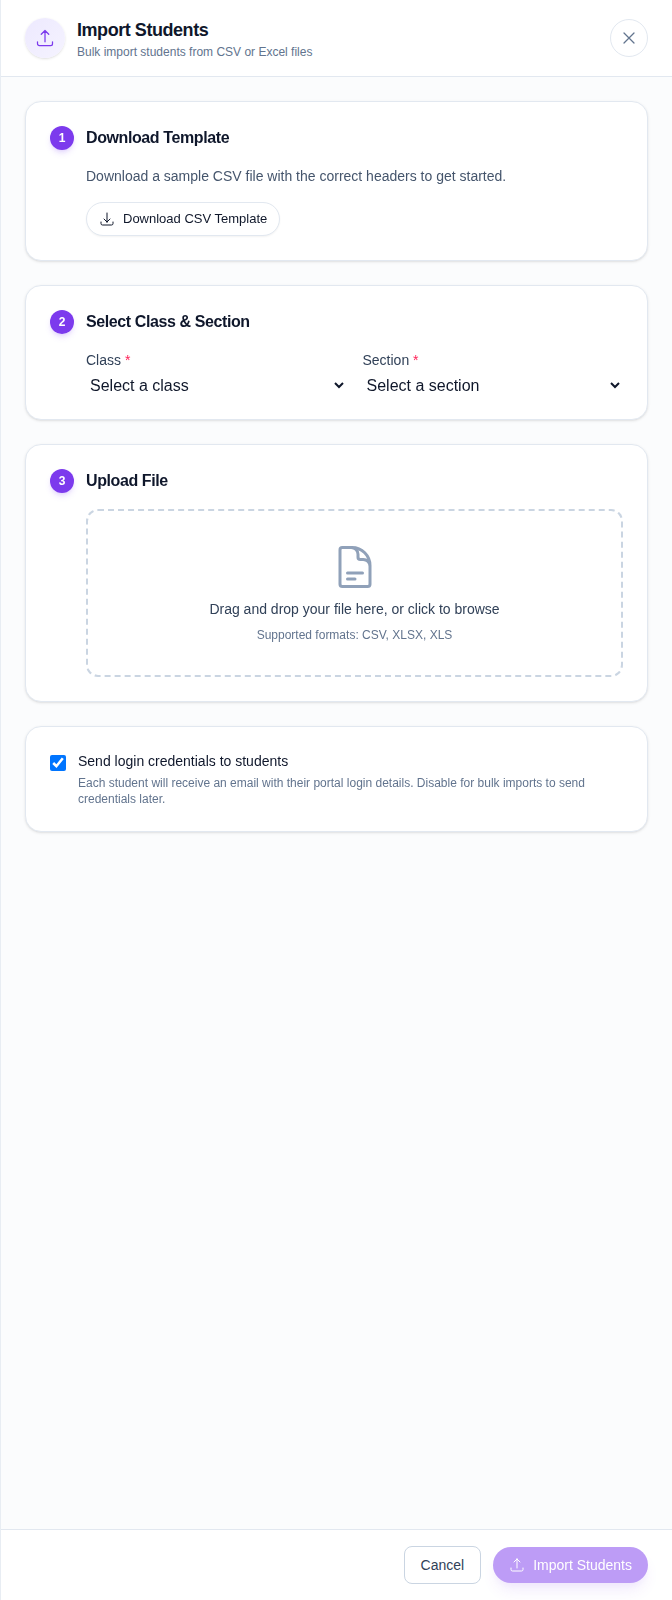
Step 2: Open the import dialog and download the template
Click Import Students. The dialog guides you through the import in three stages:
- Download the CSV template.
- Select the destination class and section.
- Upload your completed file.
Always download the template from the dialog before preparing a new file. This reduces header mismatches and keeps your columns aligned with the import parser.
Step 3: Fill the template carefully
After downloading the template:
- keep one student per row
- do not rename the template headers
- remove placeholder sample rows before saving
- keep dates, phone numbers, and email addresses in a clean format
- check admission numbers or roll numbers against your school’s internal rules before import
If your school sends credentials later through a separate onboarding step, keep the spreadsheet focused only on valid student profile data.
Step 4: Select the class and section
Choose the destination Class first, then choose the Section.
What to expect:
- the Section field stays disabled until a class is selected
- the section list changes based on the chosen class
- the import button stays disabled until class, section, and file are all present
This mapping is important because the system uses it to place every imported row into the same academic location.
Step 5: Upload the file
Drag the file into the upload area or use Choose File.
When the file is accepted:
- the file name replaces the placeholder upload text
- the dialog keeps the selected file ready for import
- unsupported file types trigger an error before the import is sent
Accepted file formats in the current UI:
- CSV
- XLSX
- XLS
Step 6: Decide whether to send portal credentials
The checkbox Send login credentials to students is enabled by default in the current UI.
Enable it when:
- student accounts should be usable immediately after import
- your process includes automated credential delivery
Disable it when:
- you want to review the imported students first
- credentials will be distributed later through another onboarding step
- the batch is still being validated by admissions staff
Step 7: Run the import and review the result
Once class, section, and file are ready, click Import Students.
After submission, the dialog returns a result summary with:
- total imported rows
- failed rows
- row-level validation messages when errors exist
If at least one row imports successfully, the roster can be refreshed and the new students become available to downstream workflows such as admission follow-up, academics, attendance, and fees.
Verify the result
Use this quick checklist after the import:
- confirm the roster count changed if new records were added
- search for one or two imported students by admission number or name
- verify class and section placement
- review failed rows and correct the spreadsheet before re-importing
Expected result: valid rows are added to the student roster and can be found from the Students list under the class and section chosen in the import dialog.
Troubleshooting
| Issue | Likely cause | What to do |
|---|---|---|
| Import button stays disabled | Class, section, or file is missing | Complete all three required inputs in the dialog |
| Section list is empty | Class has not been selected or that class has no sections yet | Select a class first, then confirm sections exist in Academics |
| File is rejected before upload | Unsupported extension or invalid file type | Save the file as CSV, XLSX, or XLS |
| Some rows fail | Spreadsheet data does not pass validation | Use the row-level error list, correct the file, and import again |
| Students land in the wrong place | Batch was imported with the wrong class or section | Recheck the class-section mapping before each batch |