This guide explains the Front CMS → Media Library workspace. Media Library is the shared asset pool for FrontCMS pages, banners, event images, and gallery images.
Before you start
- Decide whether you are uploading files from the device or a media URL.
- Prepare images, videos, or documents that fit the school’s public content needs.
- Know whether a file should be deleted after it is reused elsewhere.
Navigation path
Front CMS -> Media Library
Step 1: Open the media library
Open Front CMS in the sidebar and choose Media Library.
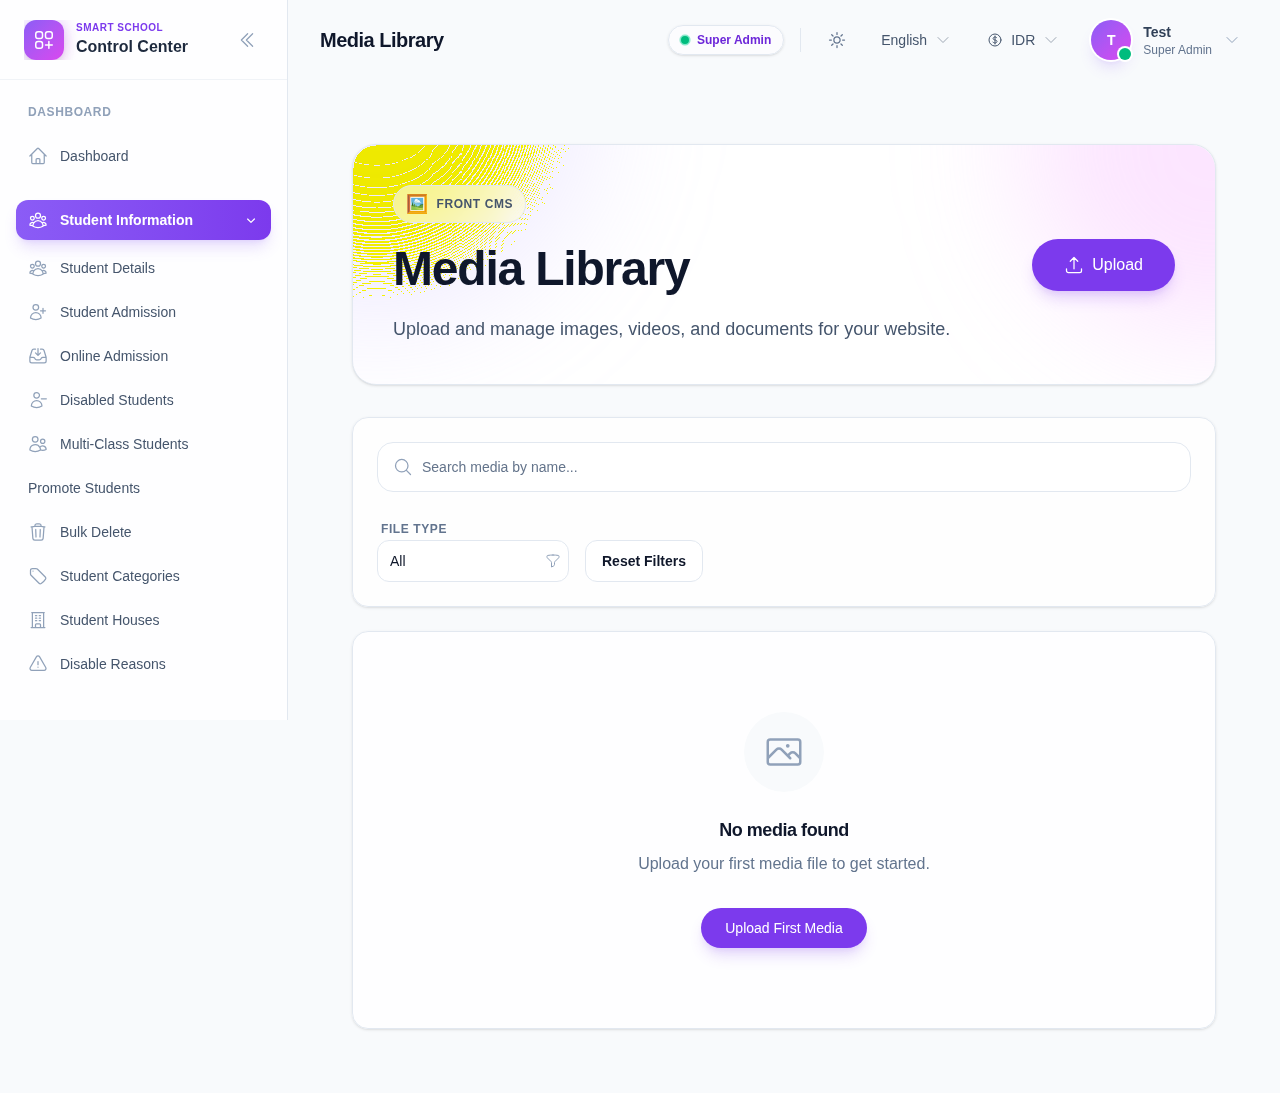
Step 2: Upload new assets
Click Upload to open the upload drawer.
Use the drawer to:
- drag and drop files
- select files from the local device
- upload a video URL when the workflow requires a remote video
The upload drawer supports images, videos, and documents that belong in the FrontCMS asset pool.
Step 3: Filter and search assets
Use the search field and file-type filter to narrow the list.
Typical filter choices include:
- All
- Images
- Videos
- Documents
This is helpful when the school library contains many assets and you need to find one banner or attachment quickly.
Step 4: Inspect asset details
Click a file card to open the detail drawer.
From the detail drawer you can:
- review file metadata
- copy the file URL
- open the asset in a new tab
- delete the media if it is no longer needed
Step 5: Delete or bulk delete when necessary
Use the delete actions carefully.
- delete one asset from the detail drawer
- select multiple assets and remove them in bulk when the files are no longer used anywhere in FrontCMS
Verify the result
- Uploaded files appear in the media library grid.
- The file URL is available for reuse in banners, pages, events, and galleries.
- Deleted files no longer appear in the asset list.
Important: deleting a file from Media Library can break references in banners, pages, events, or galleries if that file is already in use. Confirm reuse before deleting.
Troubleshooting
| Issue | Likely cause | What to do |
|---|---|---|
| Upload fails | Unsupported file type or a bad file | Re-check the file format and try again |
| Asset does not appear in other screens | The file was uploaded to the wrong workspace or not saved | Reopen Media Library and confirm the upload completed |
| Copy URL does not work | Browser clipboard permission is blocked | Use the detail drawer’s fallback copy behavior or re-enable clipboard access |