This guide explains how to add class periods in the Migdafa Smart School Timetable Planner.
Short summary
The Timetable page is filter-based and period-driven. You define the working context, add periods with timing and subject details, then save each entry from the period drawer.
Before you start
- Confirm class, section, and session values are already in place.
- Ensure the subject, subject group, and teacher have valid links in the target session.
- Decide room and timing rules before creating multiple periods.
Navigation path
Academics -> Timetable
Step 1: Open Timetable Planner
Go to Academics and open Timetable.
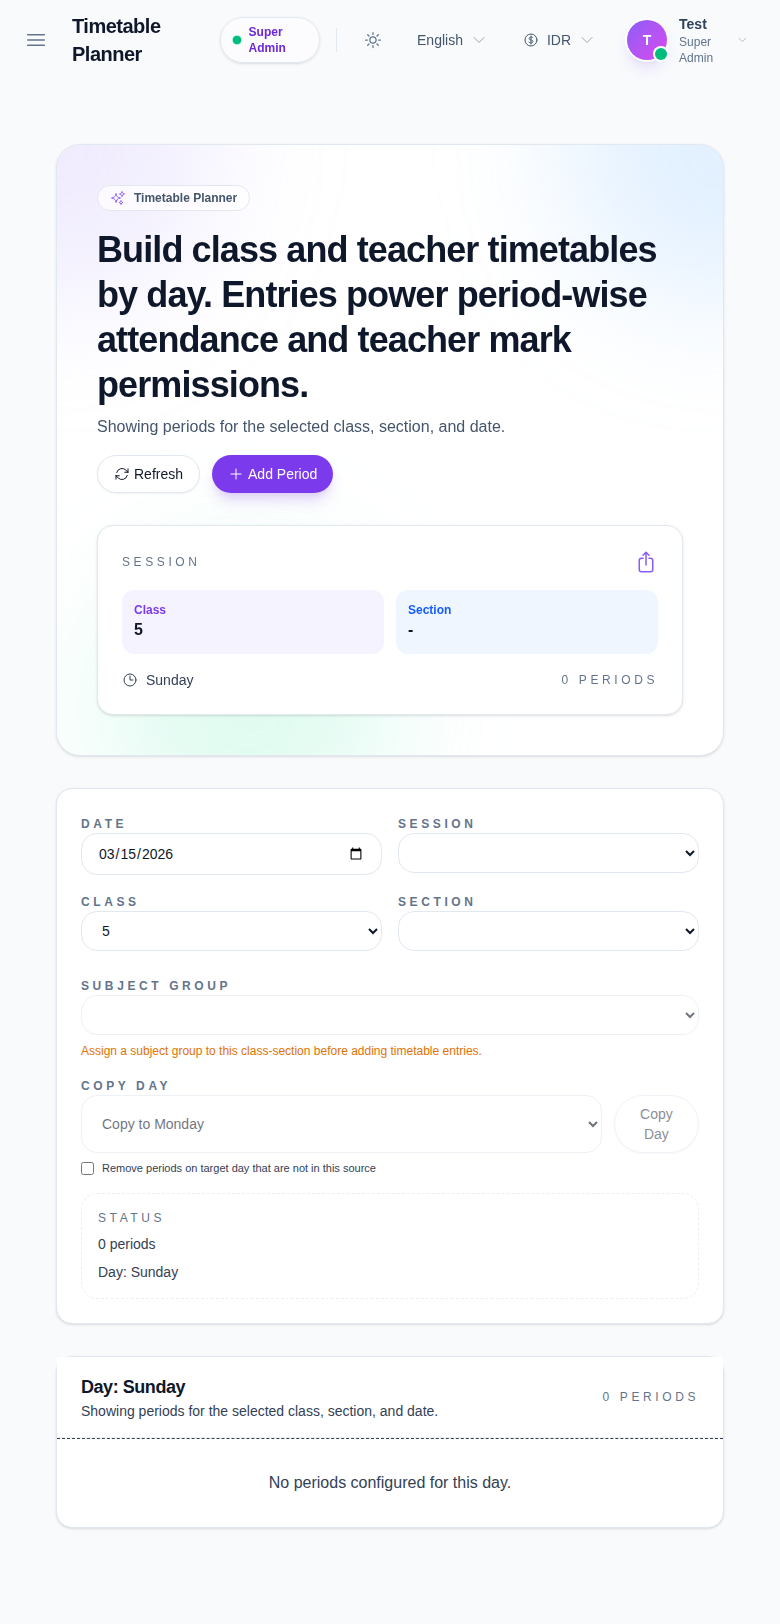
Step 2: Set planner filters
Use the top controls to define context:
- Date
- Session
- Class
- Section
- Subject Group
- Copy Day
- Working day selection and status controls
Filters help you narrow where new periods will be added and reviewed.
Step 3: Open Add Period
Click Add Period.
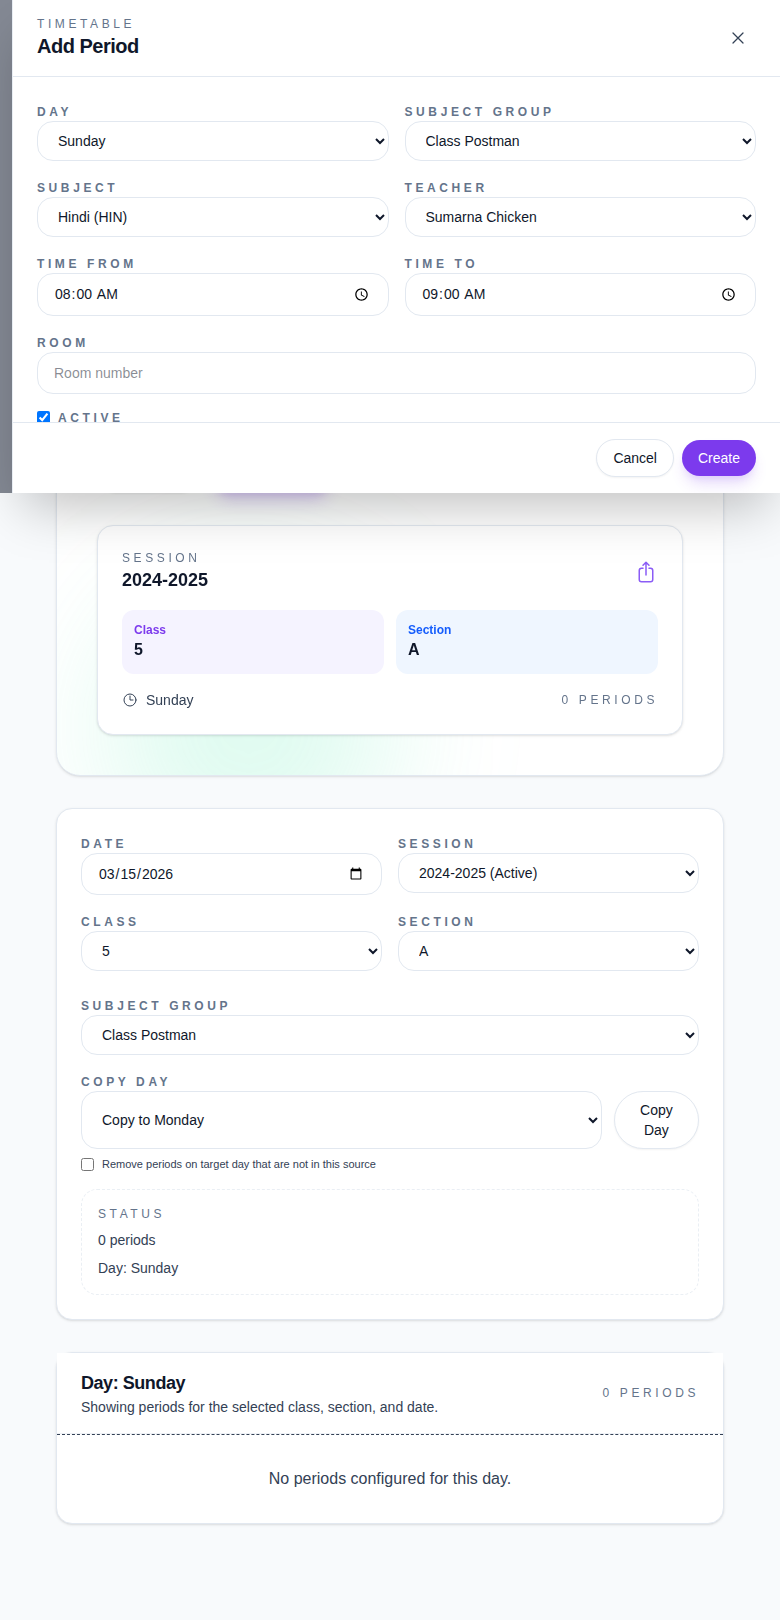
Step 4: Fill period details
Configure required values:
- Day
- Subject Group
- Subject
- Teacher
- Time From
- Time To
- Room
Set Active status as needed for published schedule state.
Step 5: Save and verify
- Click Create.
- Return to Timetable Planner.
- Confirm the new period appears in the selected day/time context.
- Use Refresh if the card list and table are not immediately updated.
Important notes
Note: time and day conflicts are controlled by the scheduling logic in your school setup. If a period does not behave as expected, re-check source filters and teacher/room assignment before adding additional entries.
Verification checklist
- Correct day and class/session context is selected.
- Added period displays correct start/end times.
- Subject, teacher, and room match intended scheduling rules.
- New period appears in expected section view after save.
Expected result: each new period is saved and visible in the selected timetable context with assigned day, subject group, teacher, and timing.
Troubleshooting
| Issue | Likely cause | What to do |
|---|---|---|
| Add Period does not open | Page state is not fully loaded or another overlay is active | Refresh and reopen Timetable |
| Period list does not refresh | Planner view remains cached after create | Use Refresh or re-open the page |
| Time slot conflicts | Overlapping teacher/room/day assignment | Adjust subject, teacher, room, or time window |
| Added period not visible in expected day | Filter context is different from the one used during creation | Reapply Date/Session/Class/Section context and verify |