This guide explains the Front CMS → Events workspace. Events are public campus activities shown on the school’s FrontCMS site.
Before you start
- Confirm the event start and end dates.
- Prepare the event description and venue text.
- Decide whether you need one or more supporting images.
Navigation path
Front CMS -> Events
Step 1: Open the events workspace
Open Front CMS in the sidebar and choose Events.
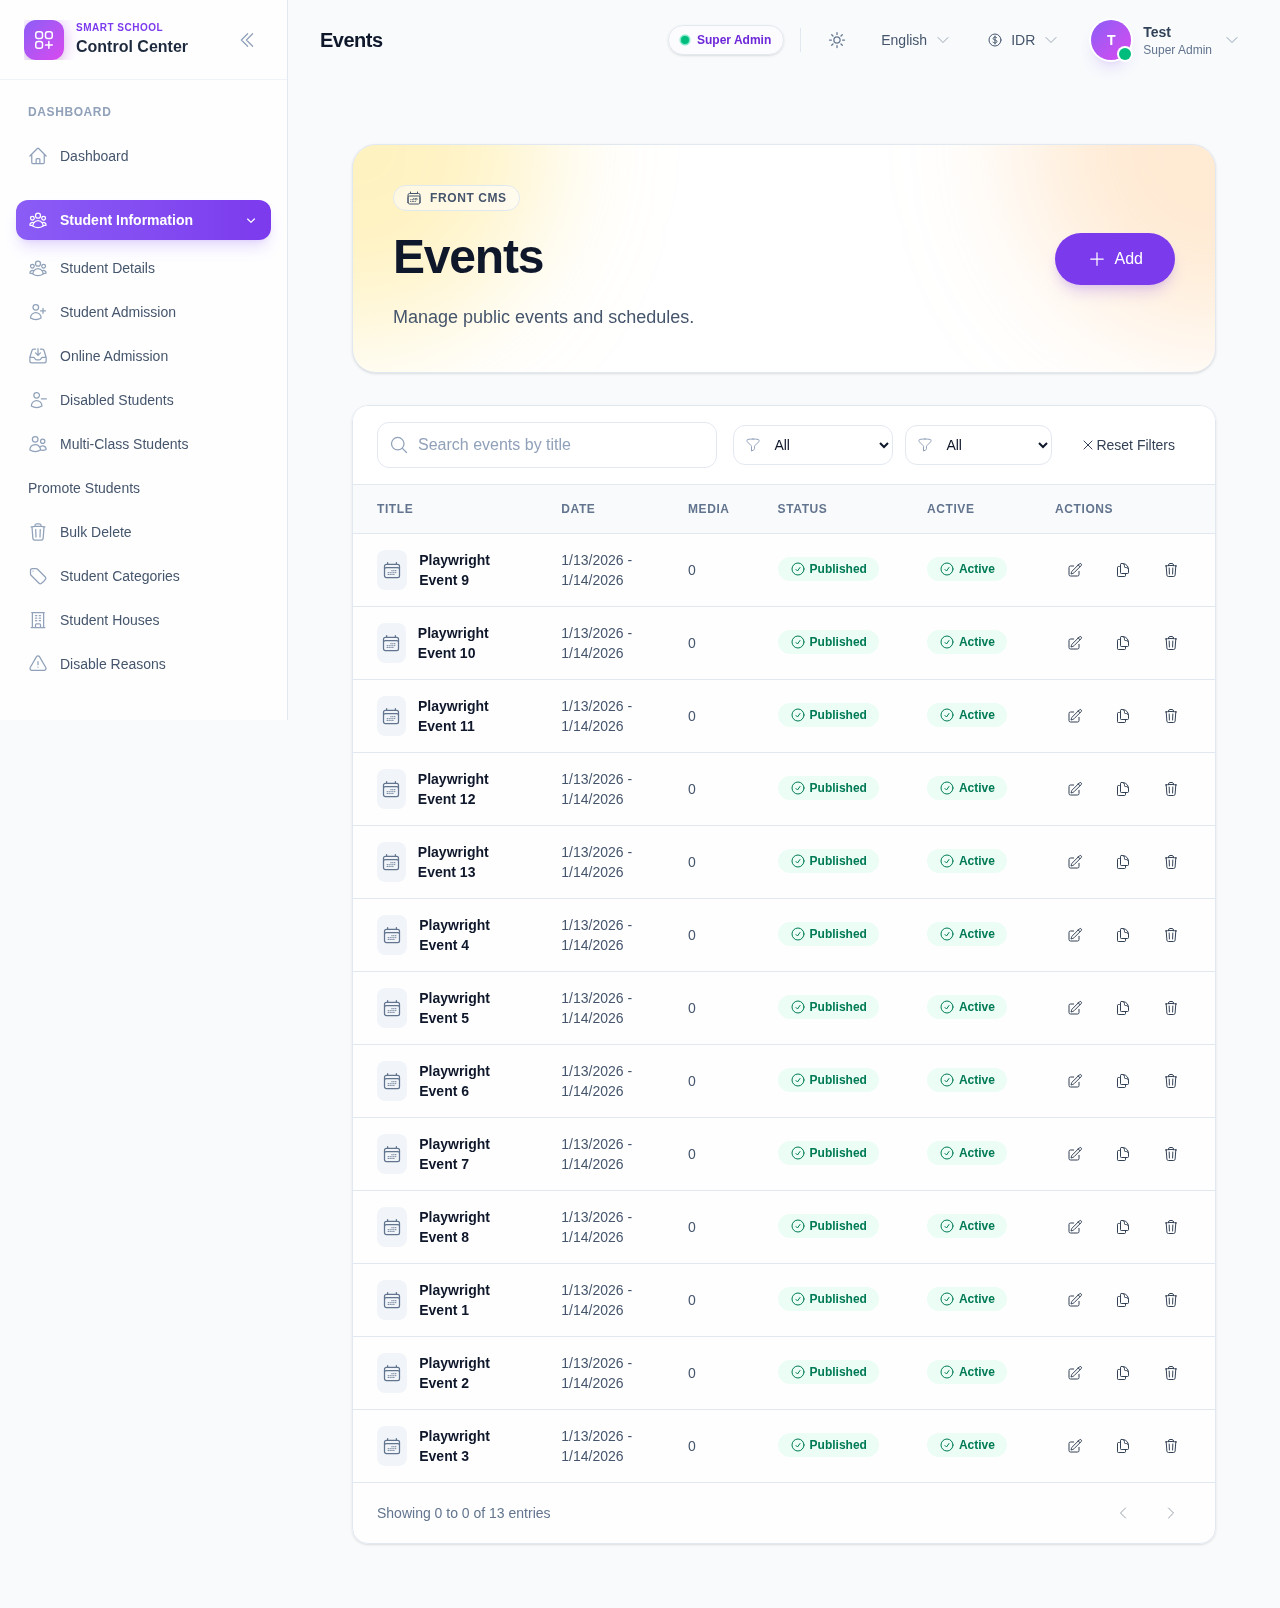
Step 2: Add an event
Click Add to create a new event record.
Fill in the event details:
- title
- description
- event start date
- event end date
- venue
If the event needs a hero image or gallery support, use the media picker inside the drawer.
Step 3: Attach media when needed
The event drawer can attach media after creation or during save.
Use the media picker to:
- select event images from the media library
- attach one or more images to the event record
- keep the event page visually consistent with the school’s public site
Step 4: Manage event status
Use the table badges to switch between publish and active states.
Use the row actions to:
- edit the event
- duplicate the event for a recurring activity
- delete an outdated entry
Verify the result
- The event appears in the public events list.
- The date range is correct.
- The publish and active states match the intended visibility.
- Attached media appears with the event after saving.
Expected result: the event list on the public FrontCMS site shows the new event with the right dates and media.
Troubleshooting
| Issue | Likely cause | What to do |
|---|---|---|
| Event does not show publicly | The event is draft or inactive | Reopen the record and enable publish and active |
| Date range is wrong | Start or end date was entered incorrectly | Edit the event and correct both dates |
| Image attachment is missing | No media was selected from the picker | Reopen the event and attach the media again |