This guide documents the exam creation workflow in the Examinations module from the Exam Workspace page.
Short summary
This guide covers creating exam definitions using the real Create Exam tab in the Examinations workspace, starting from exam group setup and continuing to a verified exam record ready for schedule and marks workflows.
Before you start
- Confirm your academic session, class, and section are active.
- Confirm you can access both Create Exam Group and Create Exam tabs in the Exam Workspace.
- Decide if the exam should use exam roll numbers:
No(default): existing student identifiers remain unchanged.Yes: use a separate exam roll workflow.
- Prepare a unique, descriptive exam name.
Important: the exam creation tab is part of the same flow as exam groups. In practice, teams usually create the exam group first so every exam belongs to a known session and grouping.
Navigation path
Examinations -> Exam Workspace
Step 1: Open Exam Workspace and review tabs
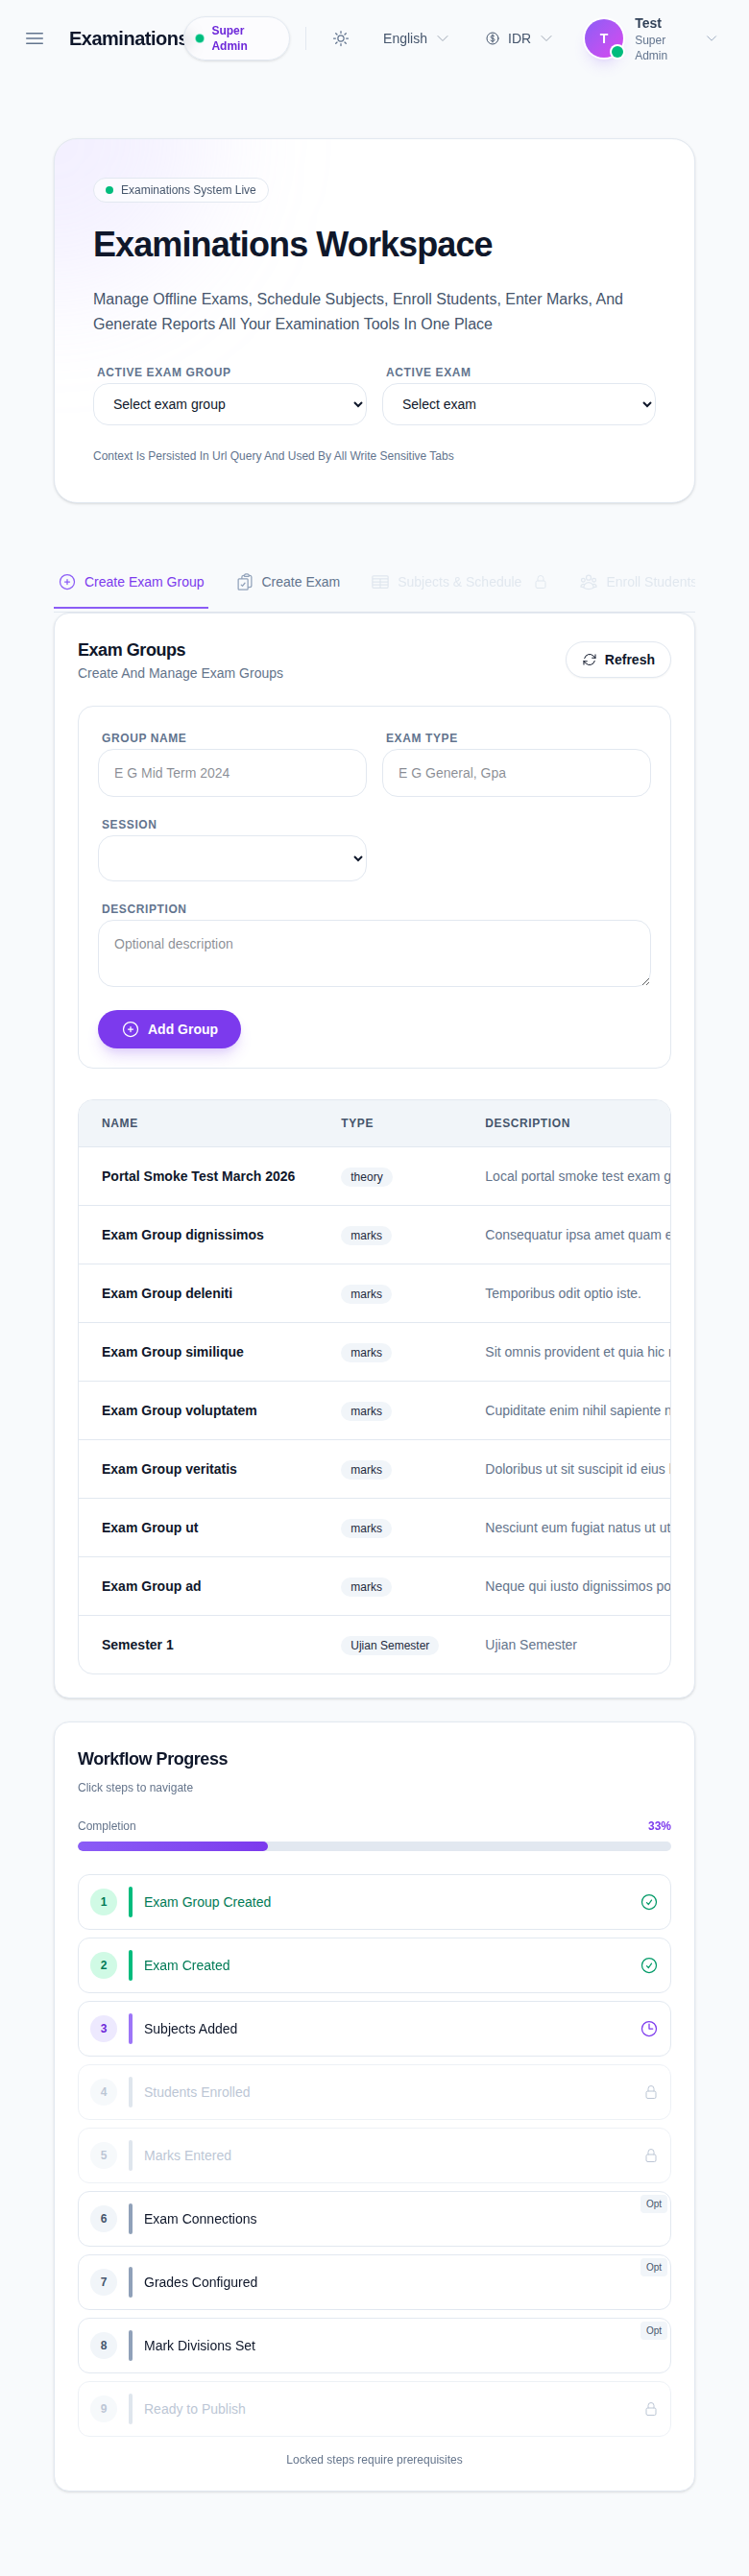
Go to Examinations in the sidebar and open Exam Workspace.
The workspace shows tabs such as:
Create Exam GroupCreate ExamSubjects & ScheduleEnroll StudentsMarks EntryExam ConnectionsGradesMark DivisionsPrint & Email
Only the relevant tab will be interactive once the workflow context is complete.
Step 2: Create the exam group (recommended prerequisite)
Open Create Exam Group.
Fill these fields:
- Group Name
- Exam Type
- Session
- Description (optional)
Then click Add Group.
Expected immediate result:
- the group appears in the
Create Examgroup dropdown - the workspace context is ready for the next step
This creates the exam bucket used by the later exam and reporting steps.
Step 3: Open the Create Exam tab
Switch to Create Exam.
The page shows a form with exam metadata and an exam list below it.
Step 4: Enter the exam metadata
Fill all required fields on the Create Exam form:
- Exam Group
- Exam Name
- Class
- Section
- Session
- Use Exam Roll (
YesorNo)
If the form has a draft in-progress, the UI keeps it in the same tab until you submit.
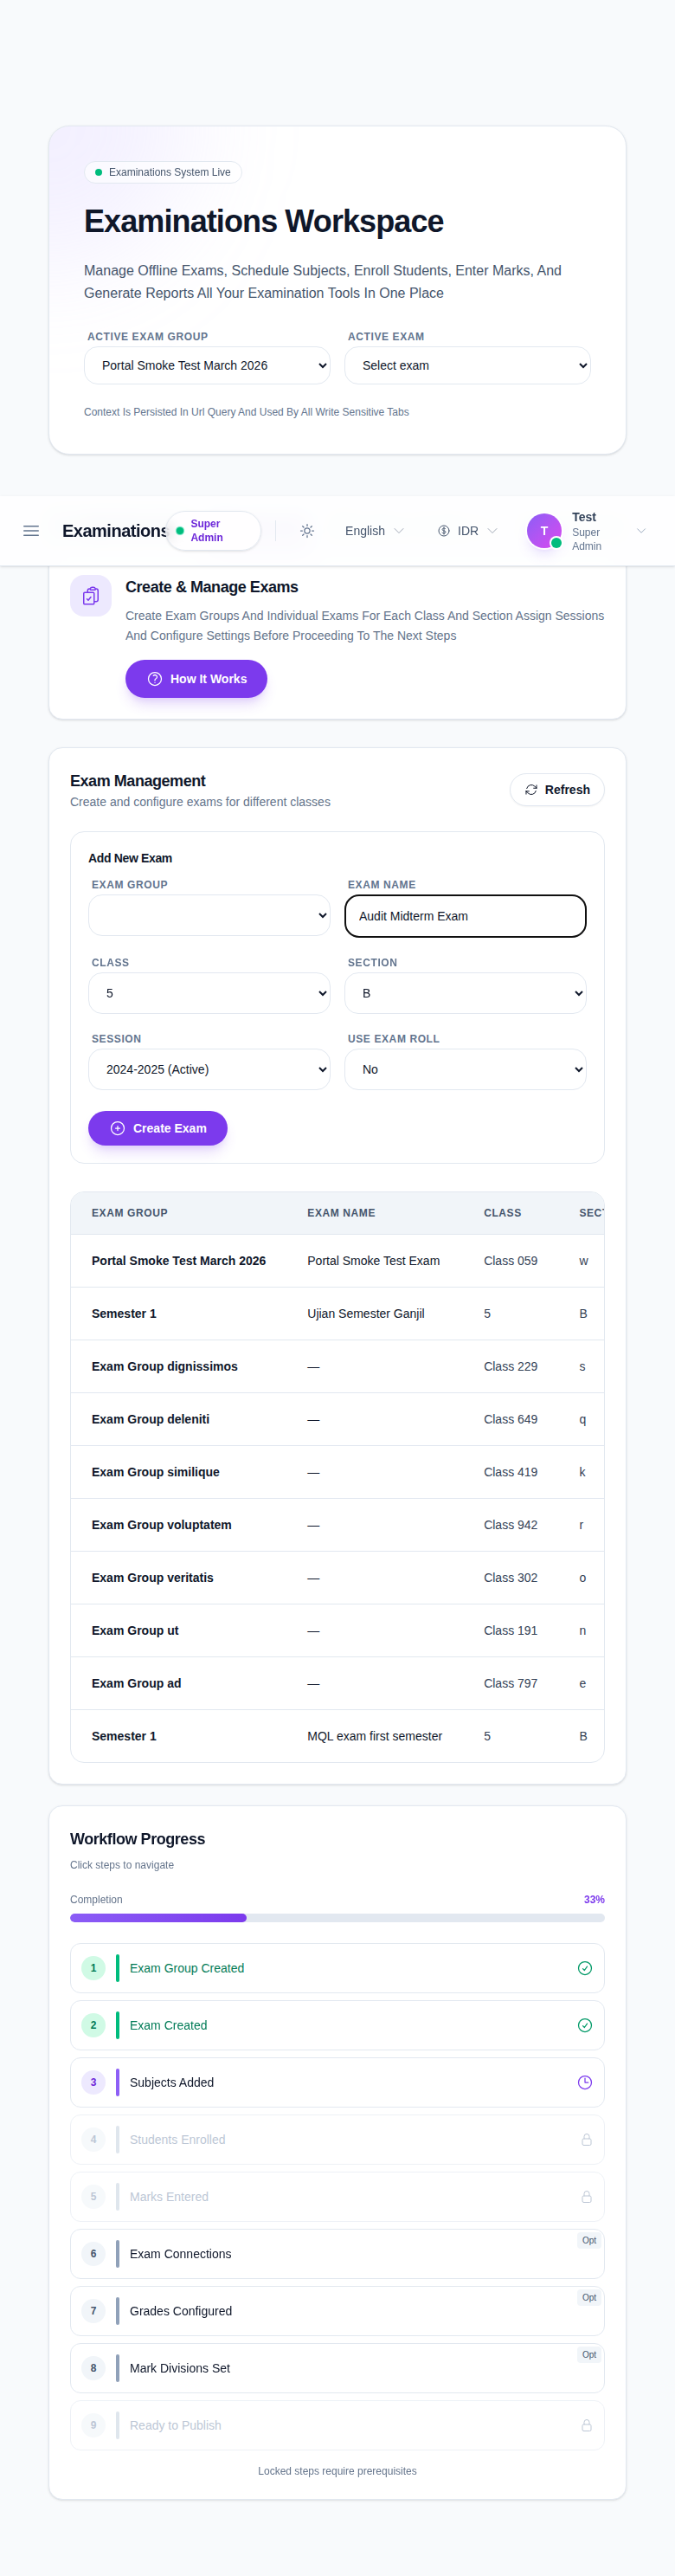
Step 5: Save the exam
Click Create Exam.
After a successful save:
- a new row appears in the list below
- the form is reset and ready for the next exam
- the table can be used to confirm name, group, class, and status at a glance
If the form does not save, open your browser console message area and confirm whether a required field is missing or validation failed.
If you need to update an existing exam, open its row/edit action and use the same exam details form.
Step 6: Verify workspace readiness
After creating the exam, verify that the following are visible and correct in the list:
- exam name
- selected class and section
- selected session
- exam group relation
If you plan to proceed to marks entry later, keep the same class/section/session context.
Step 7: Continue to the next operational steps
The exam list is now linked to the rest of the flow. The next logical tabs are:
- Subjects & Schedule
- Enroll Students
- Marks Entry
- Print & Email
This order is also reflected in the workspace workflow behavior.
Important notes
- The Create Exam form checks for required context. A disabled submit action is usually caused by a missing required field.
- The available sections update based on class selection.
- The exam group and exam session are independent inputs, so set both intentionally.
Verification checklist
- confirm the exam group is selected before creating the exam
- confirm class and section are correct for the intended cohort
- confirm session matches the active academic period
- confirm the exam appears in the list immediately after create
- confirm the next tab you need can be opened from the workspace
Troubleshooting
| Issue | Likely cause | What to do |
|---|---|---|
| Create Exam remains disabled | Form is missing required fields | Fill Exam Group, Exam Name, Class, Section, and Session |
| Section options are unavailable | Class selection is not set or incomplete | Choose a class first, then wait for section refresh |
| Save fails after submit | Session mismatch or backend validation rule | Re-check session values for both exam group and selected session |
| Exam not visible after save | Save did not complete | Retry save and check for permission or validation errors in the toast/error message |
| You cannot click Create Exam | Permission is missing on this workspace role | Confirm account permissions for exam create/update in the active role |