This guide explains how to use Assign Vehicles to connect existing vehicles to existing transport routes.
Short summary
The Vehicle-Route Assignment page combines route selection, route search, assigned-vehicle cards, and a management modal that lets operators add or remove vehicle links for a chosen route.
Before you start
- Confirm the target route already exists.
- Confirm the vehicles you want to assign already exist.
- Decide whether one vehicle should stay dedicated to a route or be reviewed across multiple routes.
Navigation path
Transport -> Assign Vehicles
Step 1: Open Vehicle-Route Assignment
In the sidebar, open Transport and choose Assign Vehicles.
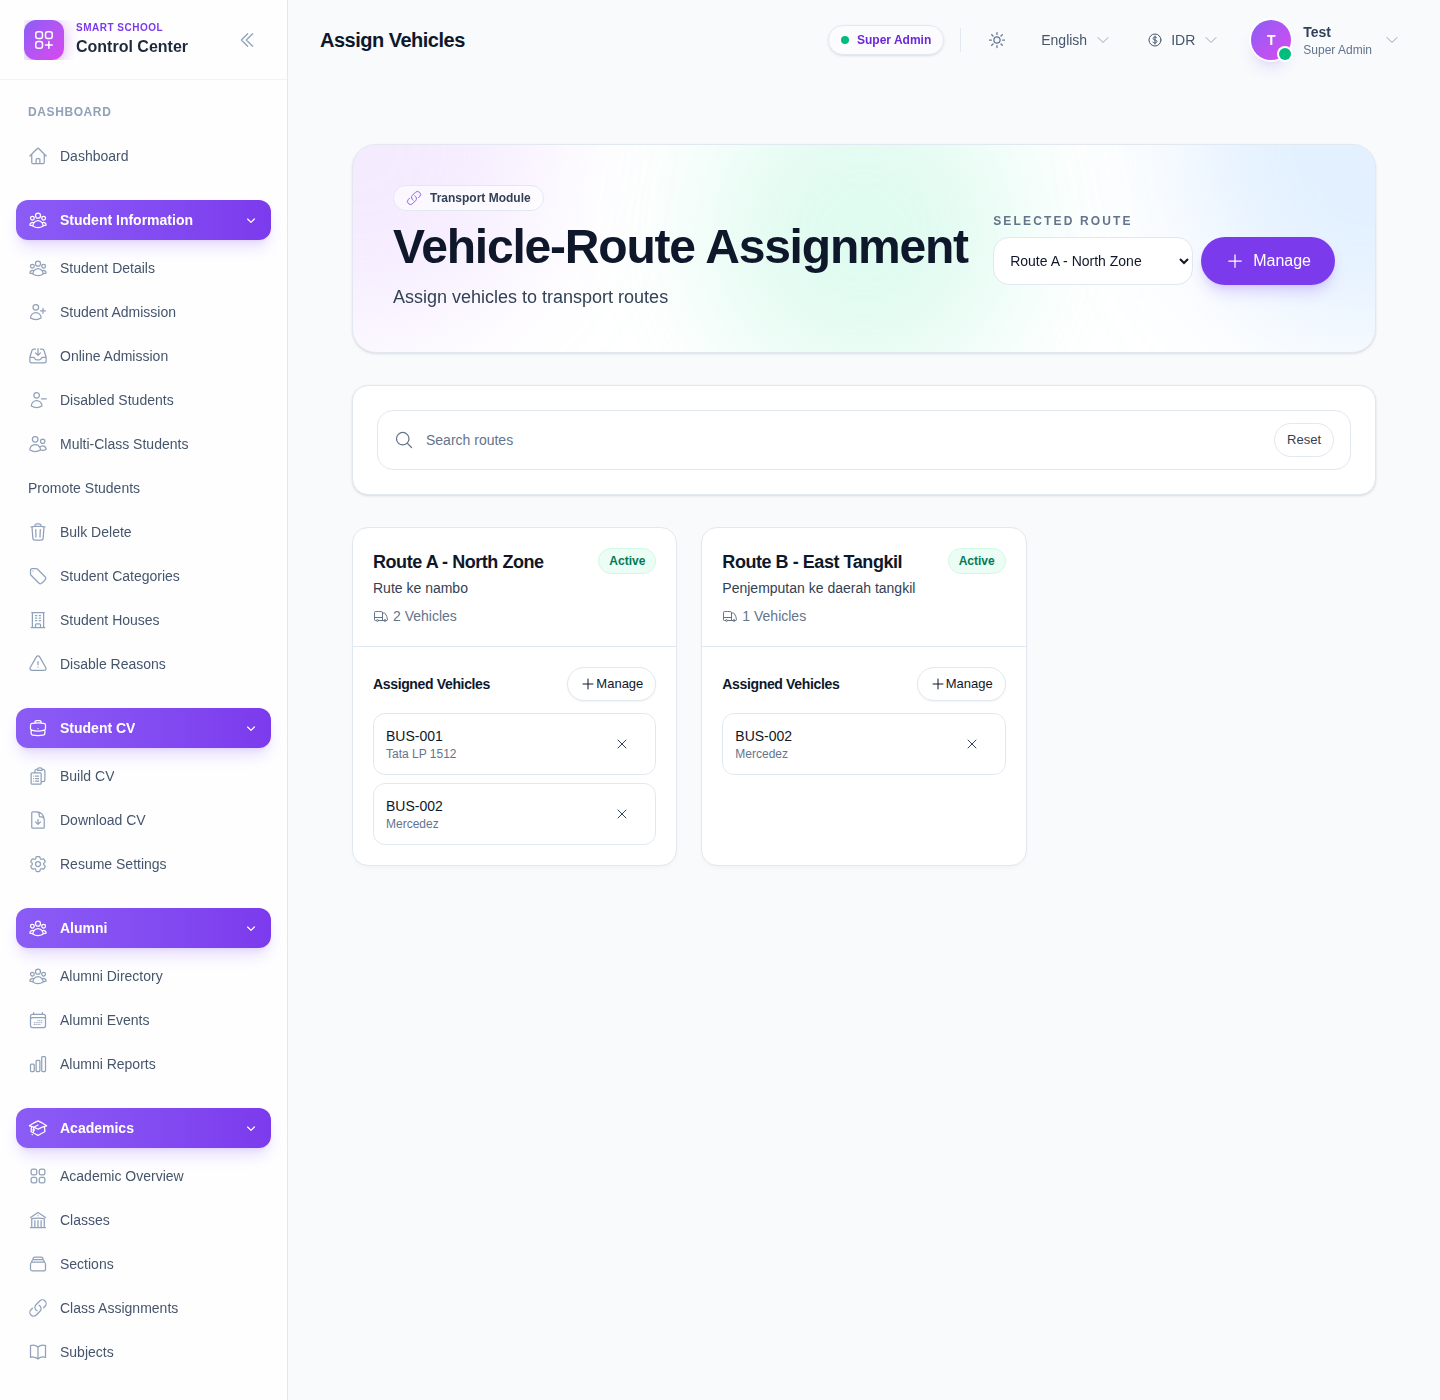
Step 2: Choose the route you want to manage
Use the Selected Route dropdown in the hero area to focus on one route.
You can also use the route search box lower on the page to narrow the visible route cards when the list grows.
Each route card shows:
- route title
- route note
- active status
- assigned-vehicle count
- current assigned vehicles
Step 3: Open the assignment modal
Click Manage from the hero area or from the route card.
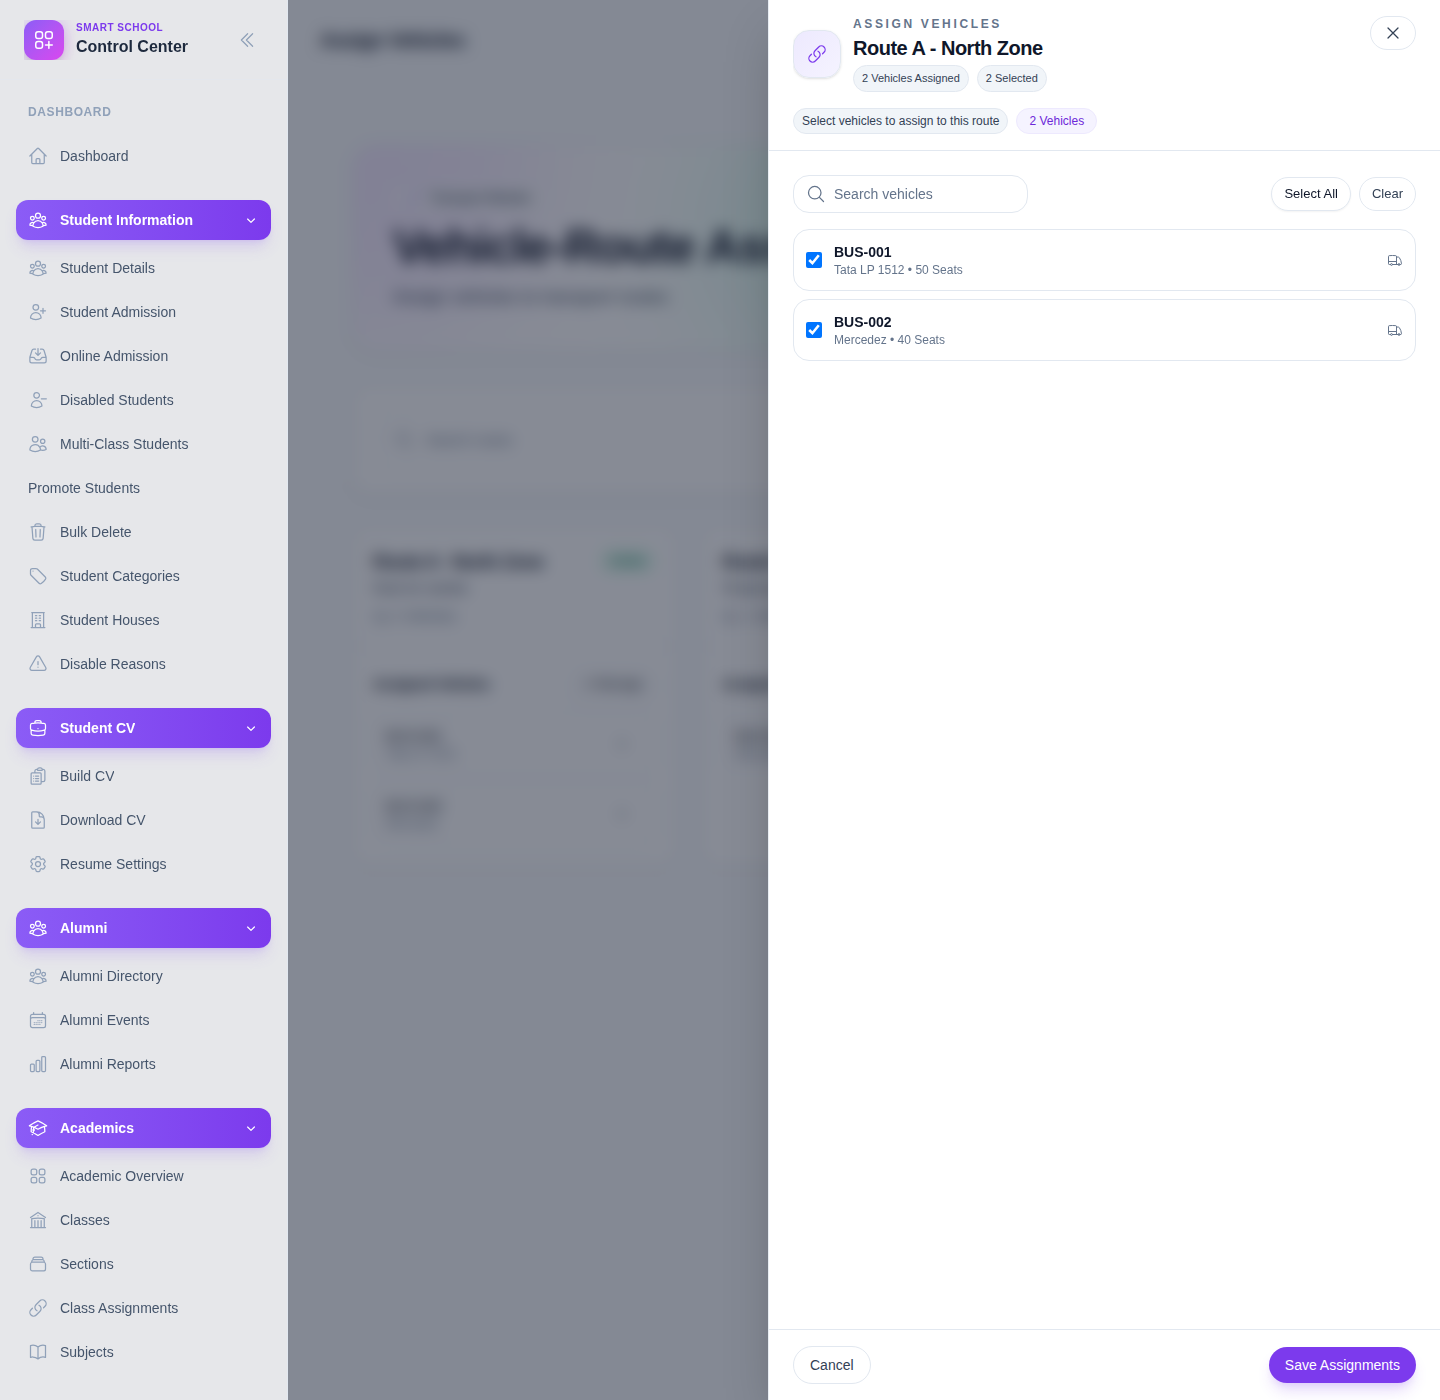
Step 4: Select the vehicles for the route
Inside the modal, use the available controls:
- vehicle search
- Select All
- Clear
- checkbox toggles for each vehicle
The modal also shows how many vehicles are already assigned and how many are currently selected.
Step 5: Remove or replace vehicles when needed
You can maintain route allocations in two ways:
- uncheck vehicles in the modal before saving
- use the remove action from a route card when a vehicle should be detached quickly
Always recheck the route after removal so the remaining vehicle list still makes operational sense.
Step 6: Save and confirm the new route lineup
Click Save Assignments and return to the main route cards.
Confirm the route now shows the intended vehicle set and count.
Verify the result
- the correct route is selected
- only the intended vehicles remain checked
- the route card reflects the updated assigned-vehicle count
- removed vehicles no longer appear under the route card
Troubleshooting
| Issue | Likely cause | What to do |
|---|---|---|
| A vehicle is hard to find in the modal | The vehicle search term is too narrow | Clear the search field and review the full vehicle list |
| Route cards look outdated after save | The data has not refreshed yet | Wait for the workspace to reload, then recheck the route card |
| Too many vehicles stay selected | Old route assignments were loaded into the modal | Use Clear first, then select only the vehicles you want |
| Removing a vehicle feels risky | The route may need that vehicle for capacity coverage | Recheck route capacity, then update the assignment deliberately |