This guide explains how to review historical fee receipts from the Search Fees Payment route.
Short summary
Use Search Fees Payment when you need to find payment records, narrow the receipt ledger by date or payment mode, and export the filtered result set for operational follow-up.
Before you start
- Decide the date range you want to investigate.
- Confirm the class and section context if the search should stay narrow.
- Decide whether the search is for reconciliation, audit, or receipt export.
Navigation path
Fees Collection -> Search Fee Payment
Step 1: Open the payments search route
In the sidebar, open Fees Collection and choose Search Fee Payment.
The route opens the multi-tab Search Fees page on the Search Fees Payment tab.
Step 2: Stay on the payments tab
The page supports multiple tabs:
- Daily Collection
- Search Fees Payment
- Search Due Fees
For receipt-history work, keep the Search Fees Payment tab active.
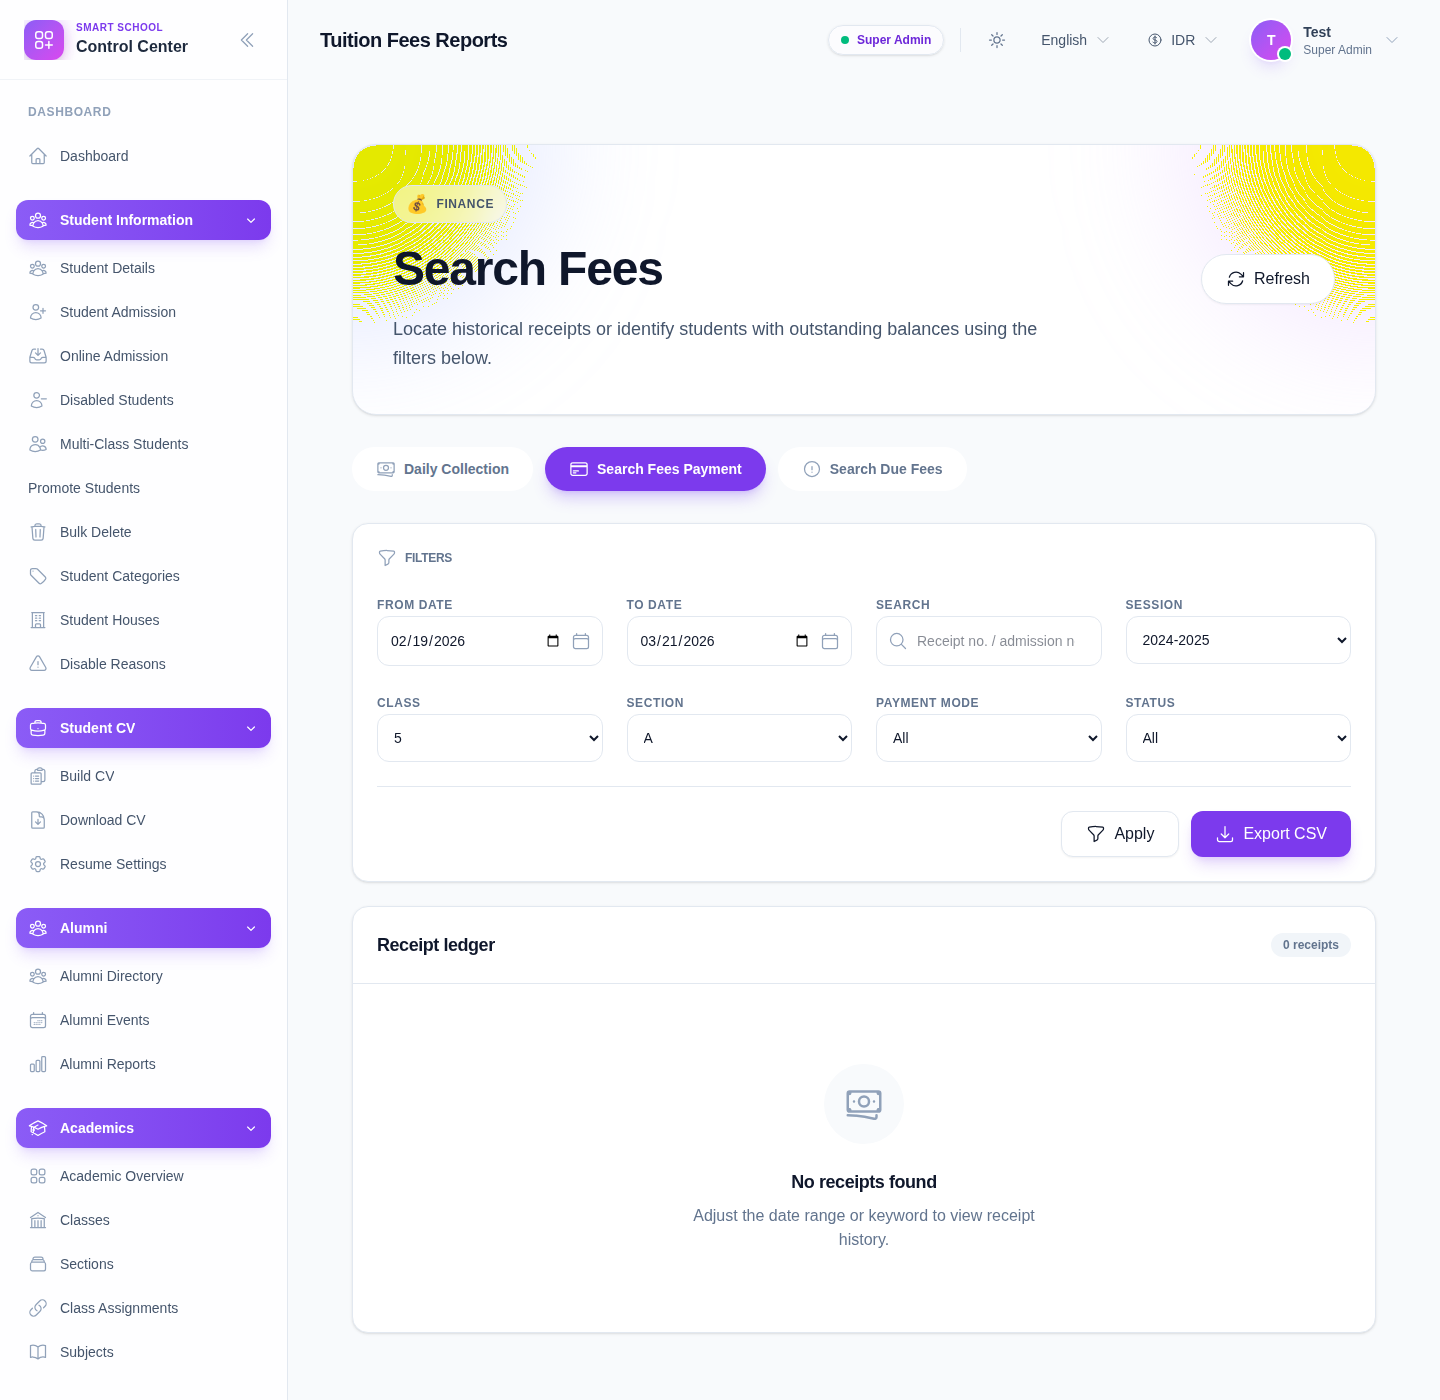
Step 3: Apply receipt filters
Use the filter panel to narrow the receipt ledger:
- From date
- To date
- Search
- Session
- Class
- Section
- Payment Mode
- Status
Then click Apply.
Use this filter pass before exporting so the CSV only contains the records you actually need.
Step 4: Read the receipt ledger
After applying filters, review the receipt ledger.
Use it to confirm:
- whether payments exist in the selected period
- whether they match the expected class or section
- whether the payment mode and status align with the case being investigated
If the ledger is empty, check the date range first before assuming data is missing from the system.
Step 5: Export the filtered result when needed
Use Export CSV when:
- finance staff need a spreadsheet extract
- reconciliation must continue outside the UI
- you need to hand filtered results to another team
Apply the filters first, then export.
Important notes
Route note: this workflow uses the shared Search Fees page. The difference between searching payments and searching dues is the active tab, not a completely separate application screen.
Local dataset note: the current local environment can return an empty receipt ledger for the selected date window and filters. The page structure, filter set, and export controls were still verified directly.
Verification checklist
- the correct tab is active
- the date range is correct
- class and section filters match the intended cohort
- payment mode and status filters match the investigation
- exported data, if used, reflects the filtered view
Troubleshooting
| Issue | Likely cause | What to do |
|---|---|---|
| No receipts appear | Date range or filters are too narrow | Broaden the date window and reapply filters |
| The wrong receipts appear | Class, section, or payment-mode filters are too broad | Tighten the filters before reviewing or exporting |
| Export CSV is not useful | Filters were not applied first | Refilter the ledger, then export again |
| Staff confuse this with due-fee search | The shared Search Fees page has multiple tabs | Confirm the active tab before interpreting the results |