This guide explains how to use Upload Content inside Download Center to maintain the files and media that the school shares with staff or students.
Before you start
- Decide whether you are uploading a file or adding a YouTube link.
- Choose the content type before you start the upload.
- Check the file name and size before you attach it.
- Confirm who should be able to see or reuse the uploaded item.
Important: the upload workspace is both a library and an action hub. Review the selected file type carefully before you click upload, share, or delete.
Navigation path
Download Center -> Upload Content
Step 1: Open the Upload Content page
Go to Download Center and open Upload Content.
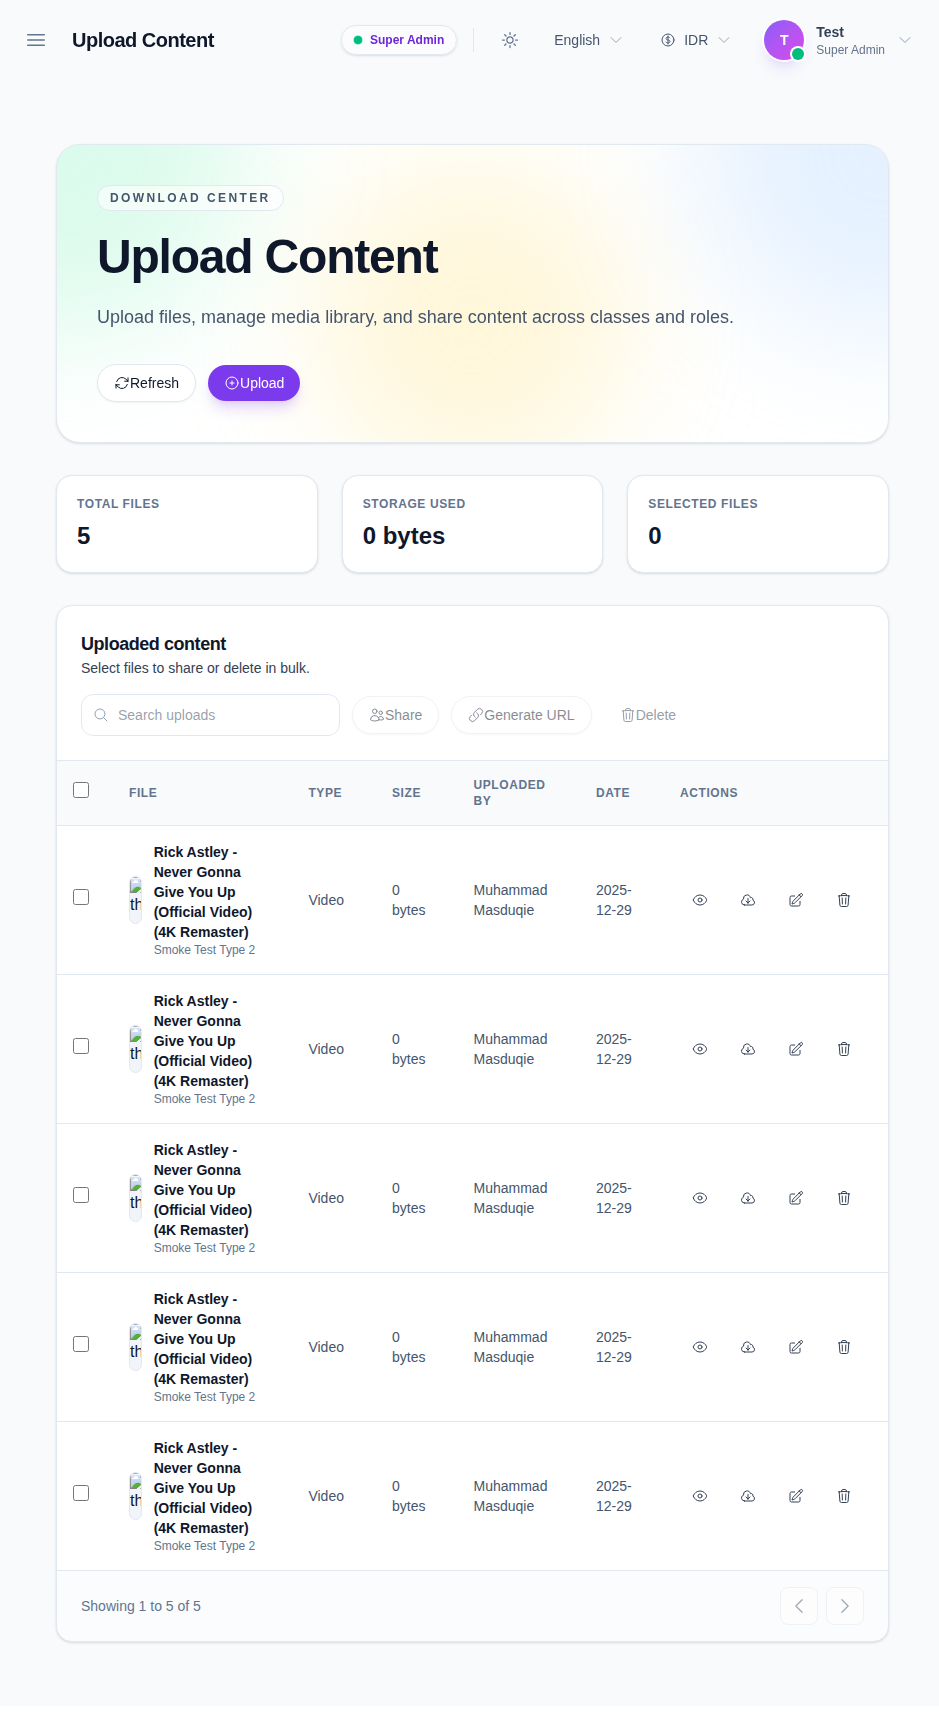
The page shows:
- Upload
- totals for files, storage used, and selected files
- a searchable upload table
- bulk actions like Share, Generate URL, and Delete
Step 2: Review the upload summary
Check the summary cards before you upload or delete anything.
They tell you:
- how many files are currently stored
- how much space is being used
- how many rows are selected for bulk action
This is useful when the workspace contains many media files or shared documents.
Step 3: Upload a file or add a YouTube link
Click Upload to open the upload form.
Choose the content type first, then pick the upload mode:
- file upload
- URL upload for video content
When you use file upload, attach one or more files. When you use URL upload, paste the YouTube link in the URL field.
The content type is required before the upload can be submitted.
Step 4: Review the uploaded content list
After the upload completes, the file appears in the content table.
Each row shows:
- file name
- file type
- file size
- uploader
- date
- row actions
The current workspace also supports row-level actions for previewing, linking, editing, sharing, and deleting.
Step 5: Share or generate a link
Use the bulk Share action or the row actions to publish content to the intended audience.
Use Generate URL when you need a direct link for another workflow or for manual distribution.
If a row is no longer needed, use Delete after confirming that the file is safe to remove.
Step 6: Manage selections and pagination
The table supports selecting multiple rows.
Use the selection box and the selected-files counter when you want to perform a bulk action on several uploads at once.
Use the pagination arrows at the bottom of the table to move through larger upload inventories.
Verify the result
Use this checklist after uploading content:
- the correct content type was selected
- the uploaded file or URL appears in the table
- the file size and uploader look correct
- share and URL actions work for the intended row
- the selected-files counter is reset after bulk actions are done
Expected result: the uploaded content is visible in the table and can be shared, linked, edited, or deleted from the same workspace.
Troubleshooting
| Issue | Likely cause | What to do |
|---|---|---|
| Upload is blocked | No content type was selected | Choose a valid type first |
| The file does not appear in the table | The upload did not complete or the list needs refresh | Refresh the page and check again |
| Generate URL is unavailable | The row is not in a usable state | Confirm the upload completed successfully |
| Bulk actions do nothing | No rows are selected | Check one or more rows first |
| The wrong item is deleted | The selected row was not reviewed carefully | Recheck the file name and uploader before deleting |