This guide explains how to use the Group tab inside Fees Setup to define the fee-group structure used by later fee setup and assignment workflows.
Short summary
Use Fee Groups to organize fees at a higher level before creating fee types, session mappings, and fee masters. In the current UI, the group workspace combines the create form, search tools, and maintenance table on one page.
Before you start
- Decide whether the group belongs to a regular, optional, transport, hostel, or custom billing stream.
- Keep the group name short enough to stay readable in later finance tables and selectors.
- Avoid duplicate group names when the same school year already has similar finance fixtures.
Navigation path
Fees Setup -> Group
Step 1: Open the Group tab
In the sidebar, open Fees Setup and choose Group.
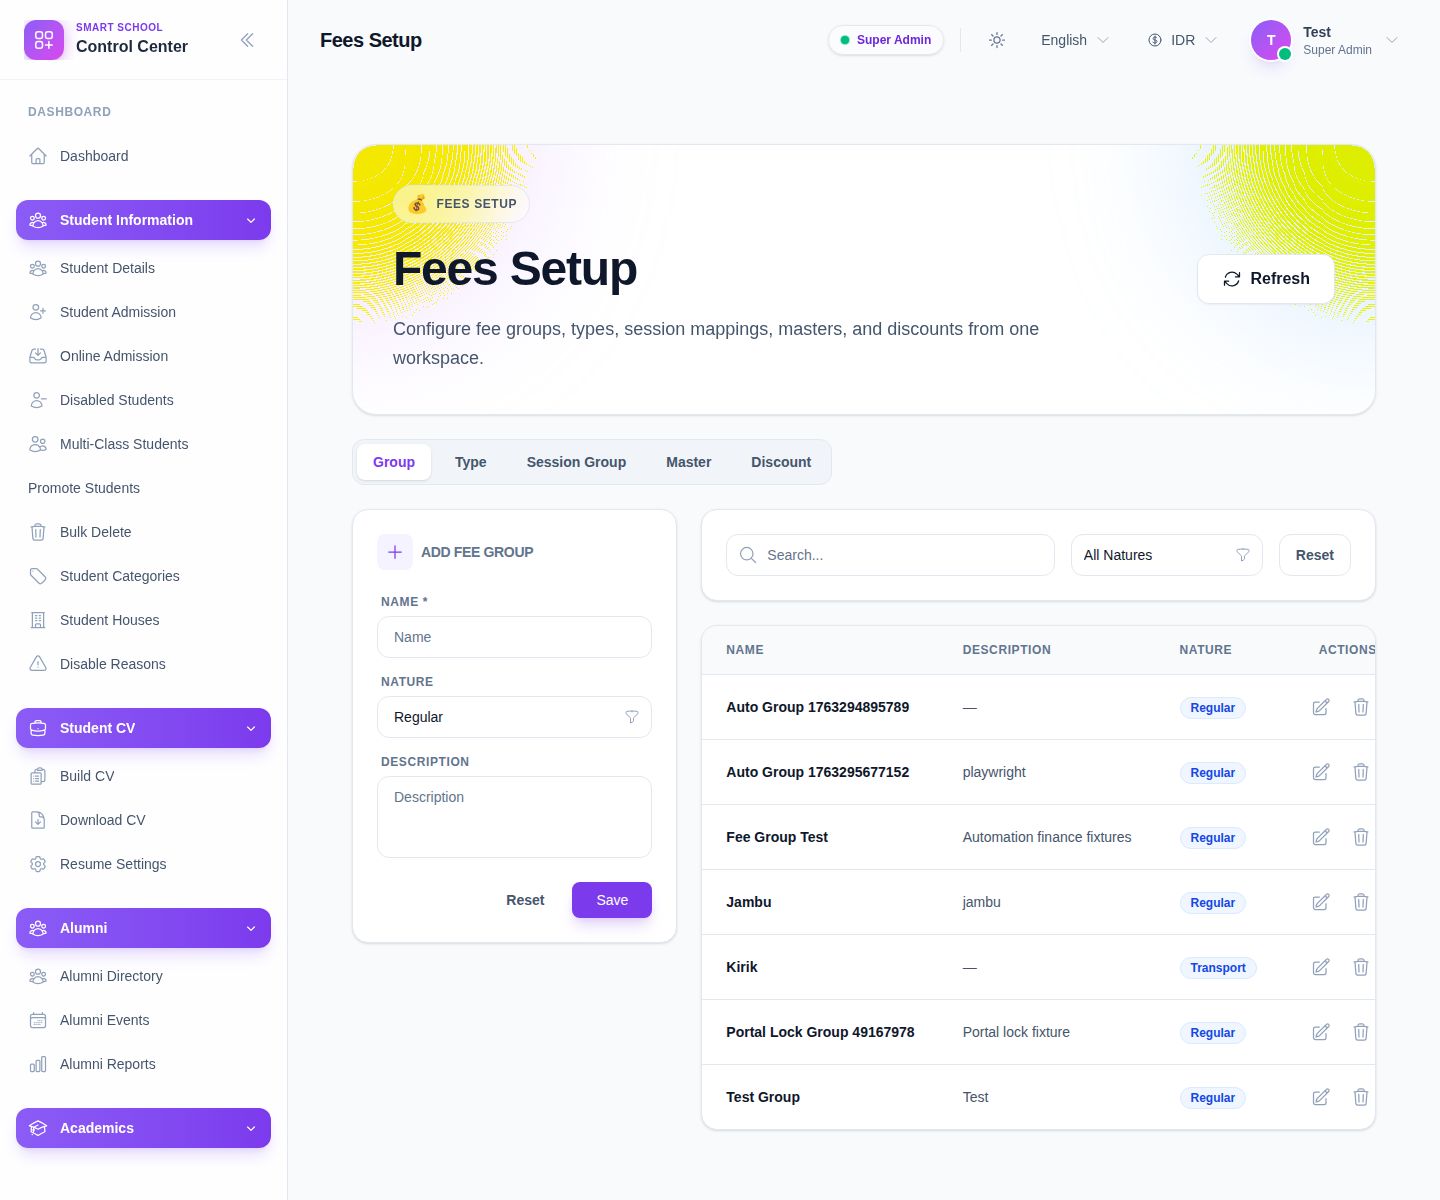
The visible controls include:
- Refresh
- tab buttons for Group, Type, Session Group, Master, and Discount
- the Add Fee Group form
- a search box and Nature filter
- an actions column with Edit and Delete
Step 2: Create the group record
Use the form panel on the left:
- enter Name
- choose Nature
- add an optional Description
- click Save
The current UI exposes these nature options:
- Regular
- Optional
- Transport
- Hostel
- Custom
Choose the nature carefully because it becomes part of how finance teams scan the list later.
Step 3: Review the saved group in the table
After saving, the record should appear in the table on the right.
The table currently shows:
- Name
- Description
- Nature
- Actions
Use this table as the main confirmation point before moving on to fee types or session groups.
Step 4: Filter the list when the table gets noisy
The workspace provides two quick controls above the table:
- Search
- Nature
Use them when the local environment contains many QA or legacy setup rows. This is common in the current local dataset, so filtering is useful even when you only want to check whether a new record saved correctly.
Step 5: Maintain existing groups
Use Edit when:
- the group name is inconsistent
- the description needs clarification
- the nature was chosen incorrectly
Use Delete only when the group is no longer needed and has not been adopted into active downstream finance mappings.
Operational note: fee groups are foundational records. Clean them up early, before the same group is reused across session groups, fee masters, and student assignment workflows.
Verify the result
- the new group appears in the table
- the group shows the intended Nature
- search returns the group by name
- the record is ready to be reused from the later fee setup tabs
Troubleshooting
| Issue | Likely cause | What to do |
|---|---|---|
| Save does not produce a visible row | Required fields were not completed or the list is filtered | Recheck the form, then reset the table filters |
| Group is hard to distinguish from another one | Naming is too broad or duplicated | Rename it before building later fee mappings |
| Wrong nature was chosen | The record was saved too quickly | Use Edit and correct the nature before continuing |
| Table looks overcrowded | Local QA rows are mixed into the list | Use the search field and the nature dropdown together |