This guide explains how to use the Issue Item tab in Inventory to assign stock to staff and track returns.
Short summary
Use Issue Item when school inventory leaves the store and is handed to a staff member. The current tab combines issue-history filters, an issue form, a table of issued rows, and a return-item modal for items that come back.
Before you start
- Confirm the item already exists and has available stock.
- Decide who the item is being issued to.
- Prepare the issue date, expected return date, and notes if your process uses them.
Navigation path
Inventory -> Issue Item
Step 1: Open the Issue Item tab
In the sidebar, open Inventory and choose Issue Item.
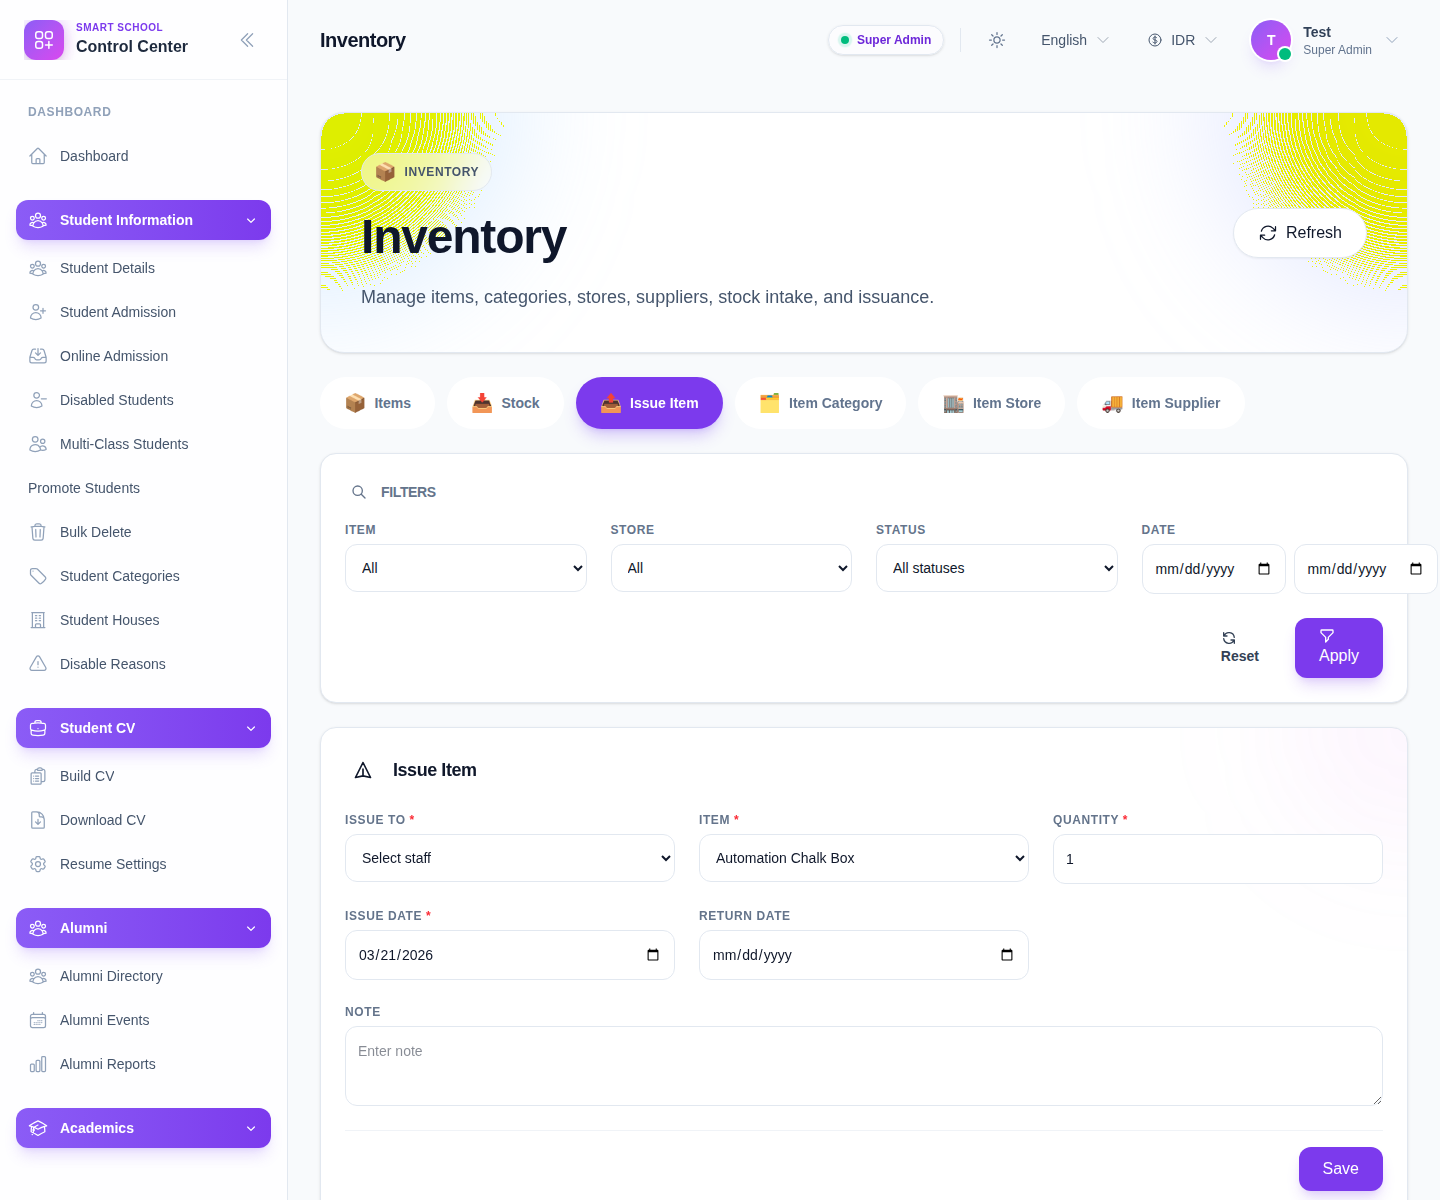
The current issue-history filters include:
- Item
- Store
- Status
- Date
Step 2: Issue the item to a staff member
The current issue form includes:
- Issue To
- Item
- Quantity
- Issue Date
- Return Date
- Note
Complete the form and click Save when the issue details are correct.
The current local UI issues to staff records, so make sure the selected staff member is the correct recipient before saving.
Step 3: Review the issued-items table
After saving, inspect the issue table. The current columns are:
- Item
- Issued To
- Issued By
- Quantity
- Status
- Issue Date
- Return Date
- Actions
Use the Status badge to distinguish active issued rows from returned rows.
Step 4: Filter the issue history
When the table contains many rows:
- use the Item filter
- narrow by Store
- set Status to issued or returned
- use the date window controls
- click Apply
Use Reset to clear the current filter path.
Step 5: Process a return when the item comes back
For rows that are not yet returned, the current UI exposes a return action.
That action opens a modal with:
- Return Date
- Note
Use Confirm to complete the return. After that, the row status should change from issued to returned.
Step 6: Inspect details and pagination
The current table also supports:
- View Details
- Previous
- Next
Use the detail view when staff need to review the issue context before deciding whether to mark a return.
Verify the result
- the issue row shows the correct item, recipient, and quantity
- the issue date and return date are accurate
- the status changes correctly when a return is processed
- filtered issue history reflects the intended rows
Troubleshooting
| Issue | Likely cause | What to do |
|---|---|---|
| Save does not create the issue row | Item, recipient, or quantity is missing | Recheck the form before saving |
| Staff receives the wrong item | The wrong item or recipient was selected | Correct the issue immediately and review stock impact |
| A return is not reflected | The return action was not confirmed | Reopen the row and complete the return modal |
| The table is hard to review | Too many issued and returned rows are mixed together | Filter by status, item, and date |