This guide shows how to use the Complaint workspace inside Front Office.
Short summary
Complaint records keep issues visible for follow-up and resolution. The workspace separates complaint filters from the complaint drawer so staff can log the issue, assign it, and track the action taken.
Before you start
- Decide which complaint type applies.
- Prepare the complainant contact details before opening the drawer.
- Decide who should be assigned to the complaint for follow-up.
Navigation path
Front Office -> Complaint
Step 1: Open the Complaint workspace
Go to Front Office and select Complaint.
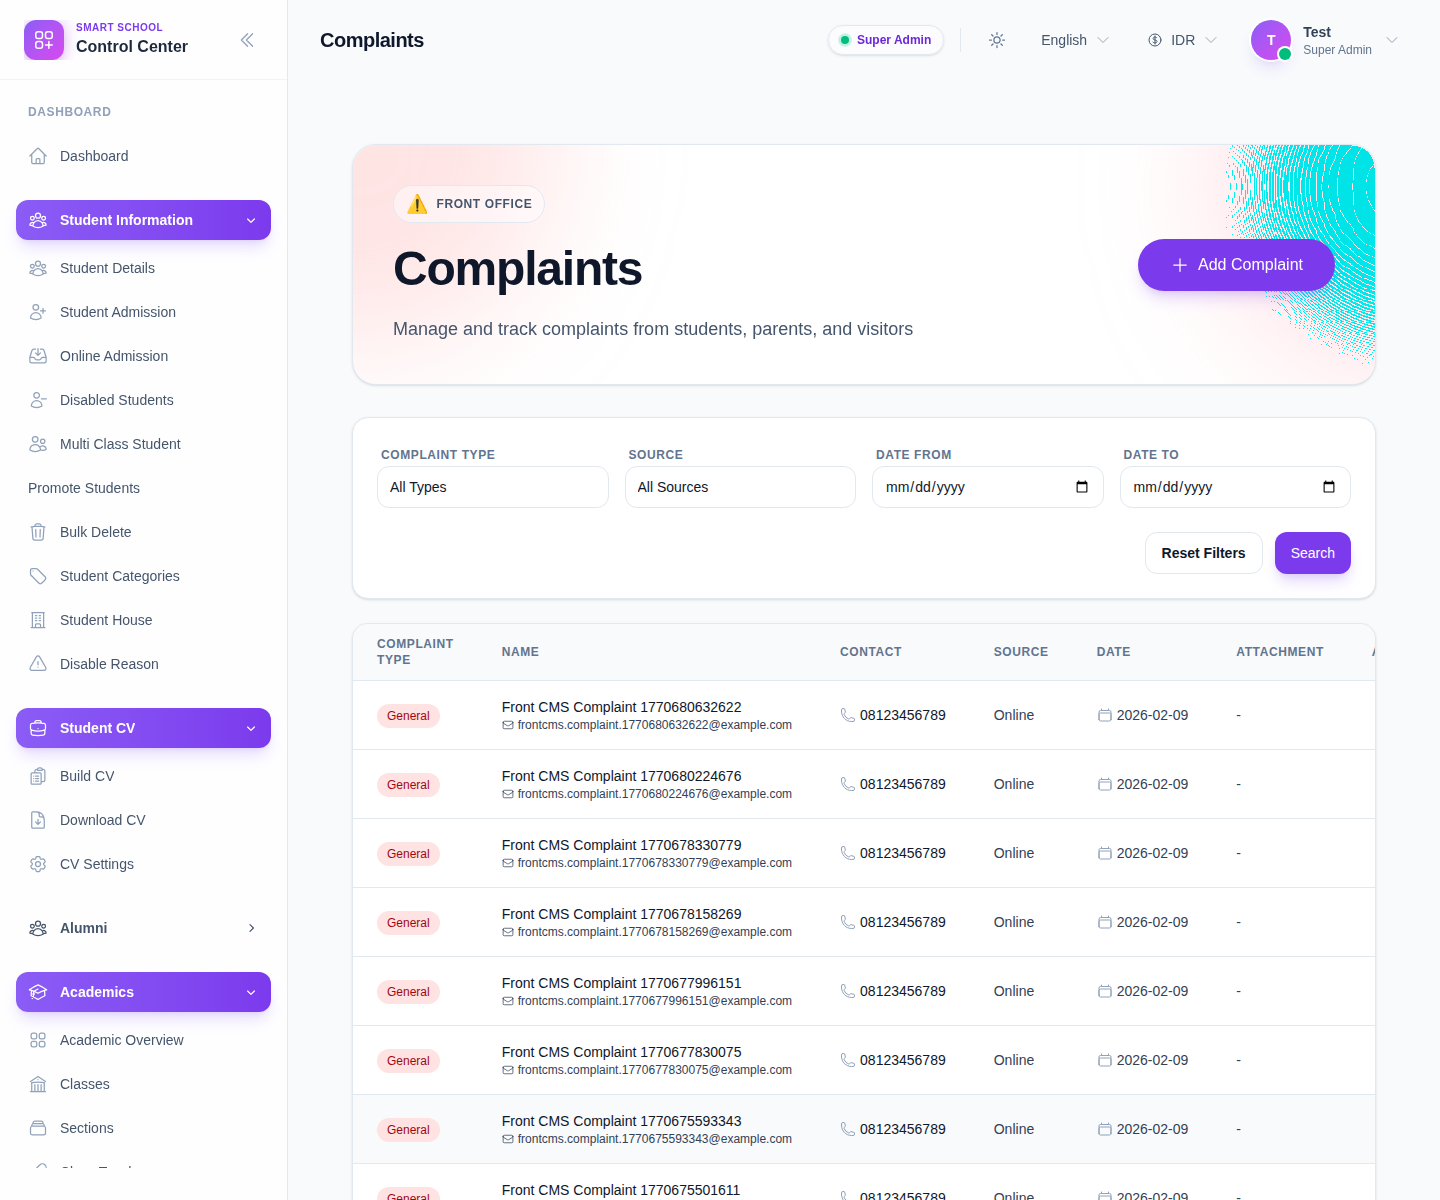
Use this page to:
- review current and historical complaints
- filter by complaint type, source, and date range
- open a row for edit, review, or delete
Step 2: Create or update a complaint
Click Add Complaint to open the drawer.
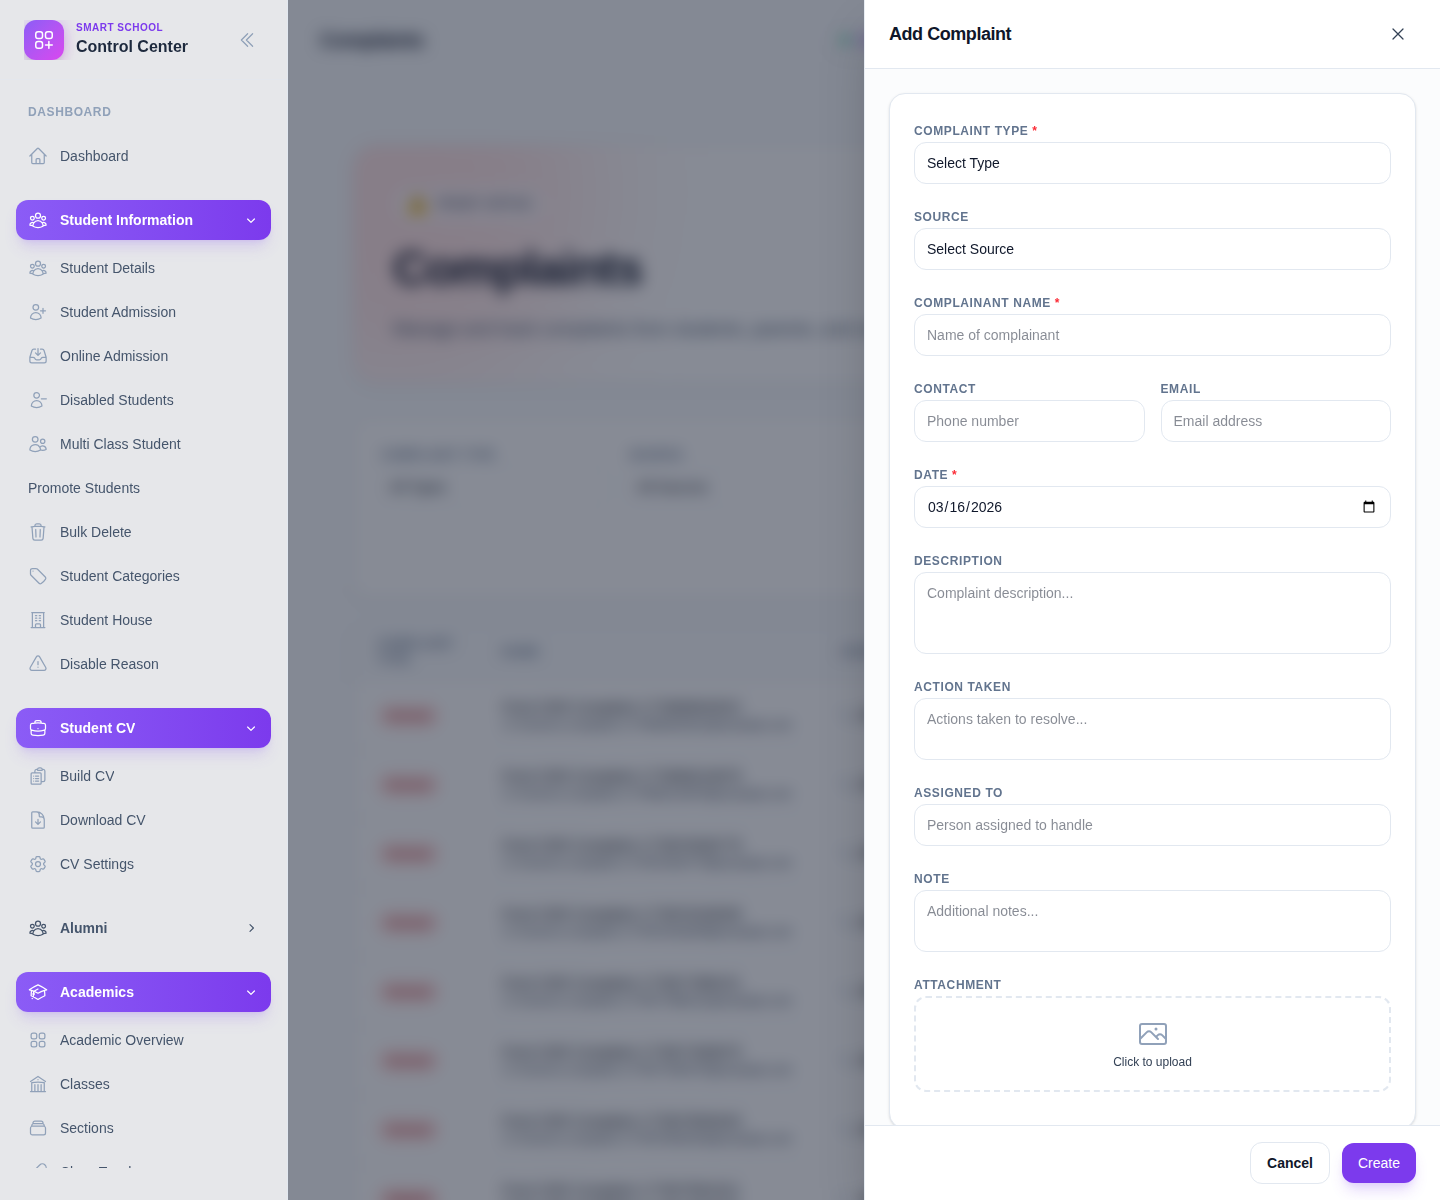
Complete the main fields:
- Complaint Type
- Source
- Complainant Name
- Contact
- Date
- Description
- Action Taken
- Assigned To
- Note
- Attachment
Use Create to save the complaint.
Step 3: Review the saved complaint
After saving:
- Return to the list view.
- Filter by type or source if needed.
- Confirm the issue summary and action taken are correct.
- Edit or remove the row if the complaint was logged incorrectly.
Important notes
Important: Complaint records should reflect the actual issue and the actual next action. Do not leave the action taken field blank if the complaint has already been handled.
Verification checklist
- The complaint uses the correct type and source.
- The complainant contact details are stored correctly.
- The saved row appears in the Complaint table.
Expected result: complaint records are stored in Front Office and ready for follow-up.
Troubleshooting
| Issue | Likely cause | What to do |
|---|---|---|
| Save fails | A required field is empty | Fill the missing complainant or date field |
| Complaint type options are missing | Complaint lookup data is incomplete | Add the missing type from Front Office setup |
| No rows appear after save | Filters are too narrow | Reset the filters and search again |
| The attachment is missing | No file was uploaded | Reopen the drawer and attach the required file |