This guide explains how to use Expense Head to manage the category list used by the expense-entry workflow.
Short summary
Use Expense Head when finance administrators need to create or maintain the category structure behind the Add Expense form. The current tab combines an inline head form with a table of existing expense-head rows.
Before you start
- Decide the full head name first.
- Choose a short Code that finance staff can understand later.
- Use a description when the meaning of the head may not be obvious to other operators.
Navigation path
Expense -> Expense Head
Step 1: Open Expense Head
In the sidebar, open Expense and choose Expense Head.
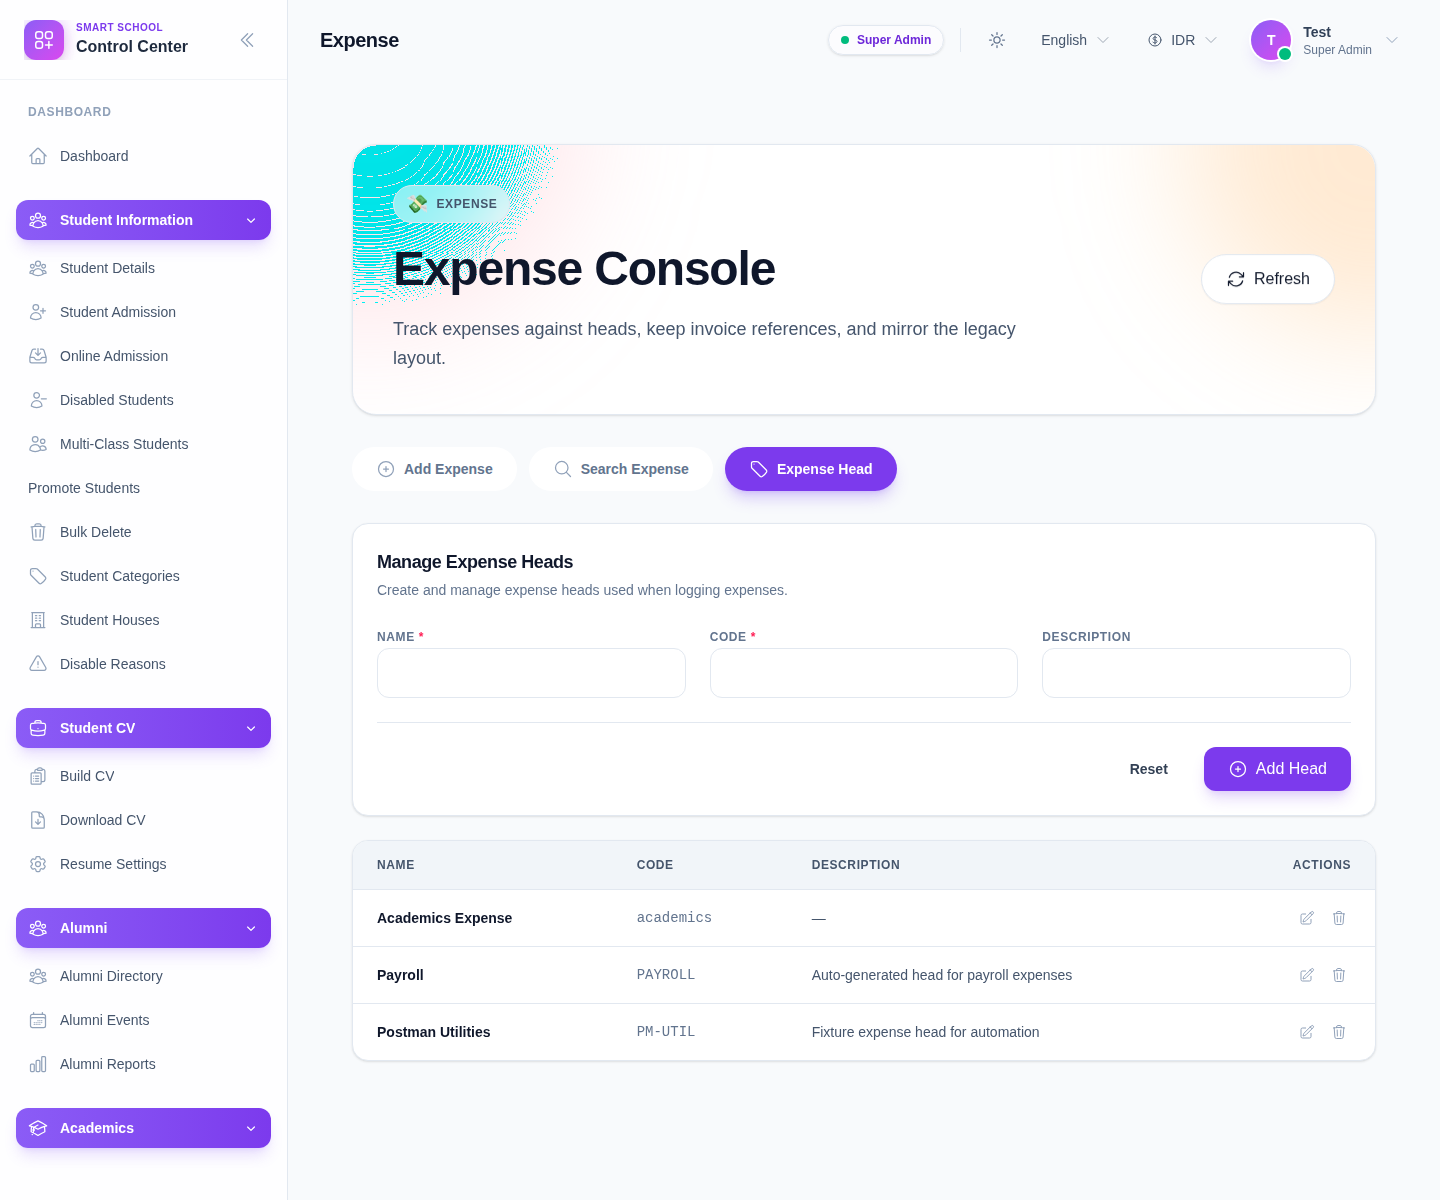
The current form includes:
- Name
- Code
- Description
Step 2: Create the head
Complete the form:
- enter Name
- enter Code
- add Description if needed
- click Add Head
Use Reset when the current input should be cleared.
Step 3: Review the heads table
The table below the form currently shows:
- Name
- Code
- Description
- Actions
This is the fastest way to confirm whether the new head is ready for use in expense entry.
Step 4: Maintain and refine existing heads
The current table exposes per-row actions to maintain the category list.
Use them when:
- the head name should be corrected
- the code is inconsistent
- the description should be clarified
Expense heads should stay tidy because they shape how outgoing spending is filtered and understood across the finance console.
Step 5: Confirm downstream usage
After a head is created or updated:
- return to Add Expense
- verify the head appears in the selector
- use Search Expense later to confirm related rows can be filtered correctly
Verify the result
- the head appears in the expense-head table
- the name and code are distinct and understandable
- the head is available in the add-expense selector
- later search workflows can use the category cleanly
Troubleshooting
| Issue | Likely cause | What to do |
|---|---|---|
| The head does not appear in Add Expense | It was not saved yet or the list needs refresh | Recheck the form and reload the expense console |
| Categories overlap too much | Names are too similar | Rename the heads before staff use them broadly |
| The code is not meaningful later | The short code is too vague | Edit the head and clarify it |
| Staff choose the wrong head repeatedly | Head naming is unclear | Improve the labels and descriptions |