This guide explains the Front CMS → Menus workspace and the nested Menu Items page. Menus define the public website navigation, while menu items define each clickable entry and its hierarchy.
Before you start
- Decide which menu is the main navigation and which menu is secondary.
- Prepare the page links or external URLs you want to expose.
- Decide which items need child entries before you open the menu editor.
Navigation path
Front CMS -> Menus
Step 1: Open the menus workspace
Open Front CMS in the sidebar and choose Menus.
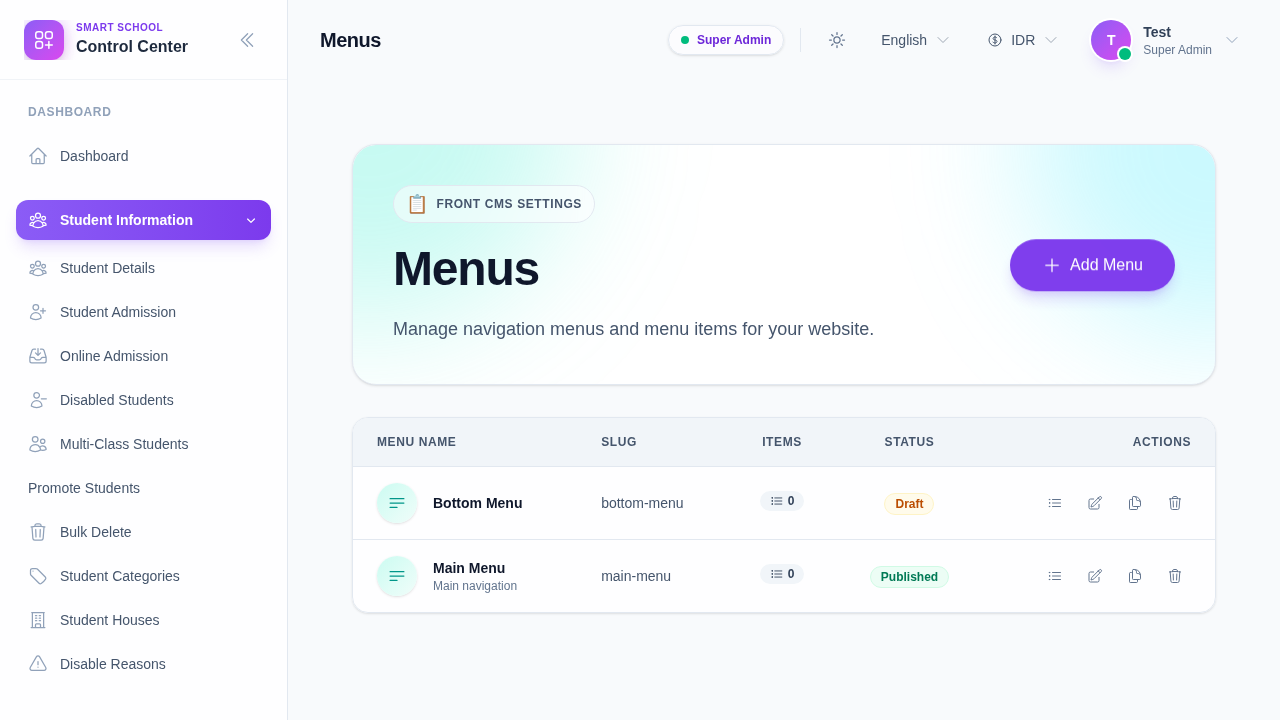
Step 2: Review the menu list
The menu table shows:
- menu name
- slug
- item count
- publish status
- row actions
Use Manage Items when you want to change the actual navigation links in that menu.
Step 3: Open the menu items editor
Click Manage Items on the menu you want to edit.
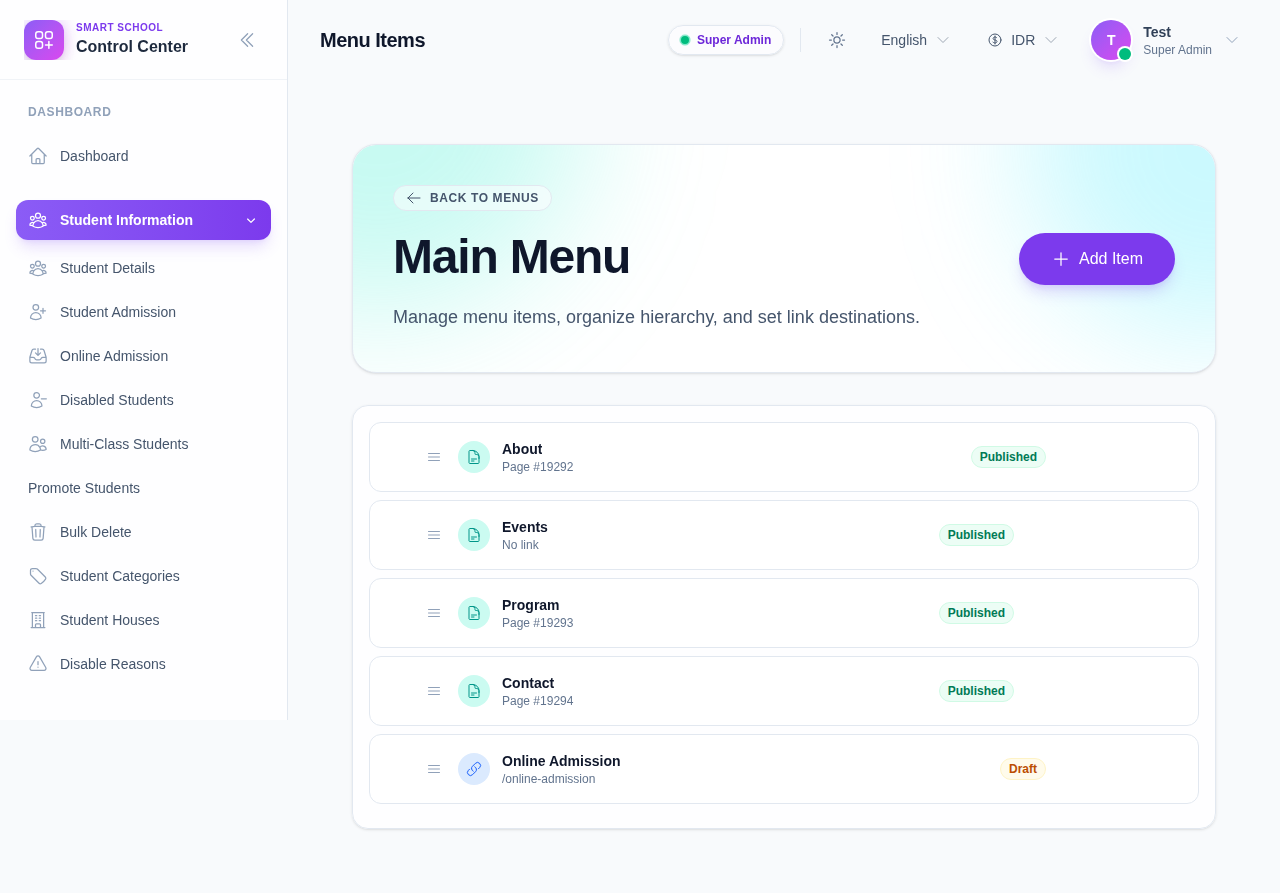
Step 4: Add a menu item
Click Add Item to create a new link.
In the item drawer, choose whether the link should point to:
- an internal FrontCMS page
- an external URL
Then fill in the label, weight, and publish options.
Step 5: Build hierarchy and ordering
Use the row controls to structure the navigation:
- Add Child Item creates a nested link under the current item
- Move Up and Move Down reorder siblings
- Edit updates the current item
- Delete removes the item
- Published toggles visibility
Step 6: Publish the menu
Back on the menus workspace, use the publish badge to toggle the menu state.
The menu should only be published when the item structure is complete and ready for the public site.
Verify the result
- The menu list shows the correct item count.
- The menu items page shows the expected hierarchy.
- The public FrontCMS navigation matches the chosen structure.
Expected result: the public FrontCMS site shows the correct menu, item order, and child-link hierarchy.
Troubleshooting
| Issue | Likely cause | What to do |
|---|---|---|
| Menu item links go to the wrong page | The page destination was selected incorrectly | Reopen the item drawer and choose the correct page or URL |
| Child item appears in the wrong place | The item weight or parent was set incorrectly | Move the item to the right parent and adjust the order |
| Public menu does not change | The menu was not published after editing | Return to the menu list and confirm the publish badge is active |