This guide explains how to manage department records from the Departments page in Migdafa Smart School.
Before you start
- Decide the exact department name before saving it.
- Prepare a short description when the department needs operational context.
- Check the current list first so you do not create a duplicate under a slightly different name.
- Treat status carefully because inactive departments may still appear in historical records even when they should no longer be assigned.
Important: department names are reused by staff directory filters, attendance reporting, and payroll-related views. Keep names stable and avoid creating near-duplicate records for the same team.
Navigation path
Human Resource -> Departments
Step 1: Open the Departments workspace
Go to Human Resource in the sidebar and choose Departments.
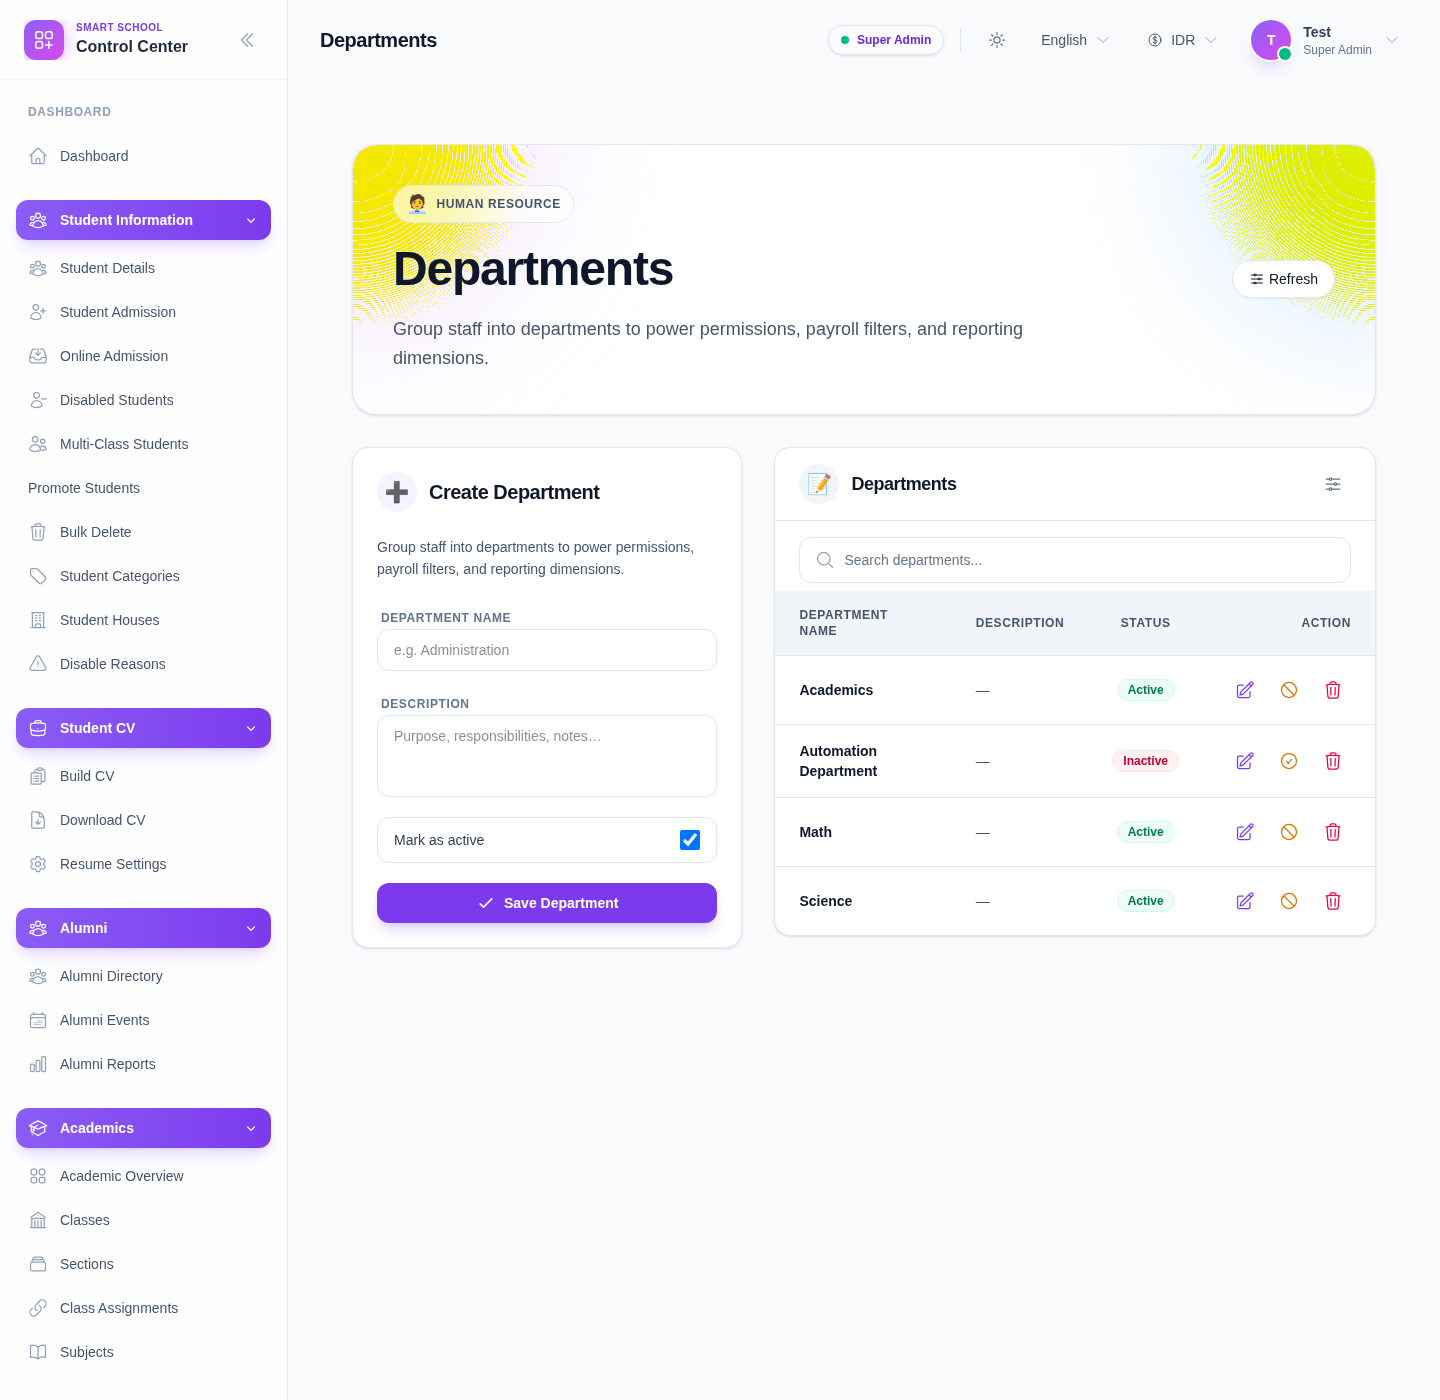
The current page includes:
- a Create Department form
- fields for Department name and Description
- a Mark as active toggle
- Save Department
- a searchable list with Edit, Activate or Deactivate, and Delete
Step 2: Review the current department list first
Use the list pane before creating anything new.
What to check:
- whether the department already exists
- whether it is currently active or inactive
- whether an older test or duplicate record should be edited instead of replaced
Use the Search departments… field when the list grows.
Step 3: Create a new department
Use the form on the left side of the page.
The current form includes:
- Department name
- Description
- Mark as active
Then click Save Department.
Use Mark as active when the department should immediately appear as a valid operational choice. Leave it inactive only when the record is being prepared ahead of rollout.
Step 4: Maintain department status
Each row currently supports status maintenance directly from the list.
What you can do:
- Edit an existing department
- Deactivate an active department
- Activate an inactive department
- Delete a department that should not remain in the system
Use status changes when the department should remain historically recognizable but stop being an active choice.
Step 5: Search and confirm the final state
After saving or updating a record:
- search for the department name again
- confirm the description is correct
- confirm the status badge matches the intended operational state
- confirm the department is ready to be used in related HR workflows
Verify the result
Use this checklist after department maintenance:
- the department name is correct and not duplicated
- the description is clear enough for operators
- the active or inactive state matches the intended use
- the list reflects the final record without ambiguity
Expected result: the department record is available in the HR workspace with the correct name, description, and active status for downstream staff operations.
Troubleshooting
| Issue | Likely cause | What to do |
|---|---|---|
| A department seems duplicated | The list was not checked before creating a new record | Search first, then edit the existing record instead of creating another one |
| The wrong department stays available | An outdated record is still active | Deactivate or delete the outdated row after confirming it is no longer needed |
| The list is hard to scan | Too many similarly named departments exist | Standardize names and use the search field before editing |
| A department should remain for history but not for new assignments | It was deleted instead of deactivated | Prefer status changes when historical visibility still matters |