This guide documents the Online Exam Builder page in the current local Smart School UI.
Short summary
Use Online Exam Builder to create the master online-exam record before assigning students, adding questions, or evaluating attempts.
Before you start
- Decide the exam title before saving.
- Prepare the open and close time for the exam.
- Decide whether the exam behaves like a quiz and whether marks or results should be shown.
- Confirm the session is available in the dropdown.
Navigation path
Online Exams -> Online Exam Builder
Step 1: Open the builder form
Go to Online Exam Builder from the online-exam menu group.
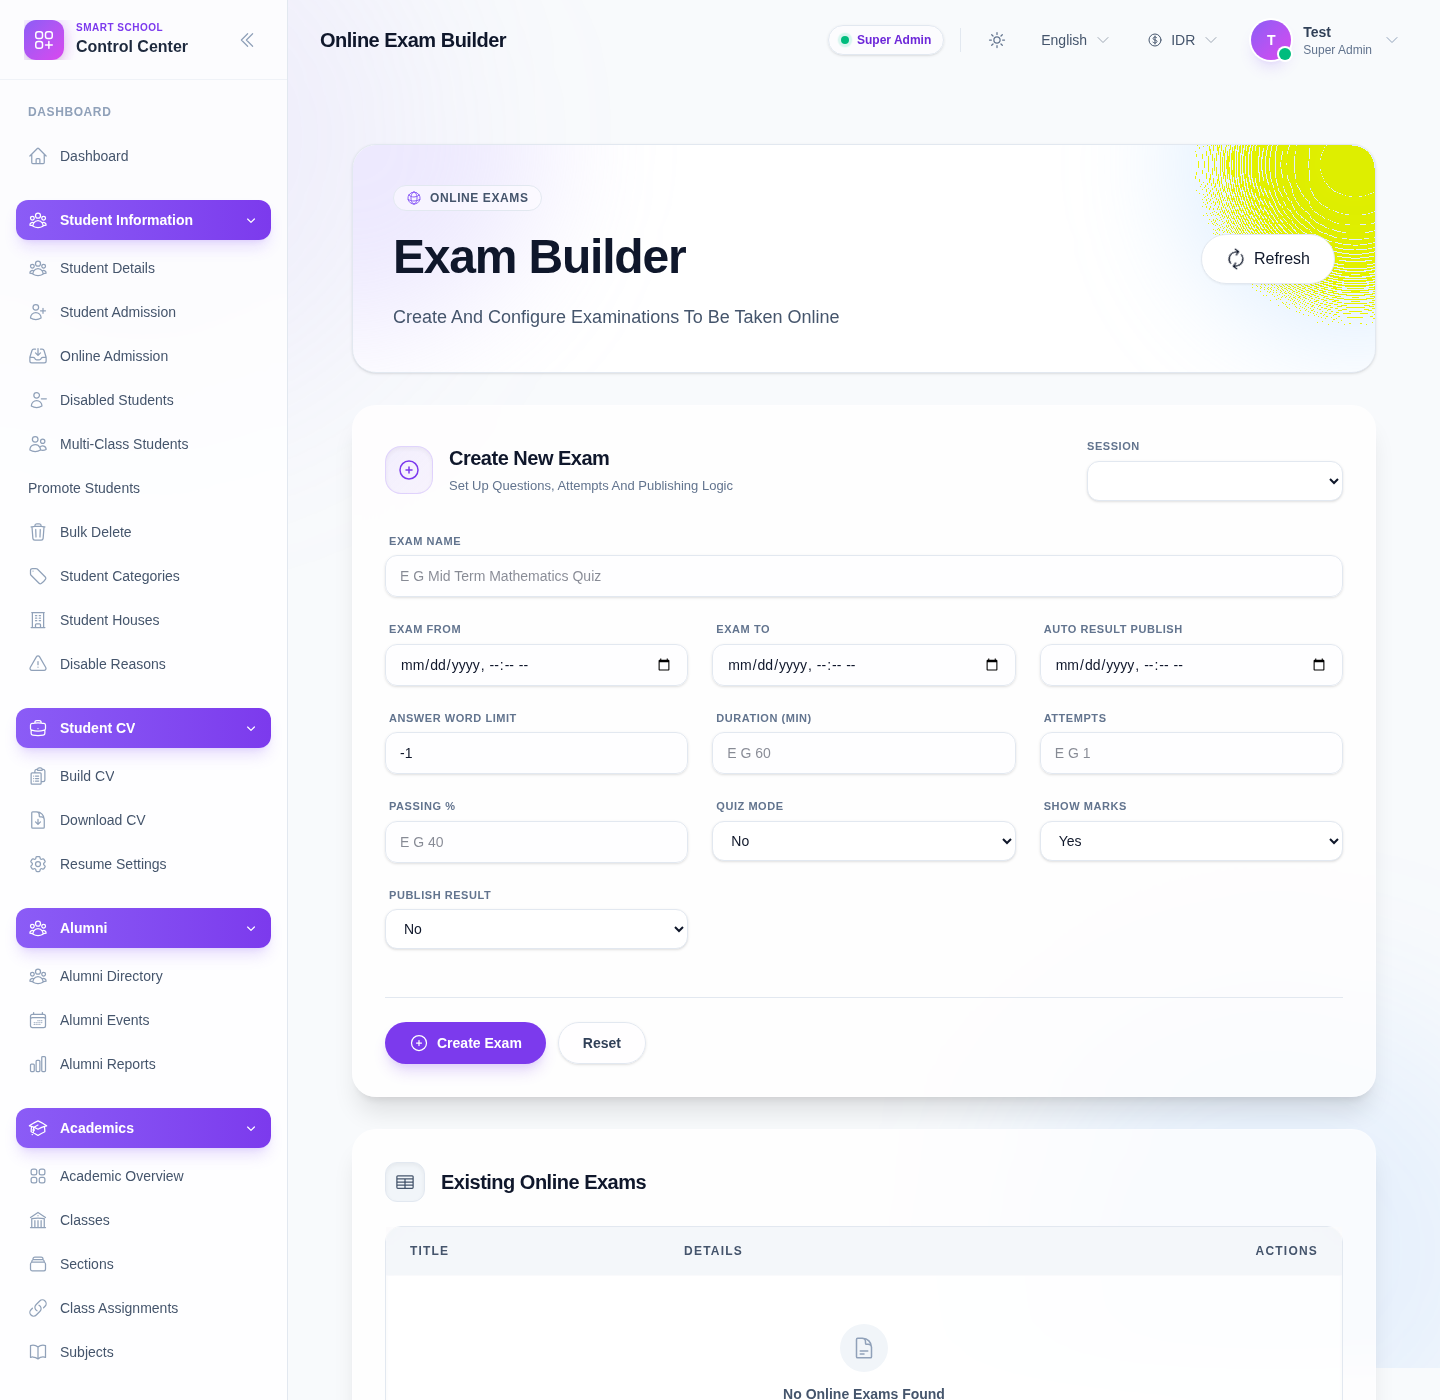
The top of the page currently includes:
- Session
- Exam Name
- Exam From
- Exam To
- Auto Result Publish
- Answer Word Limit
- Duration (min)
- Attempts
- Passing %
- Quiz Mode
- Show Marks
- Publish Result
Step 2: Fill the required schedule and identity fields
Start with the core exam identity:
- select Session
- enter Exam Name
- fill Exam From
- fill Exam To
These fields define the core record and time window for the exam.
Step 3: Configure attempt and scoring behavior
Continue with the behavior fields:
- Answer Word Limit
- Duration (min)
- Attempts
- Passing %
- Quiz Mode
- Show Marks
- Publish Result
Use these fields carefully because they shape the student experience and the later evaluation flow.
Step 4: Save the online exam
Click Create Exam when the form is complete.
Use Reset to clear the draft if you need to restart before saving.
Step 5: Review the existing-exams panel
After save, use Existing Online Exams to confirm that the new record now exists and is ready for the next step.
If the list is healthy in your environment, this becomes the immediate verification point before you continue to student assignment.
Important notes
Local limitation: during this audit, the form surface was fully visible and verifiable, but the existing-exams panel remained empty in the local environment. The page still clearly exposes the creation workflow, so use the saved record and continue to the assignment pages after confirming data in your own environment.
Verification checklist
- session is selected intentionally
- exam name is clear and unique
- open and close times are correct
- attempt and duration settings match school policy
- quiz, marks, and publish-result settings are intentional
- the record is visible in the downstream online-exam workflow
Troubleshooting
| Issue | Likely cause | What to do |
|---|---|---|
| Save fails immediately | Required schedule or session data is missing | Recheck session, exam from, and exam to |
| The exam behaves differently than expected | Quiz, marks, or publish settings were chosen incorrectly | Reopen the builder and review the behavior fields |
| Existing Online Exams looks empty | Local dataset or page state is incomplete | Continue validation from the child workflow pages and recheck after refresh |
| Staff cannot proceed to assignment | The exam shell was not created successfully | Return to the builder and verify the core record first |