This guide explains how to use the Bulk Delete page to remove multiple student records in one operation.
Before you start
- Confirm that the target students should truly be deleted, not just disabled.
- Export or document anything that must be kept for audit purposes before deletion.
- Filter the list tightly to avoid selecting the wrong students.
- Prefer admission numbers over names when verifying records.
Important: the page explicitly warns that bulk deletion cannot be undone. Treat this as a destructive cleanup tool, not a routine status-management workflow.
Navigation path
Student Information -> Bulk Delete
Step 1: Open the Bulk Delete page
Go to Student Information and select Bulk Delete. The page shows a filter bar plus a student table with row checkboxes.
The current table includes:
- admission number
- student name
- class
- section
- category
- mobile
Step 2: Narrow the list before selecting anything
Use the controls at the top of the page:
- Choose Class if you want to limit the list by class.
- Choose Section after selecting the class.
- Search with Search by admission number, name, or email….
- Click Search when the criteria are ready.
What to expect in the current UI:
- Section stays disabled until a class is selected
- the search field can target admission number, name, or email
- tighter filters reduce the chance of deleting unrelated students
Step 3: Select the target student records
Use the row checkboxes to select the records you want to remove.
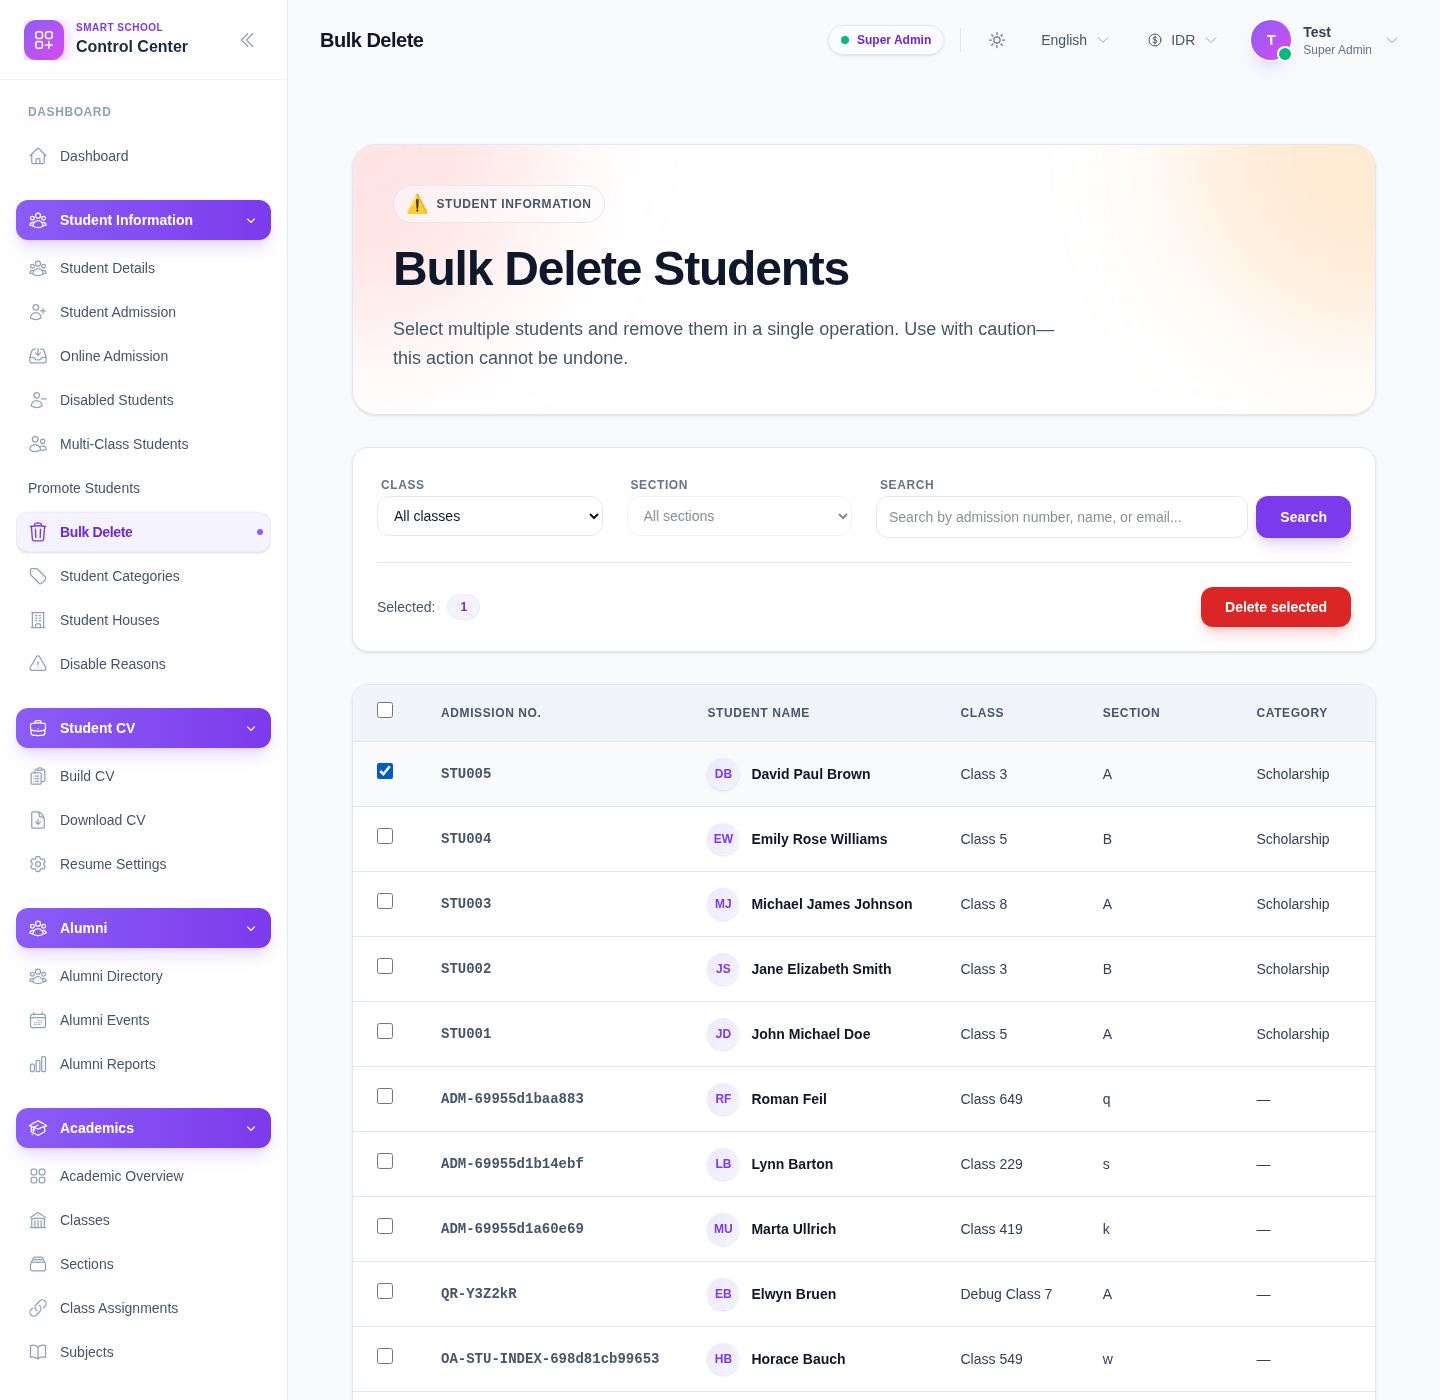
As you select rows:
- the Selected counter updates
- Delete selected becomes available once at least one row is checked
- the header checkbox can be used for a whole visible block if the filtered list is already precise
Take time here. This is the most important review step in the workflow.
Step 4: Review the selected rows one more time
Before opening the confirmation step, recheck:
- admission number
- name
- class and section
- whether the student is a duplicate, invalid, or disposable record
Avoid deleting legitimate active students when the real requirement is only to disable, correct, or move the record.
Step 5: Open the confirmation prompt
Click Delete selected after the selected count is correct.
The current UI opens a browser confirmation with a message like:
Delete 1 student record(s)? This action cannot be undone.
If the selection count is higher, the same destructive warning applies to the full batch.
Step 6: Confirm only when the batch is correct
Choose the confirmation action only after the list has been verified.
Use the prompt to stop and cancel when:
- you notice an incorrect student in the batch
- the class or section filter was too broad
- the list includes production records that should stay in the system
If you cancel, return to the list, clear or adjust the selection, and filter again.
Verify the result
After a successful deletion:
- the deleted students should no longer appear in the filtered results
- the selected count should return to zero
- re-running the search should not bring the deleted records back
Expected result: only the intended student records are permanently removed after the destructive confirmation step, and the remaining roster stays intact.
Troubleshooting
| Issue | Likely cause | What to do |
|---|---|---|
| Delete selected is disabled | No rows are selected yet | Check one or more student rows first |
| Section filter is disabled | A class has not been chosen | Select the class before trying to filter by section |
| Too many students appear | Filters are too broad | Narrow by class, section, and admission-number search |
| You are not sure whether to delete or disable | The record still has operational value | Stop and use Disabled Students or another maintenance workflow instead |
| The confirmation prompt feels risky | The selection was not verified carefully enough | Cancel the prompt, review the rows again, and only retry when certain |