This guide explains how to use the Expense Group branch inside Finance Reports to review outgoing totals by head and hand off to the underlying expense ledger when the grouped result needs more investigation.
Before you start
- Use this guide for non-fee expense analysis inside the finance analytics console.
- Confirm the reporting period before you load the branch, because the totals and export both follow the active date window.
- Use the expense-head filter only when the question is about one head rather than all expense groups.
- Expect valid empty states when the local environment has no matching expense records for the current range.
Navigation path
Reports -> Finance Reports -> Expense Group
Step 1: Open Finance Reports and move to Expense Group
Open Finance Reports from the Reports menu, then select Expense Group.
This branch reuses the same shared console shell as:
- Daily Collection
- Income Group
- Income vs Expense
- Payroll Summary
That means the export button, refresh button, and date filters behave consistently across the console even though the report content changes by branch.
Step 2: Apply the expense filters for the current review
The Expense Group branch uses:
- From Date
- To Date
- Expense Head
Use the shared dates for the reporting window, then optionally choose one expense head if you want to isolate a category such as utilities, operations, or payroll-related outflows that have already been posted as expenses.
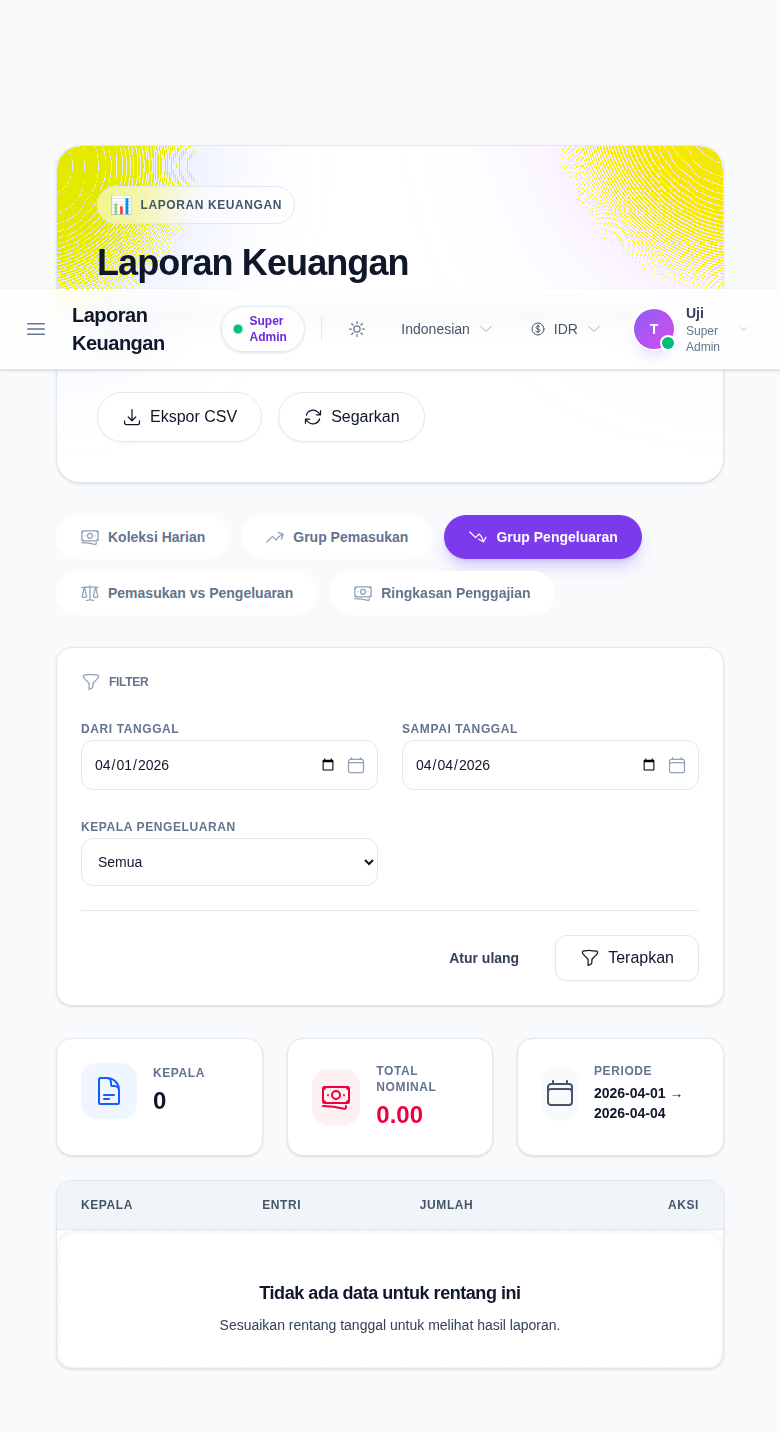
Step 3: Read the grouped expense summary
The report groups rows from the expenses table by expense_head_id.
The current branch shows:
- Heads
- Total Amount
- Period
- a grouped table with Head, Entries, and Amount
Each row shows how many expense entries belong to that head and the subtotal amount for the current date range.
Step 4: Open the expense ledger when the grouped total is not enough
Each grouped row has View Details.
Use it when:
- one expense head subtotal needs explanation
- you want to inspect the original expense entries behind the grouped amount
- you need to continue the review in the operational expense workspace
The button opens the Expense search workspace with the current reporting dates and selected expense head carried into the route.
Step 5: Export the current branch after the filters are final
Use Export CSV only after the branch and filters match the report you actually want to keep.
Confirm:
- Expense Group is the active branch
- the date range is correct
- the optional expense-head filter is correct
The queued export follows the current report state, so exporting too early can produce the wrong file.
Verify the result
Use this checklist after the review:
- confirm the branch is Expense Group
- confirm the date range matches the intended review period
- confirm the optional expense-head filter matches the reporting question
- confirm the subtotals align with what you expect before exporting
- confirm the ledger handoff opens the matching expense search context if you need row-level review
Expected result: you can review grouped outgoing totals by expense head, refine the result with the current filters, export the report as CSV, and open the matching ledger in the Expense workspace.
Troubleshooting
| Issue | Likely cause | What to do |
|---|---|---|
| The grouped table is empty | No expense records match the current filters | Broaden the date range or clear the expense-head filter |
| The total amount is lower than expected | The report period is too narrow | Re-run the branch with a wider date window |
| The branch shows the wrong filter set | You are not on Expense Group | Reconfirm the active tab before reading the result |
| The export file is not what you intended | The branch or filters changed before export | Recheck the active branch and filters, then export again |
| You need the raw expense entries | You are still on the grouped analytics surface | Use View Details to open the Expense ledger |