This guide explains how to use the Stock tab in Inventory to add stock and review recent stock entries.
Short summary
Use Stock when new quantity arrives for an inventory item or when staff need to review stock-entry history by item, store, supplier, or date range. The current tab combines stock filters, an add-stock form, and a recent-stock table.
Before you start
- Confirm the item already exists in the item master list.
- Prepare the quantity, date, and invoice reference for the incoming stock.
- Decide whether batch number, expiry date, unit cost, tax, or note fields are needed for the entry.
Navigation path
Inventory -> Stock
Step 1: Open the Stock tab
In the sidebar, open Inventory and choose Stock.
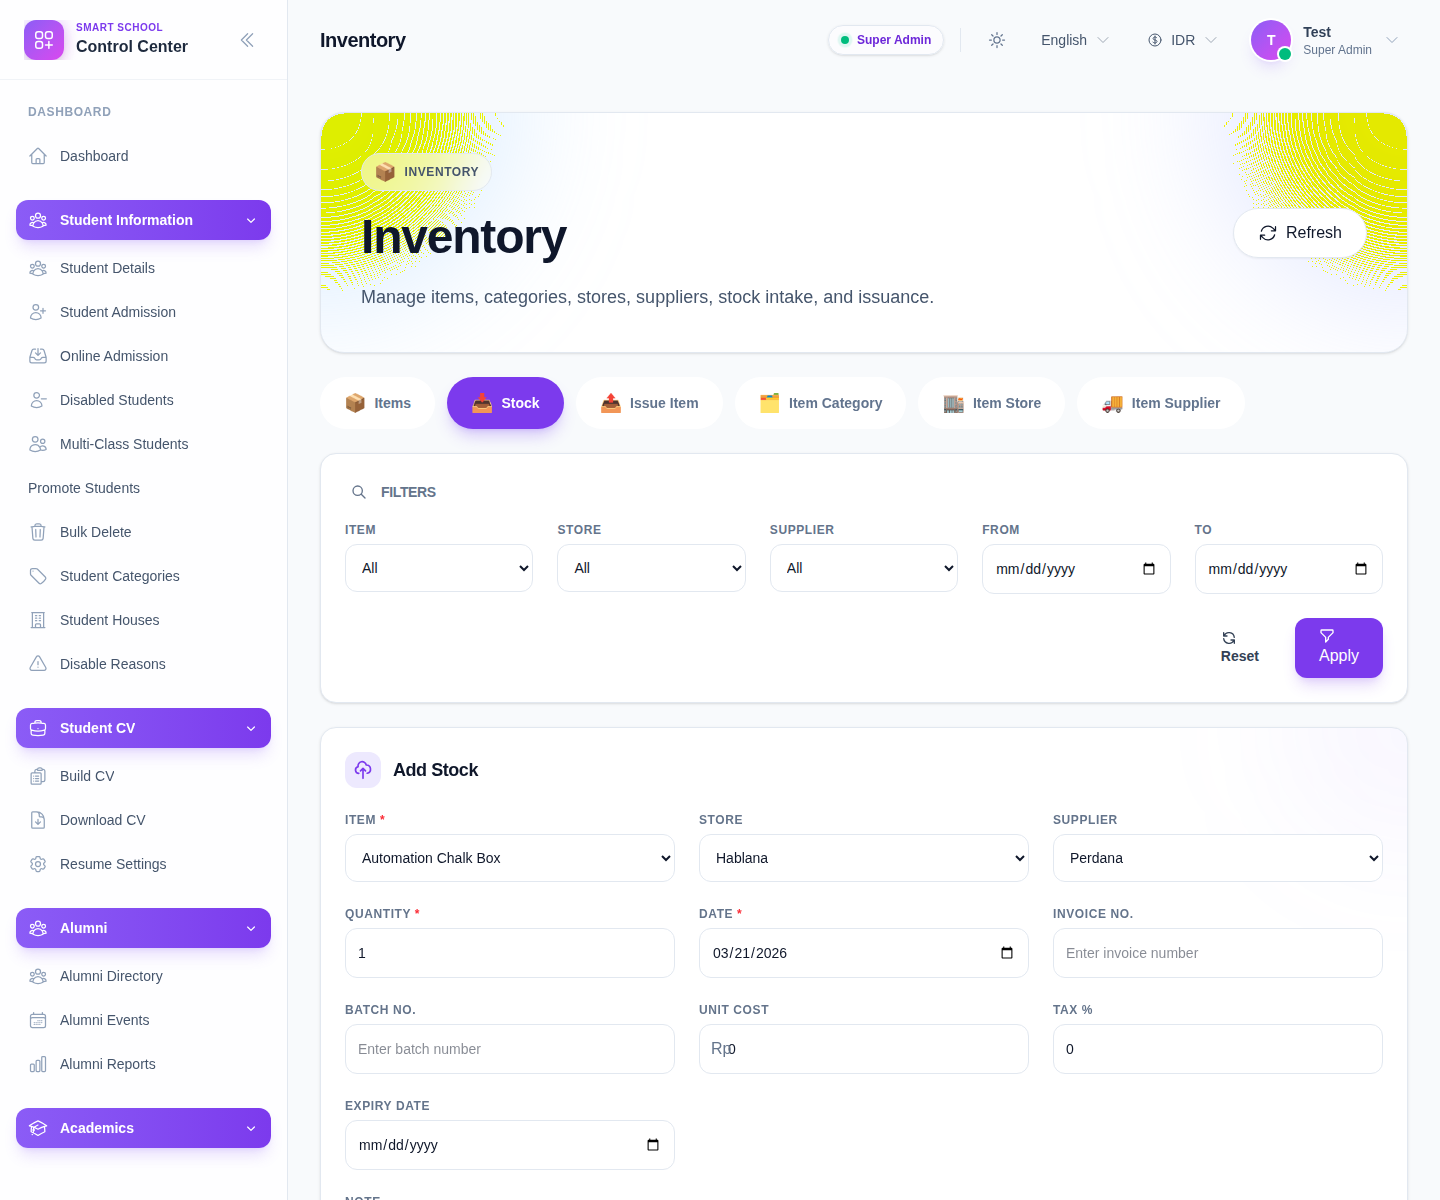
The visible stock filters include:
- Item
- Store
- Supplier
- From
- To
Step 2: Filter the stock history when needed
Use the filter panel first when your goal is review rather than data entry:
- choose Item, Store, or Supplier
- narrow the date window with From and To
- click Apply
Use Reset to clear the current filter mix.
Step 3: Record a new stock entry
The current add-stock form includes:
- Item
- Store
- Supplier
- Quantity
- Date
- Invoice No.
- Batch No.
- Unit Cost
- Tax %
- Expiry Date
- Note
Complete the fields that match the real intake event, then click Save.
Step 4: Review the recent stock table
After saving, inspect the stock table. The current columns are:
- Item
- Quantity
- Date
- Invoice No.
- Unit Cost
- Tax
- Store
- Actions
Use this table to confirm the new entry landed on the intended item and store.
Step 5: Inspect details or move through pages
The stock table supports:
- View Details
- Previous
- Next
Use the detail view for row-level inspection, especially when you need to confirm the supporting notes or batch-related context behind the entry.
Verify the result
- the entry appears on the correct item row
- quantity and date match the intake event
- invoice, batch, cost, tax, and expiry data look correct when used
- the stock table reflects the new entry after refresh
Troubleshooting
| Issue | Likely cause | What to do |
|---|---|---|
| Save does not create a stock row | The item was not selected or required values are missing | Recheck item, quantity, and date |
| The stock table looks noisy | Filters are too broad | Narrow by item, store, supplier, and date |
| The wrong supplier or store was attached | The form selection was incorrect | Add a corrected entry and review operational cleanup rules |
| A row seems missing | Pagination or filters are hiding it | Move pages or clear the filters |