This guide explains how to use Notice Board inside Communications to create, publish, and review school notices.
Short summary
Notice Board is the publication surface for school announcements. Use the list filters to review current notices, open the create drawer to enter the title, body, publish date, audience visibility, channel fan-out, and optional attachment, then publish the notice and confirm it appears in the board list.
Before you start
- Prepare the title, body, publish date, and any attachment before opening the drawer.
- Decide which audience roles should see the notice.
- Decide whether the notice should stay on the board only or also fan out to mail, SMS, or push.
Navigation path
Communications -> Notice Board
Step 1: Open Notice Board
Go to Communications in the sidebar and open Notice Board.
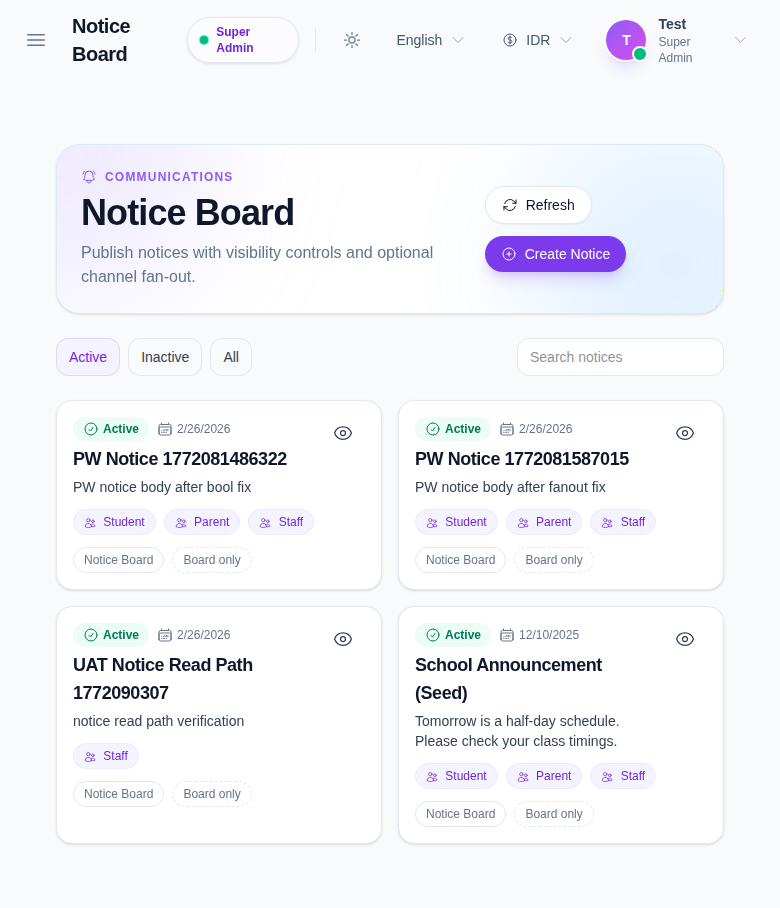
The list page shows:
- Refresh
- Create Notice
- Active, Inactive, and All filters
- existing notice cards or rows
Use the filters to narrow the list before you create or review notices.
Step 2: Start a new notice
Click Create Notice to open the notice drawer.

Fill the required fields:
- Title
- Body
- Publish Date
Then select any optional audience visibility and delivery options.
Step 3: Choose the audience and fan-out channels
The drawer lets you control who sees the notice:
- Student
- Parent
- Staff
You can also choose the delivery channels:
- Notice Board
- SMS
- Push
Use Board only when the notice should remain internal to the board. Use additional channels when the notice should fan out beyond the board.
Step 4: Add an attachment when needed
If the notice needs a file, use the Attachment field and select the file before publishing.
Attachments are useful for:
- school circulars
- event files
- fee reminders
- policy PDFs
Step 5: Publish the notice
Click Publish notice to save the notice and make it visible in the board list.
After publishing:
- Return to the notice list.
- Check the new notice in the active list.
- Confirm the audience badges and channel chips are correct.
- Open the notice if you want to review the full detail drawer.
Important notes
Important: the notice board is an operational publication tool, not just a text editor. The selected audience and channel fan-out determine where the notice is visible and how broadly it is distributed.
Verification checklist
- Title, body, and publish date are complete.
- The correct audience roles are selected.
- The correct channels are enabled.
- The attachment is present when required.
- The notice appears in the active list after publishing.
Expected result: the notice is published and visible on the board, with the selected audience and channel settings applied.
Troubleshooting
| Issue | Likely cause | What to do |
|---|---|---|
| Publish is unavailable | Title, body, or publish date is missing | Complete the required fields before trying again |
| Audience is too broad or too narrow | Student, parent, or staff visibility was set incorrectly | Reopen the drawer and correct the visibility flags |
| Notice is not fanning out | Mail, SMS, or push channel was not enabled | Reopen the drawer and select the intended channels |
| Attachment is missing | The file was not chosen before publishing | Reattach the file and publish again |