This guide explains how to manage the staff template workspace inside Certificates.
Before you start
- Confirm the school name, address, and card branding you want to use.
- Prepare background, logo, and signature files if the card design needs them.
- Decide which staff profile fields should appear on the card.
- Check whether the template should be active immediately after saving.
- Confirm that the user managing the template is allowed to work with official staff identity data.
Important: staff ID-card templates often become the face of the school for teachers and other employees. Keep the layout consistent with your internal identity standard before enabling a template for use.
Navigation path
Certificates -> Staff ID Card Templates
Step 1: Open the Staff ID Card Templates page
Go to Certificates in the sidebar and choose Staff ID Card Templates.
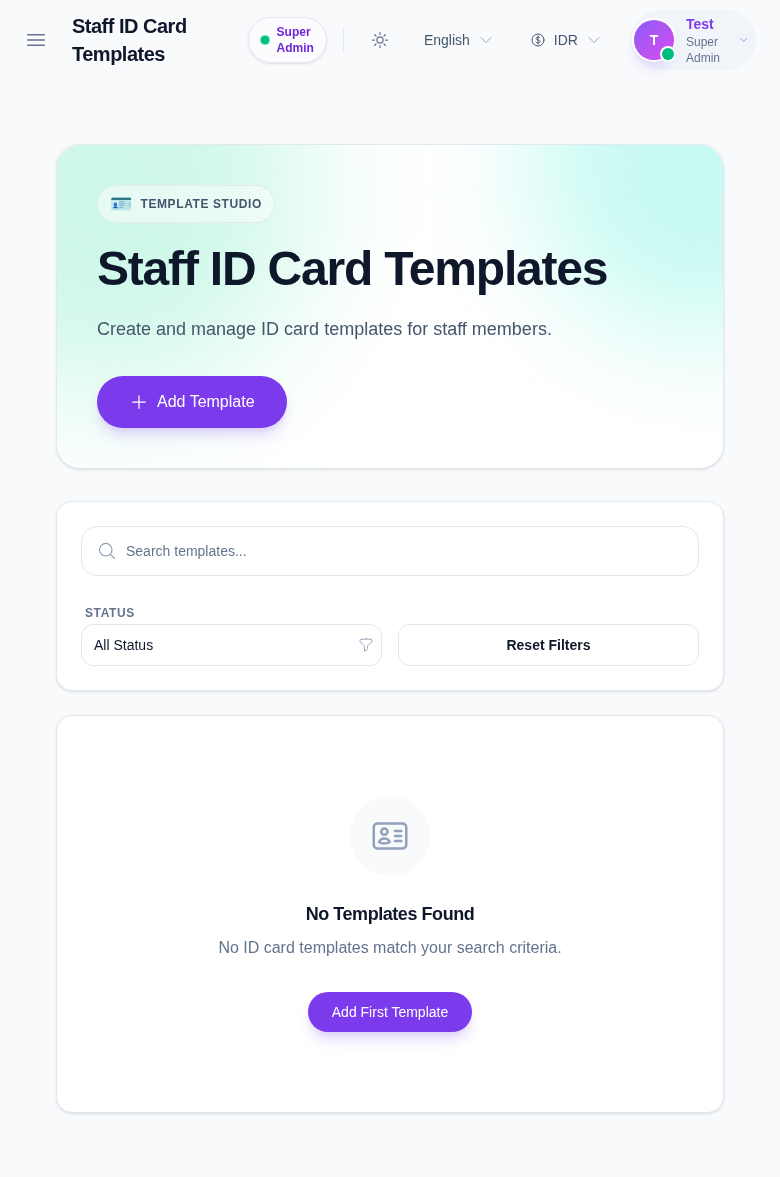
In the current local environment, the list is empty, so the empty state becomes the starting point for creating the first staff template.
Step 2: Open the template drawer
Click Add Template to open the create drawer.
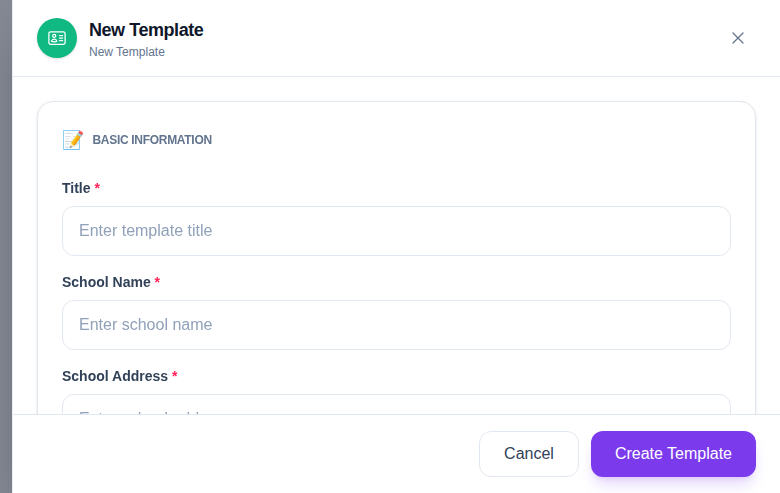
The drawer includes:
- Basic Information
- Images
- Field Toggles
The basic information block collects:
- Title
- School Name
- School Address
- Header Color
- Orientation
- Active Status
The image block lets you upload:
- Background
- Logo
- Signature
The field toggle block controls whether each staff field appears on the card:
- Staff ID
- Name
- Role
- Department
- Designation
- Father’s Name
- Mother’s Name
- Date of Joining
- Permanent Address
- Date of Birth
- Phone
- Barcode / QR Code
Step 3: Design the staff card layout
Decide which staff information should remain visible on the card.
Use a simpler layout when the card is mainly for identification. Enable more fields when the card must also help reception or security teams verify a staff member quickly.
If your school uses QR scanning or barcode scanning at the gate, enable that field only when the workflow is ready to support it.
Step 4: Save the template and confirm the list
After saving, return to the table and confirm the new template appears with the expected title, orientation, and status.
Use the row actions when needed:
- Preview to confirm the layout
- Edit to revise branding or field visibility
- Delete to remove an obsolete template
Because the staff template list is empty in the current local environment, this is the point where your first saved template becomes the reference for the generation workflow.
Step 5: Preview before using the template
Preview the template before staff generation starts. Use the preview to confirm:
- the header color is readable
- logos and signatures are aligned correctly
- the field order matches the intended identity standard
- the card still looks professional when printed
Verify the result
Use this checklist after creating or updating a staff template:
- the template title is clear and unique
- the school identity fields are correct
- the field toggles match the school policy
- the preview looks correct
- the template is active only when it is ready for use in generation
Expected result: the staff template workspace contains a reusable template that can be selected later in the staff ID generation flow.
Troubleshooting
| Issue | Likely cause | What to do |
|---|---|---|
| The staff list still shows no templates | No template has been created yet | Use Add Template to create the first staff design |
| Preview looks broken or incomplete | A required image or field setting is missing | Reopen Edit and check the uploads and toggles |
| The template is not selectable later | Active Status is off | Edit the template and enable Active Status when it is ready |
| The layout feels too crowded | Too many staff fields are enabled | Disable less important fields and preview again |
| The card does not match school branding | School name or branding assets were entered incorrectly | Correct the identity fields and reupload the logo or background |