This guide explains how to use Transport Reports to review student transport allocation, route utilization, and vehicle assignment reporting from one reporting workspace.
Short summary
The Transport Reports page groups three report tabs into one screen: student transport report, route utilization report, and vehicle assignment report.
Before you start
- Confirm student transport assignments already exist if you expect report data.
- Confirm the active academic session is loaded.
- Expect some report tabs to show empty-state panels when the current local data has no matching records.
Navigation path
Transport -> Transport Reports
Step 1: Open Transport Reports
In the sidebar, open Transport and choose Transport Reports.
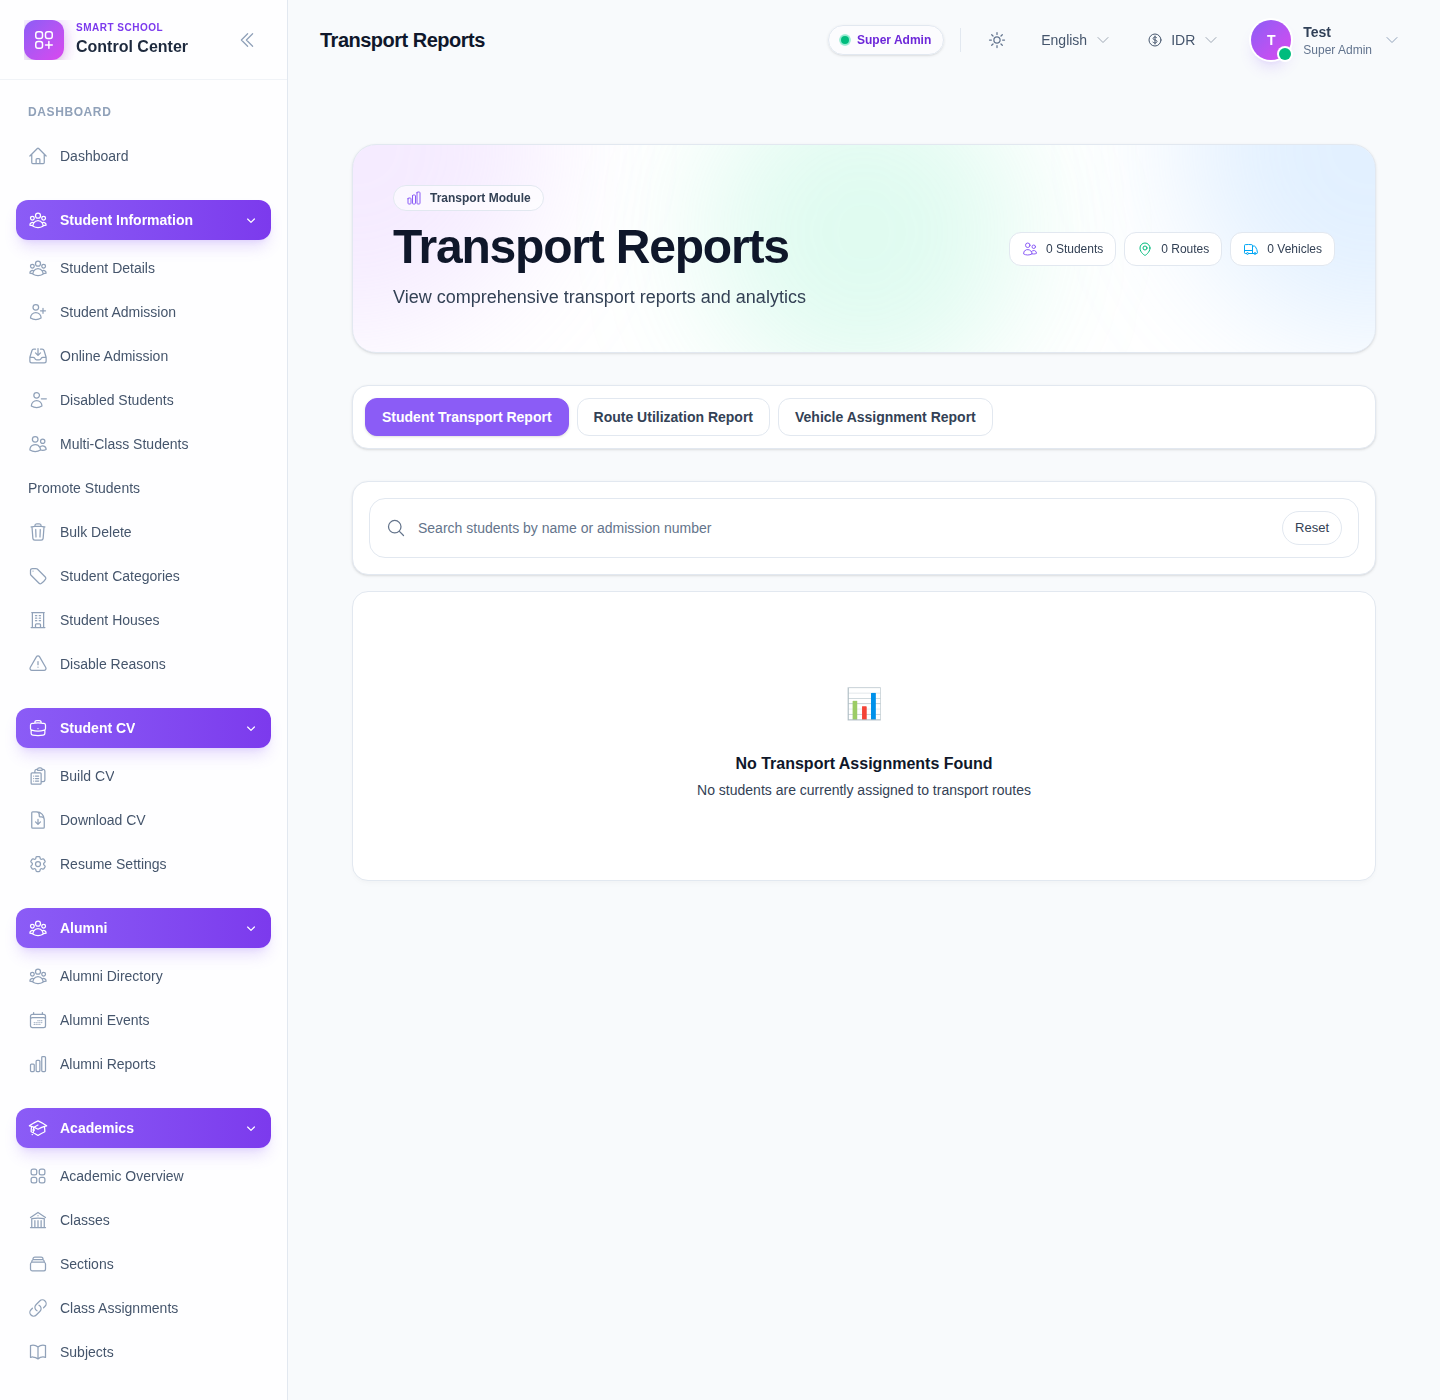
Step 2: Review the summary chips and tabs
The page starts with summary chips for:
- students
- routes
- vehicles
Then it exposes three report tabs:
- Student Transport Report
- Route Utilization Report
- Vehicle Assignment Report
Step 3: Use the Student Transport Report tab
This tab focuses on student-level assignment review.
The current workflow includes:
- a student search box
- a reset button
- a result table or empty-state panel
When data exists, the report shows student identity, class and section, route, pickup point, vehicle, driver, and monthly fee.
Step 4: Use the Route Utilization Report tab
Open Route Utilization Report when you need route-level capacity review.
This tab depends on the active academic session and is intended to show:
- route
- total vehicles
- total capacity
- assigned students
- utilization percentage
- available seats
- utilization status
Step 5: Use the Vehicle Assignment Report tab
Open Vehicle Assignment Report when you need a vehicle-centered view of transport coverage.
This tab is intended to show:
- vehicle identity
- assigned routes
- driver details
- total assigned students
- utilization percentage
Important note
Important: the current local Smart School environment renders the reporting tabs correctly, but it can legitimately stay in empty-state mode because there are no current student transport assignments loaded for the report filters. The route- and vehicle-report tabs also depend on the active session being available.
Verify the result
- the correct report tab is selected
- the student search behaves as expected on the student tab
- active-session dependent tabs load without session errors
- reported counts and empty states match the actual local transport data context
Troubleshooting
| Issue | Likely cause | What to do |
|---|---|---|
| A report tab shows no data | There are no matching assignments in the current filter context | Recheck transport assignments and then reload the report |
| Route or vehicle reports do not load | The active academic session is missing | Confirm the active session is available before reopening the tab |
| Student search seems unhelpful | No transport assignments exist yet | Assign students to transport first, then rerun the report |
| Summary chips stay at zero | The underlying transport data is still empty | Review route, vehicle, pickup-point, and student assignment setup first |