This guide explains how to use Role & Permission Matrix inside Administration to manage the access structure for each role.
Before you start
- Decide which role you want to review first.
- Confirm the access change you want to make before toggling any permissions.
- Use a Super Admin account when you need to edit the full matrix.
Important: permission changes affect who can use the rest of Smart School. Review the selected role carefully before applying group-level changes.
Navigation path
Administration -> Role & Permission Matrix
Step 1: Open the Role & Permission Matrix page
Go to Administration and open Role & Permission Matrix.
The page is split into two parts:
- a role list on the left
- permission groups and modules on the right
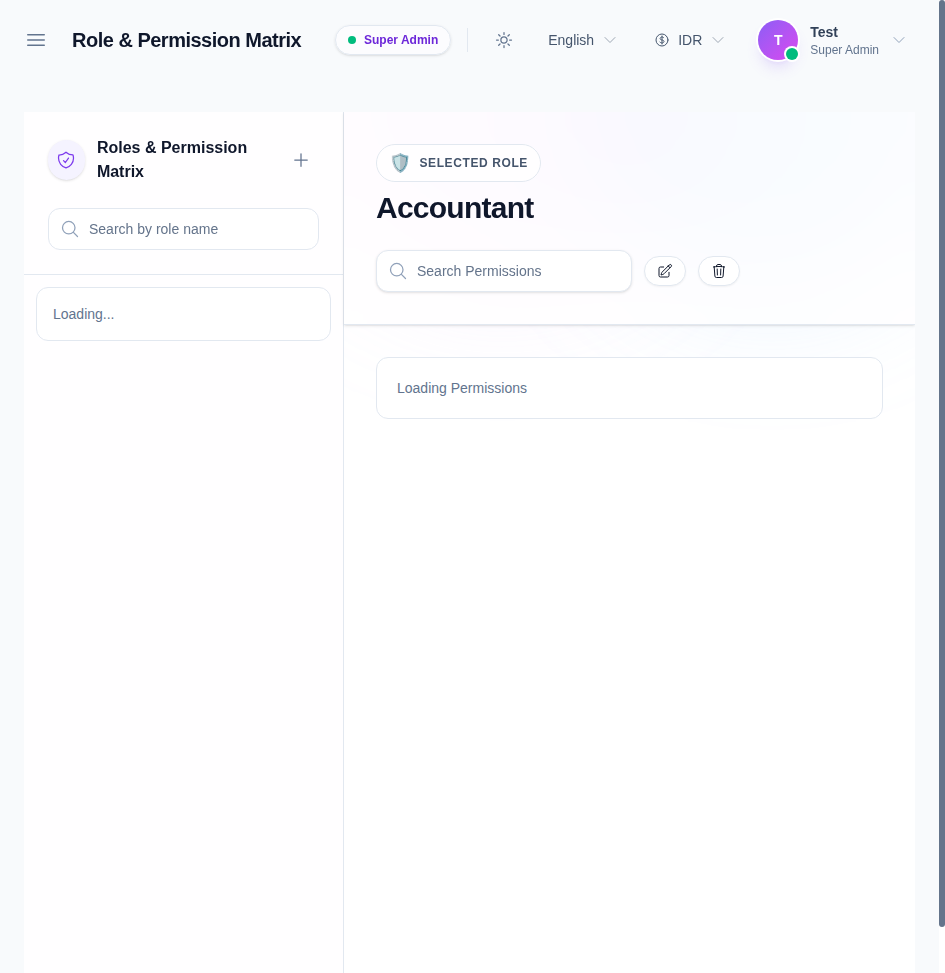
Step 2: Select the role you want to manage
Click a role card in the left panel to load its permissions.
In the current UI, the common roles include:
- Accountant
- Admin
- Librarian
- Receptionist
- Super Admin
- Teacher
The selected role appears in the main panel so you can confirm the current permission set before editing.
Step 3: Search permissions or expand the groups
Use the search fields to narrow the list:
- search by role name on the left
- search permissions in the main panel
The permission groups are organized by product area, so you can expand the relevant group and review only the permissions you need.
Step 4: Toggle individual permissions or an entire group
Use the group checkbox to grant or remove a whole set of permissions.
Use the individual checkboxes when you only want to enable a specific permission.
The matrix groups permissions by areas such as:
- System
- HR
- Students
- Academics
- Attendance
- Finance
- Library
- Hostel
- Examinations
- Transport
- Communications
- Front CMS
- Download Center
Step 5: Create, edit, or delete roles when necessary
The role panel also supports role management actions.
Use the plus button to create a new role, the edit action to rename or adjust a role, and the delete action only when the role is no longer needed.
Keep the role catalog clean so the matrix stays easy to understand for the operators who manage it later.
Step 6: Verify the selected role after changes
After changing permissions:
- confirm the selected role still appears on the right
- recheck the expanded groups you changed
- refresh the page if the active role or permissions are not immediately reflected
Verify the result
Use this checklist after editing role permissions:
- the correct role is selected
- the intended permission groups are expanded
- the selected permissions match the role’s responsibilities
- Super Admin roles remain protected from accidental edits
Expected result: the role matrix reflects the intended access structure and the selected role can only use the permissions it should have.
Troubleshooting
| Issue | Likely cause | What to do |
|---|---|---|
| A role cannot be edited | The role is protected or you do not have access | Use a Super Admin account and reselect the role |
| Permission changes are not applied | The selection was not saved or the wrong role was active | Confirm the active role and repeat the change |
| Too many permissions are visible | The search field is empty and all groups are expanded | Search for the module or collapse groups you do not need |
| A group checkbox behaves unexpectedly | The permission set for that group is mixed | Review the individual permissions in that group before saving |