This guide explains how to manage leave requests from the Student Leave Management page in Migdafa Smart School.
Before you start
- Confirm the student’s class and section.
- Decide the leave date range before opening the form.
- Prepare the leave reason and any supporting document.
- Expect some copy on this page to still show translation-key style text in the local environment.
Important: the Student Leave page is functionally usable in the local environment, but some headings, button labels, and placeholders still render fallback translation keys. Follow the field positions and table structure rather than relying only on the unfinished copy.
Navigation path
Attendance -> Student Leave Management
Step 1: Open Student Leave Management
Go to Attendance and choose Student Leave Management.
The current page provides:
- a search field
- Class, Section, and Status filters
- From Date and To Date filters
- a leave table
- an apply-leave action that opens the request form
Step 2: Filter existing leave requests
Use the filter bar to narrow the leave list before reviewing or adding anything:
- Search by student
- Choose Class
- Choose Section
- Choose Status
- Set From Date and To Date
In the current UI, the Section filter expands only after a class is selected.
Step 3: Open the leave request form
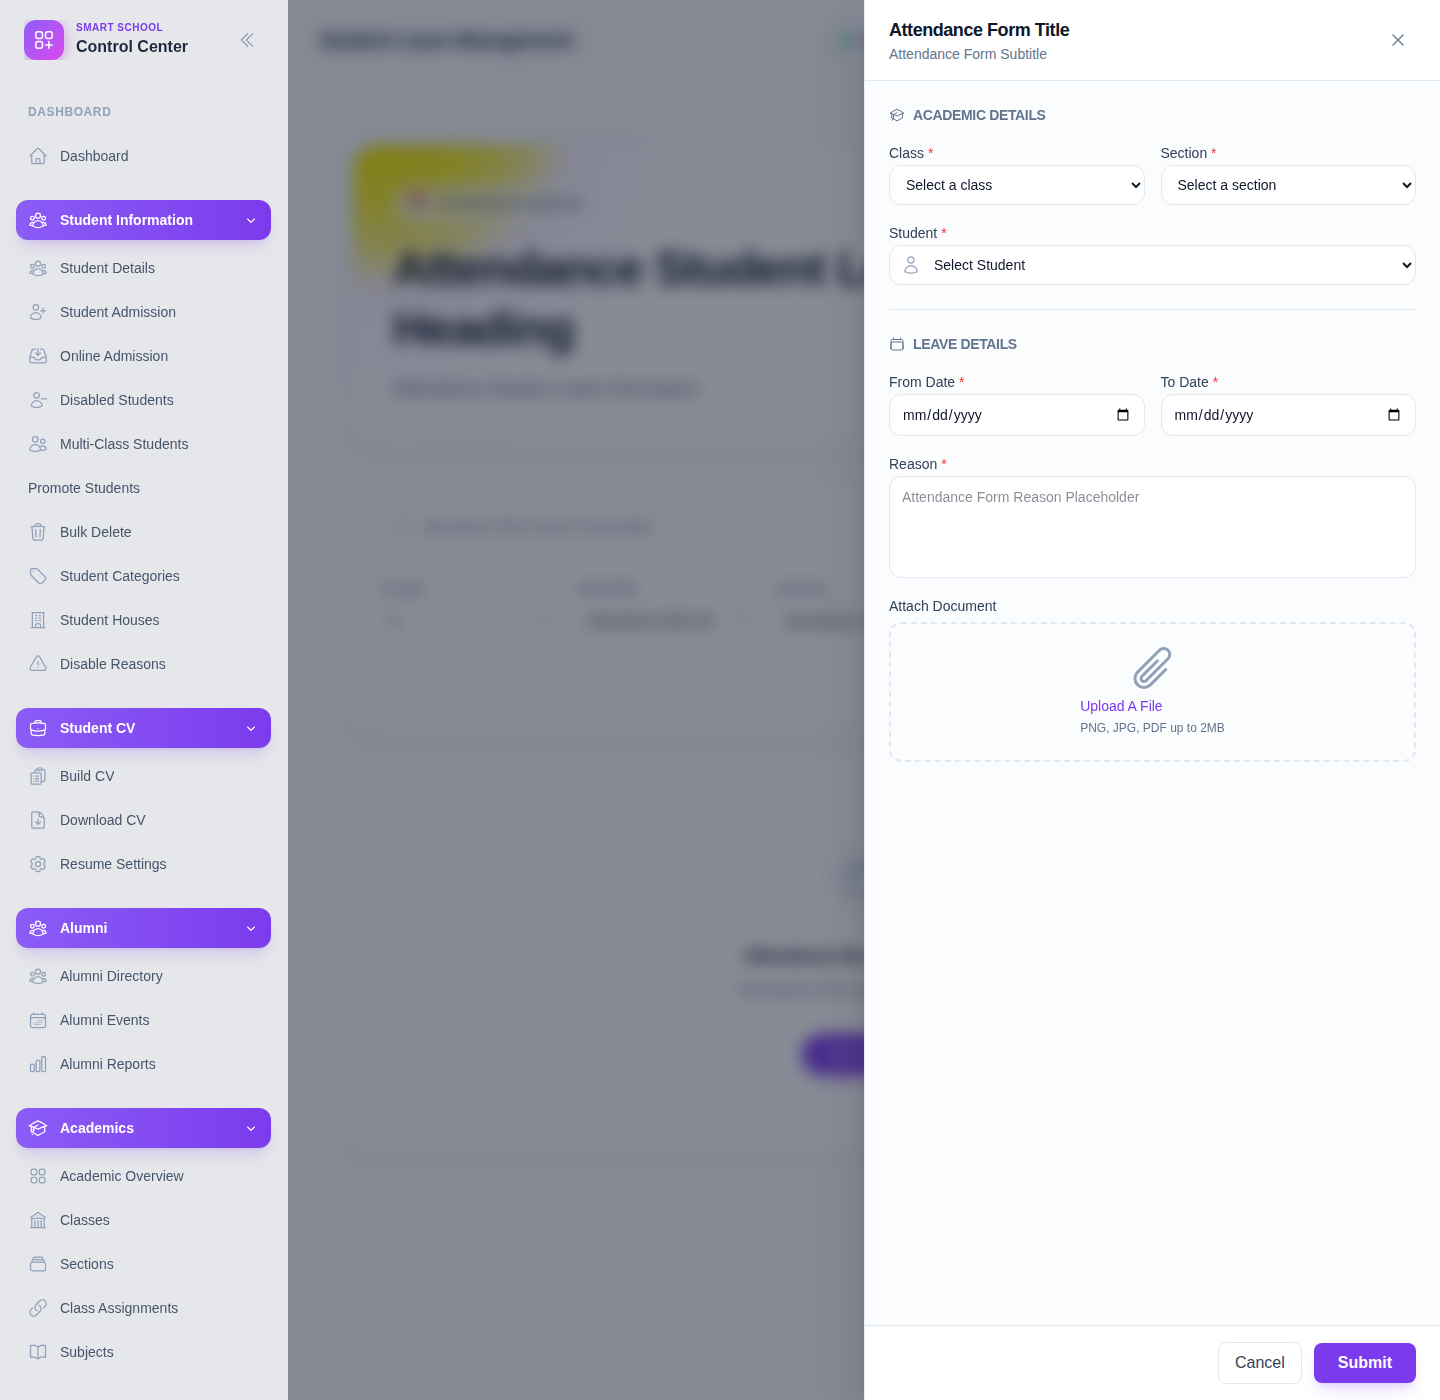
Use the page action to open the leave form. The local UI currently labels this action with a translation-key style button, but it opens a usable form with two clear groups:
- Academic Details
- Leave Details
Step 4: Complete the leave form
The verified form currently includes:
- Class
- Section
- Student
- From Date
- To Date
- Reason
- Attach Document
Use Submit to save the leave request or Cancel to exit the form without saving.
Step 5: Review the leave table and status
After saving, return to the list and review the row:
- student identity
- class and section
- leave date range
- reason
- approval status
- document presence
The current table already shows status values such as approved leave, which helps operators review whether follow-up is still needed.
Verify the result
Use this checklist after saving:
- the leave request belongs to the correct student
- the date range is correct
- the leave reason is clear
- the request appears in the leave table with the intended status
Expected result: the student leave request is stored with the right class, section, student, dates, and reason, and can be reviewed from the leave-management table.
Troubleshooting
| Issue | Likely cause | What to do |
|---|---|---|
| The page labels look unfinished | Local translation copy is incomplete | Follow the field positions and table structure, which remain functional |
| Section options are missing | A class has not been selected yet | Select the class first, then choose the section |
| The wrong student is selected | Class and section context was too broad | Recheck the academic context before submitting |
| A leave row is hard to find | Filters are hiding the saved request | Reset the filters and search again |
| Supporting document is missing | The file was not attached during submission | Reopen or recreate the request with the required attachment |