This guide documents the Assign Online Exam Students page in the current local Smart School UI.
Short summary
Use Assign Online Exam Students to pick the target exam, filter the student list, and sync eligible students into the exam roster.
Before you start
- Create the online exam first.
- Know the target class, section, and session for the exam.
- Decide whether you need broad cohort selection or a narrow student search.
Navigation path
Online Exams -> Assign Online Exam Students
Step 1: Open the student-assignment page
Go to Assign Online Exam Students from the online-exam sidebar group.
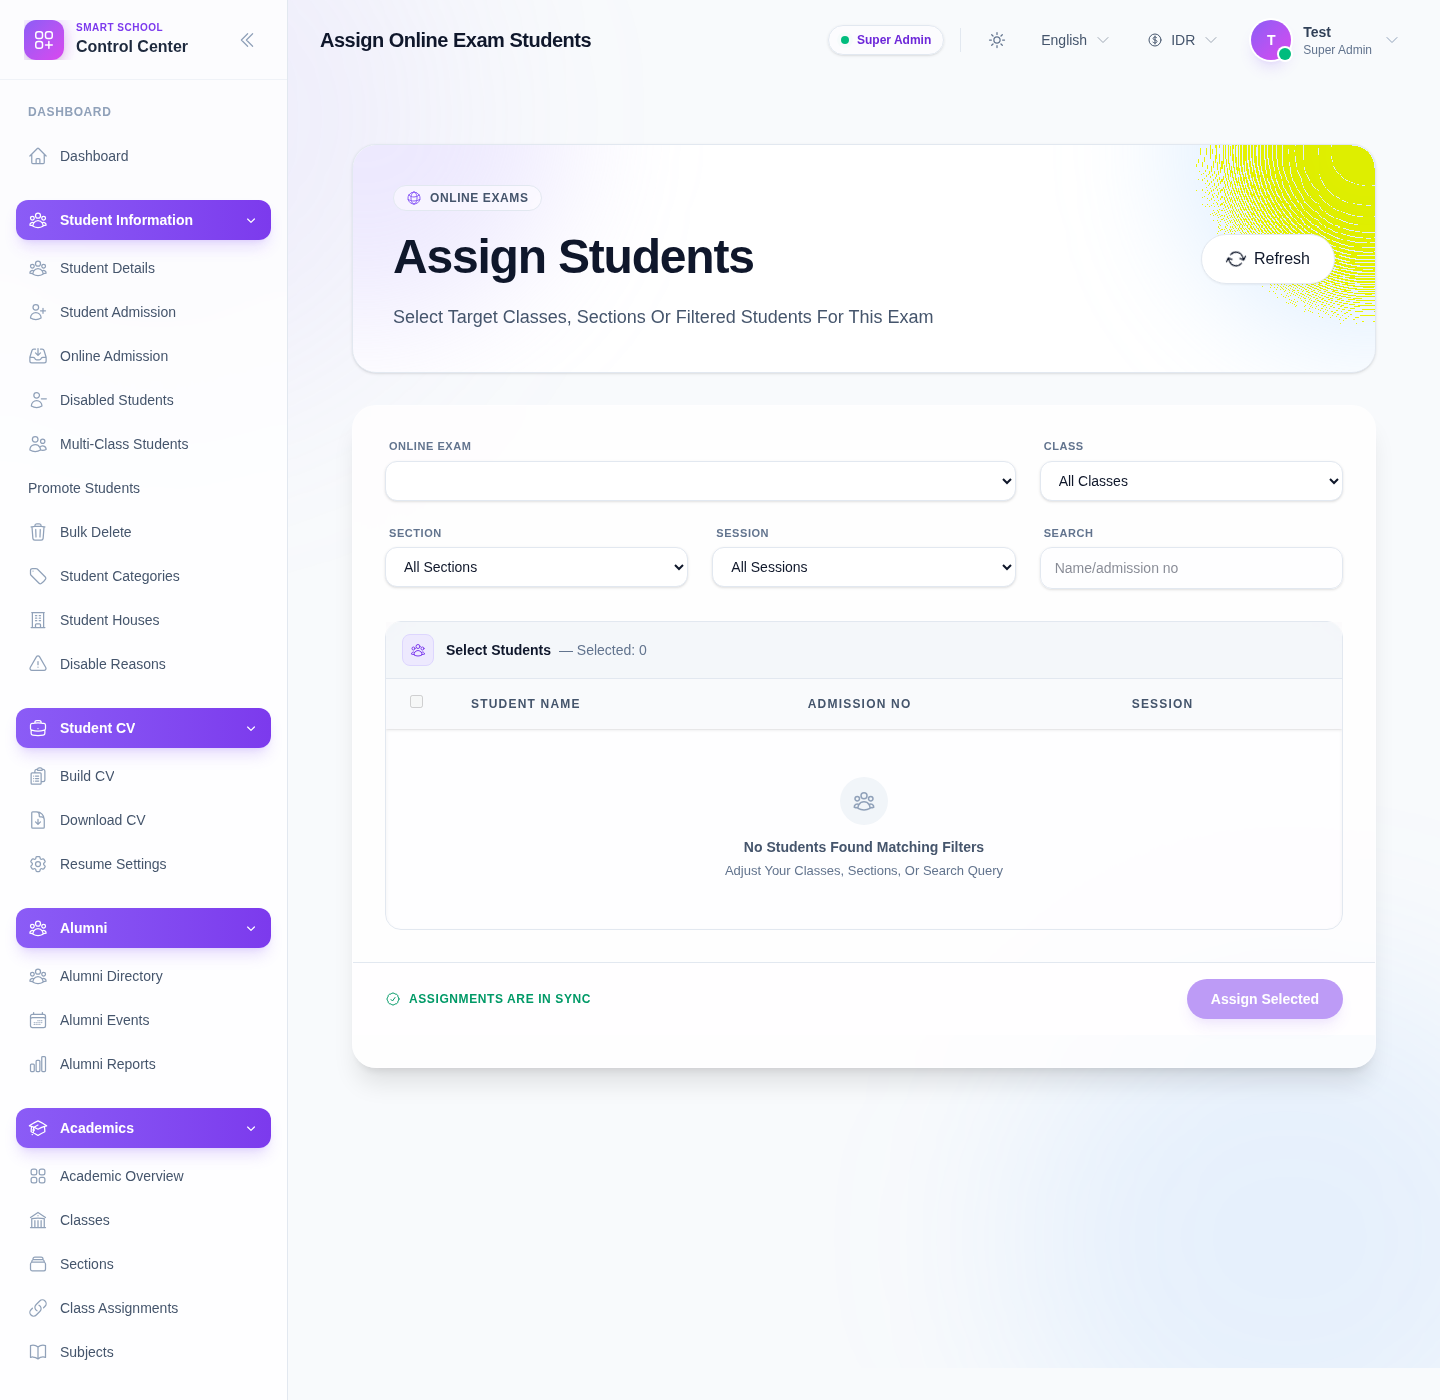
The page currently includes filters for:
- Online Exam
- Class
- Section
- Session
- Search
Step 2: Select the online exam first
Start by choosing the target Online Exam.
Do this before narrowing student filters so the page knows which exam roster is being edited.
Step 3: Narrow the student pool
Use the remaining filters to find the intended cohort:
- choose Class
- choose Section
- choose Session
- use Search for a name or admission number when needed
Step 4: Select students from the roster
When matching students appear, use the table to:
- select individual rows
- review Student Name
- review Admission No
- review Session
The page also supports cohort-style selection through the roster checkbox area when visible data is loaded.
Step 5: Sync the final selection
Click Assign Selected after confirming the intended students are checked.
The page status area should then return to a synced state.
Important notes
Local limitation: during this audit, the page structure and filter controls were verified, but the roster stayed in an empty state and showed No Students Found Matching Filters. That means the guide reflects the verified UI flow, while final roster confirmation still depends on a locally seeded online exam and matching student-session data.
Verification checklist
- the correct online exam is selected
- class, section, and session filters match the target cohort
- only intended students are selected
- the assignment state returns to a synced status after save
- the next workflow stage can continue with the same exam
Troubleshooting
| Issue | Likely cause | What to do |
|---|---|---|
| No students appear | The exam or cohort filter does not match available student-session data | Recheck class, section, session, and search inputs |
| Assign button stays unavailable | No student rows are selected | Select at least one valid student row |
| Wrong students are included | Filters are too broad | Narrow class, section, session, or search before assigning |
| The page looks empty even though the route loads | Local seed data is incomplete | Confirm the online exam exists and that matching students are present in the current session |