This guide explains how to use Library Members to create library cards for students or staff and review borrowing limits, member status, and policy-backed defaults.
Short summary
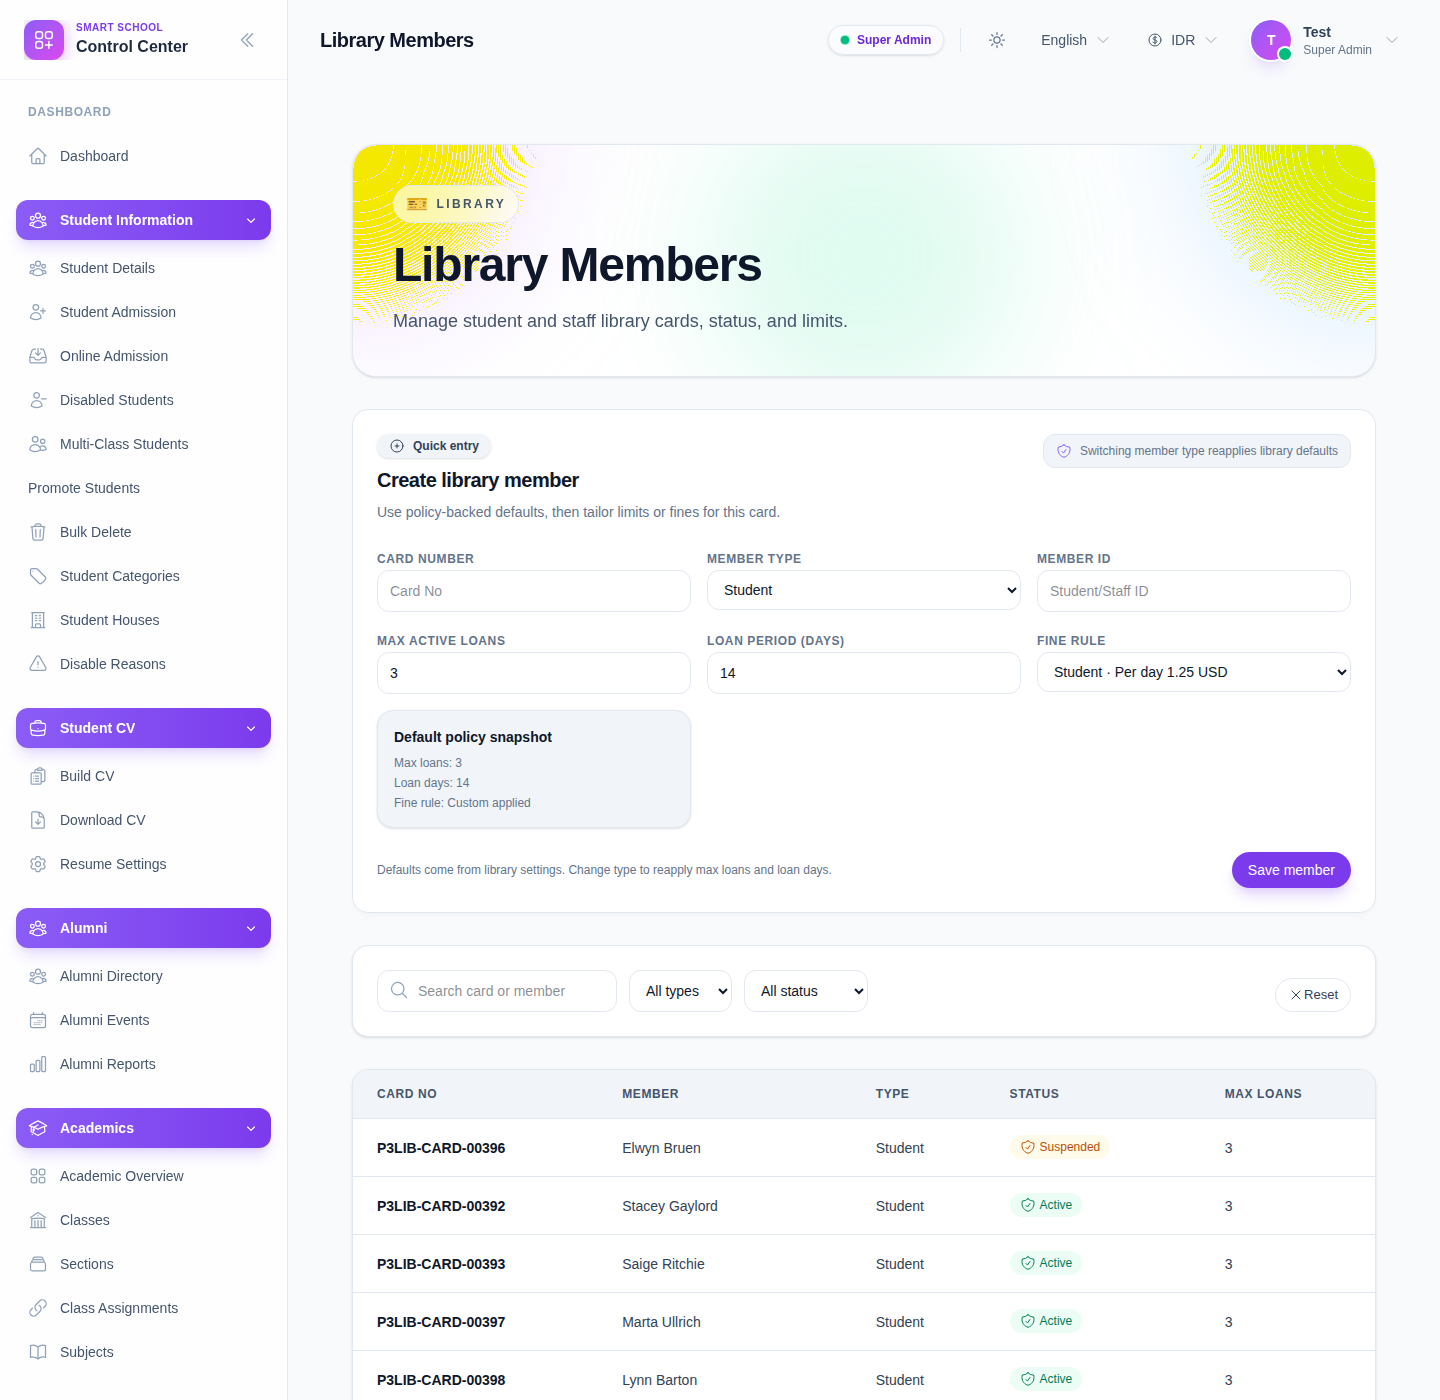
The current page combines a quick-create member form, a default-policy snapshot, search and status filters, and a table where each card number opens a member detail drawer.
Before you start
- Confirm whether the member is a Student or Staff / Teacher.
- Prepare the correct school-side member identifier before creating the card.
- Check whether the member should inherit default fine and loan settings or needs an exception.
Navigation path
Library -> Members
Step 1: Open Library Members
Go to Library in the sidebar and choose Members.
Step 2: Create a member card
The top form currently exposes these fields:
- Card number
- Member type
- Member ID
- Max active loans
- Loan period (days)
- Fine rule
After filling them, click Save member.
Step 3: Use policy-backed defaults correctly
When you change Member type, the page reapplies default library settings for that type.
Use this behavior deliberately:
- choose the member type first
- review the Default policy snapshot
- adjust Max active loans or Loan period (days) only when this card needs a special rule
- select a Fine rule if the default should be overridden
This is important because the member card controls what the borrower can do later in issue and reservation workflows.
Step 4: Filter the member list
The current filters let you narrow the table by:
- Search card or member
- All types
- All status
- Reset
Use filtering before editing or investigating a card so you do not act on the wrong member.
Step 5: Review the table and open member details
The table currently shows:
- Card No
- Member
- Type
- Status
- Max Loans
Click a Card No value to open the detail drawer.
The detail drawer shows the current card number, type, member ID, status, max loans, loan period, expiry, and a warning when the member is not active.
Step 6: Confirm status before circulation
Treat member status as an operational gate.
- Active members can proceed to issue workflows
- Suspended or Surrendered members should be reviewed before staff attempt a new issue
The detail drawer makes this visible so the library team can catch problems before a checkout attempt fails.
Verify the result
- the member appears in the table with the expected card number
- the member type is correct
- max loans and loan period match policy or the approved exception
- the status badge reflects the borrower’s real access state
- the detail drawer shows the correct member record
Troubleshooting
| Issue | Likely cause | What to do |
|---|---|---|
| The member does not save | Card number or member identity fields are incomplete | Recheck the card number, member type, and member ID |
| Loan defaults look wrong | Member type was changed after manual edits | Re-select the right type, review the snapshot, then reapply intended values |
| A borrower cannot be issued books | The member is not active | Open the detail drawer and review the status before attempting circulation |
| Too many rows appear in the list | Filters are too broad | Use type and status filters before reviewing the table |