This guide explains how to work across the three main Front Office record surfaces: Admission Enquiries, Visitor Book, and Complaints.
Short summary
Front Office splits reception work into separate operational views. Admissions leads use Admission Enquiries to capture prospects and follow-ups, reception staff use Visitor Book to register walk-ins and meetings, and administrators use Complaints to track issues raised by parents, students, or visitors.
The detailed workflow guides below now cover each Front Office surface separately:
- How To Manage Admission Enquiries
- How To Manage Visitor Book
- How To Manage Phone Call Log
- How To Manage Postal Dispatch
- How To Manage Postal Receive
- How To Manage Complaints
- How To Configure Front Office
Before you start
- Decide which record type you are creating: enquiry, visitor, or complaint.
- Prepare the minimum identity and contact details before opening a drawer.
- Confirm supporting lookup data such as sources, visitor purposes, and complaint types already exists.
Navigation paths
Front Office -> Admission EnquiryFront Office -> Visitor BookFront Office -> Complaint
Step 1: Open the Admission Enquiries workspace
Go to Front Office in the sidebar and open Admission Enquiry.
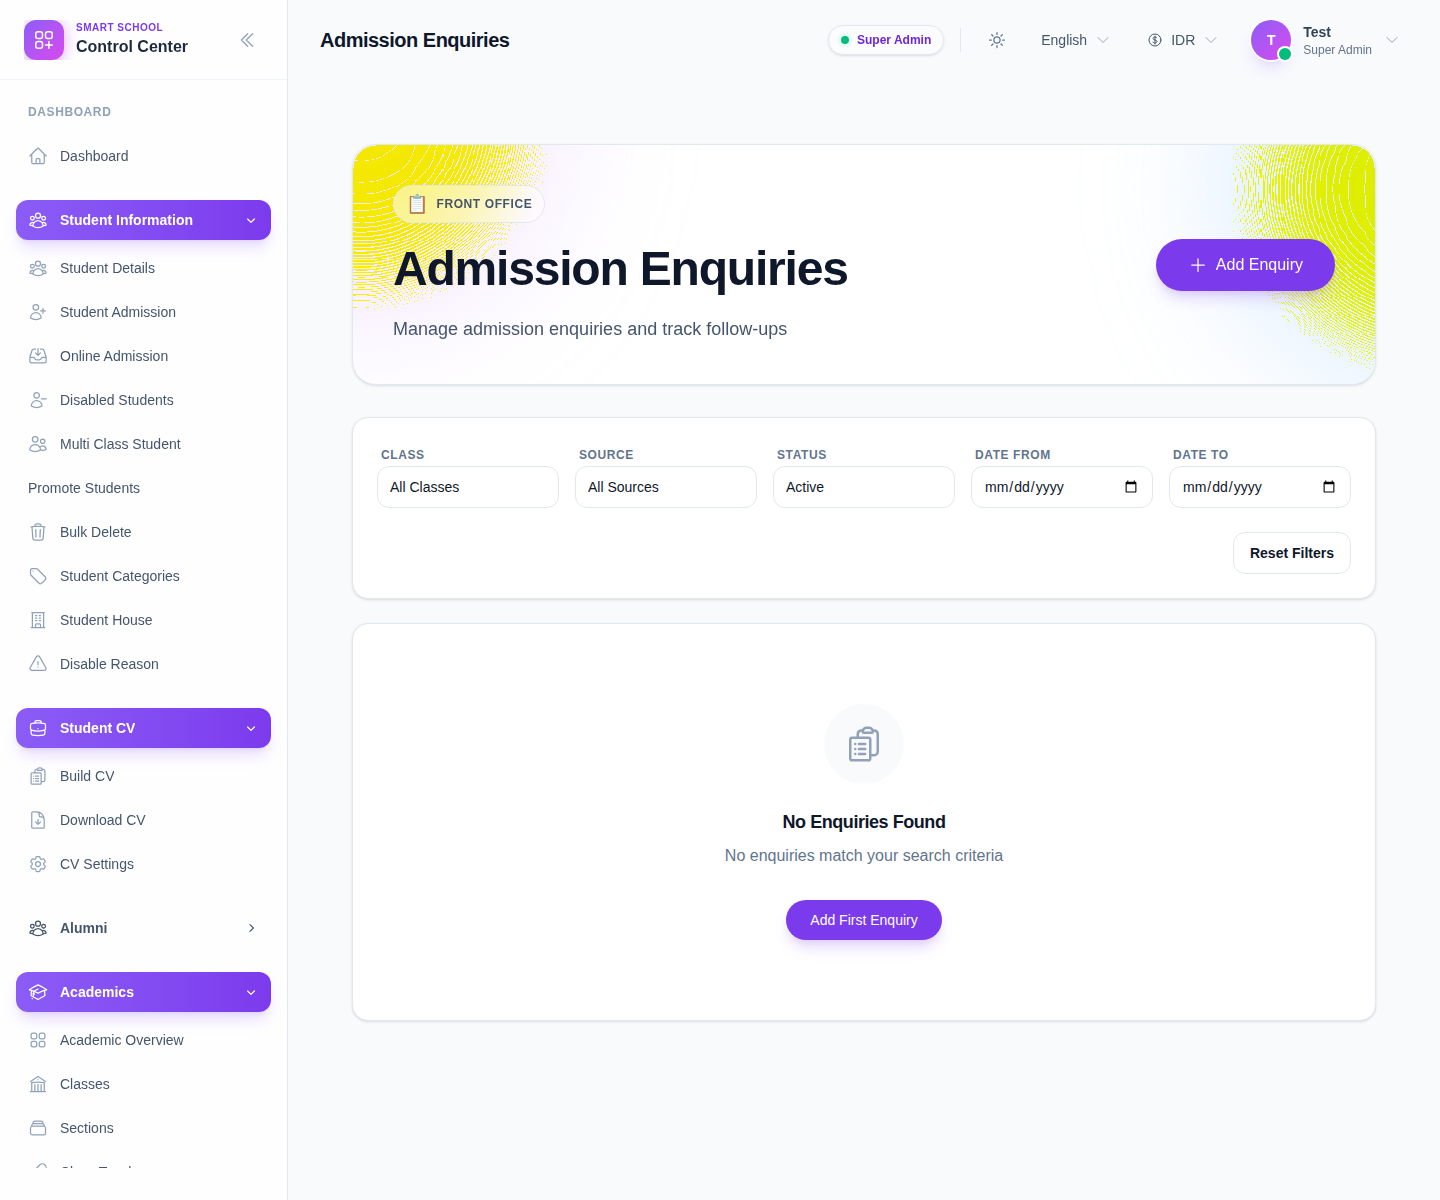
Use this page when you need to:
- review existing admission leads
- filter by class, source, or status
- track whether an enquiry is active, passive, won, or lost
- open the follow-up workflow from an existing row
Step 2: Create or update an enquiry
Click Add Enquiry to open the drawer.
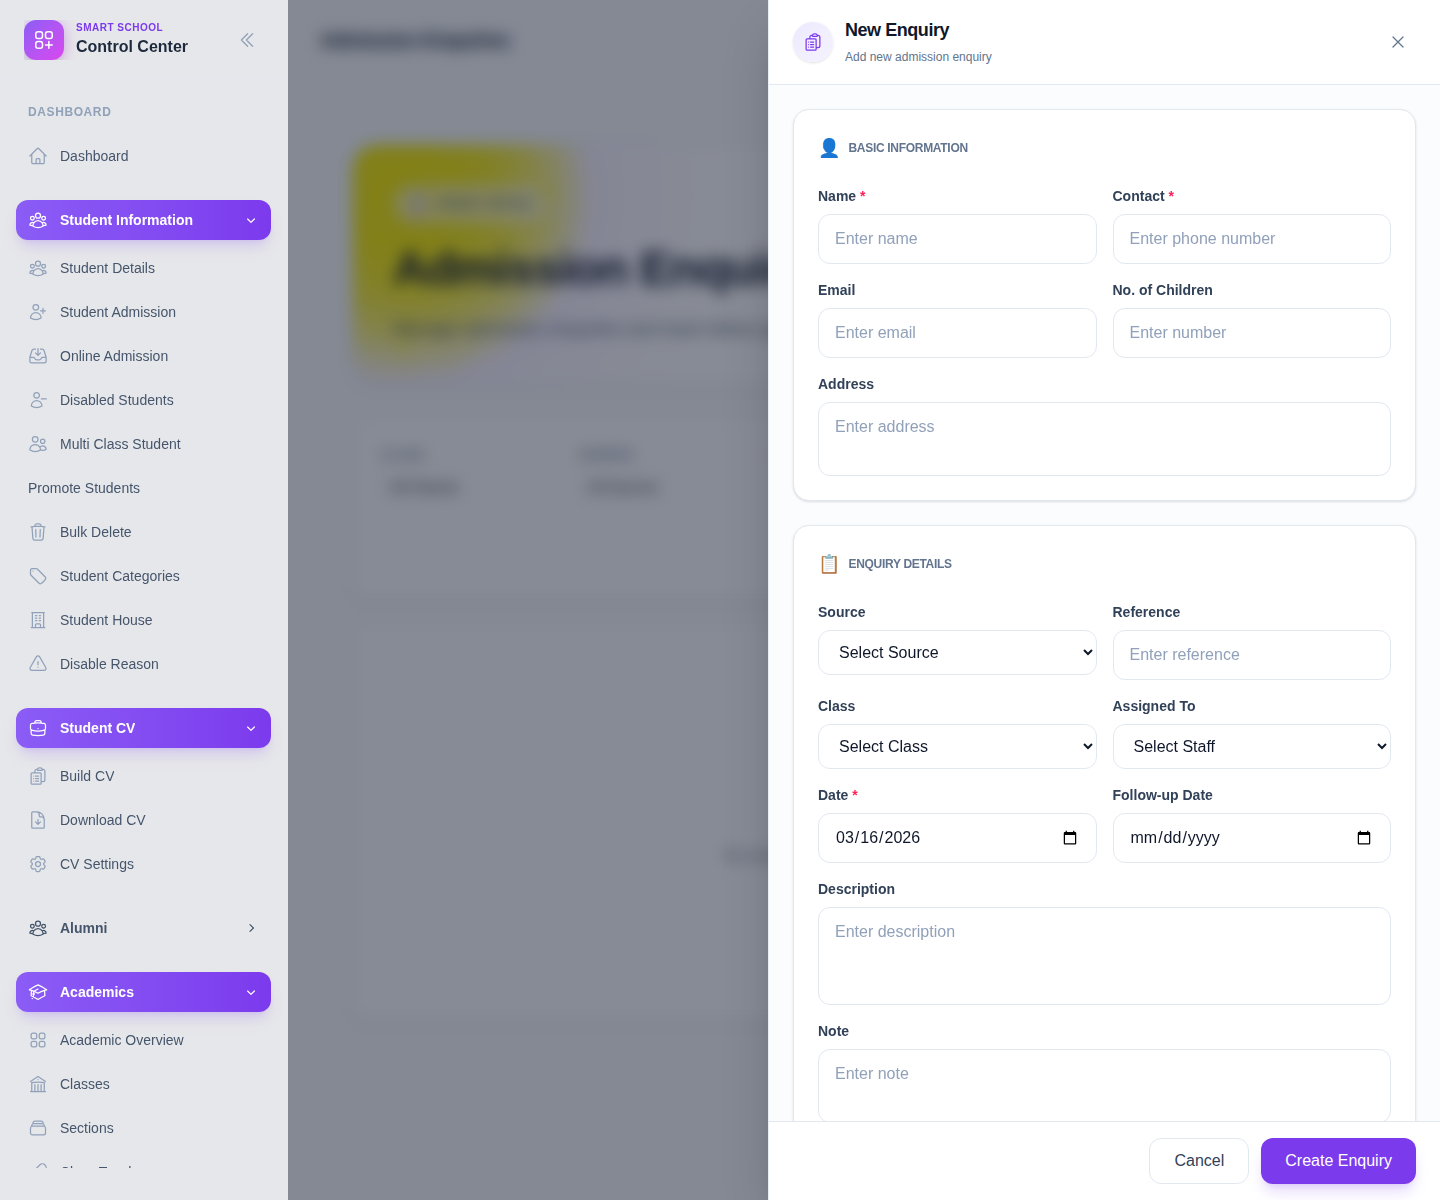
Complete the main fields:
- Name
- Contact
- Address
- No. of Children
- Source
- Reference
- Class
- Assigned To
- Date
- Follow-up Date
- Description
- Note
Use Create Enquiry to save the record. If the contact number already exists, the drawer can warn about duplicate enquiries before you continue.
Step 3: Register visitors in Visitor Book
Open Visitor Book from the same Front Office menu.
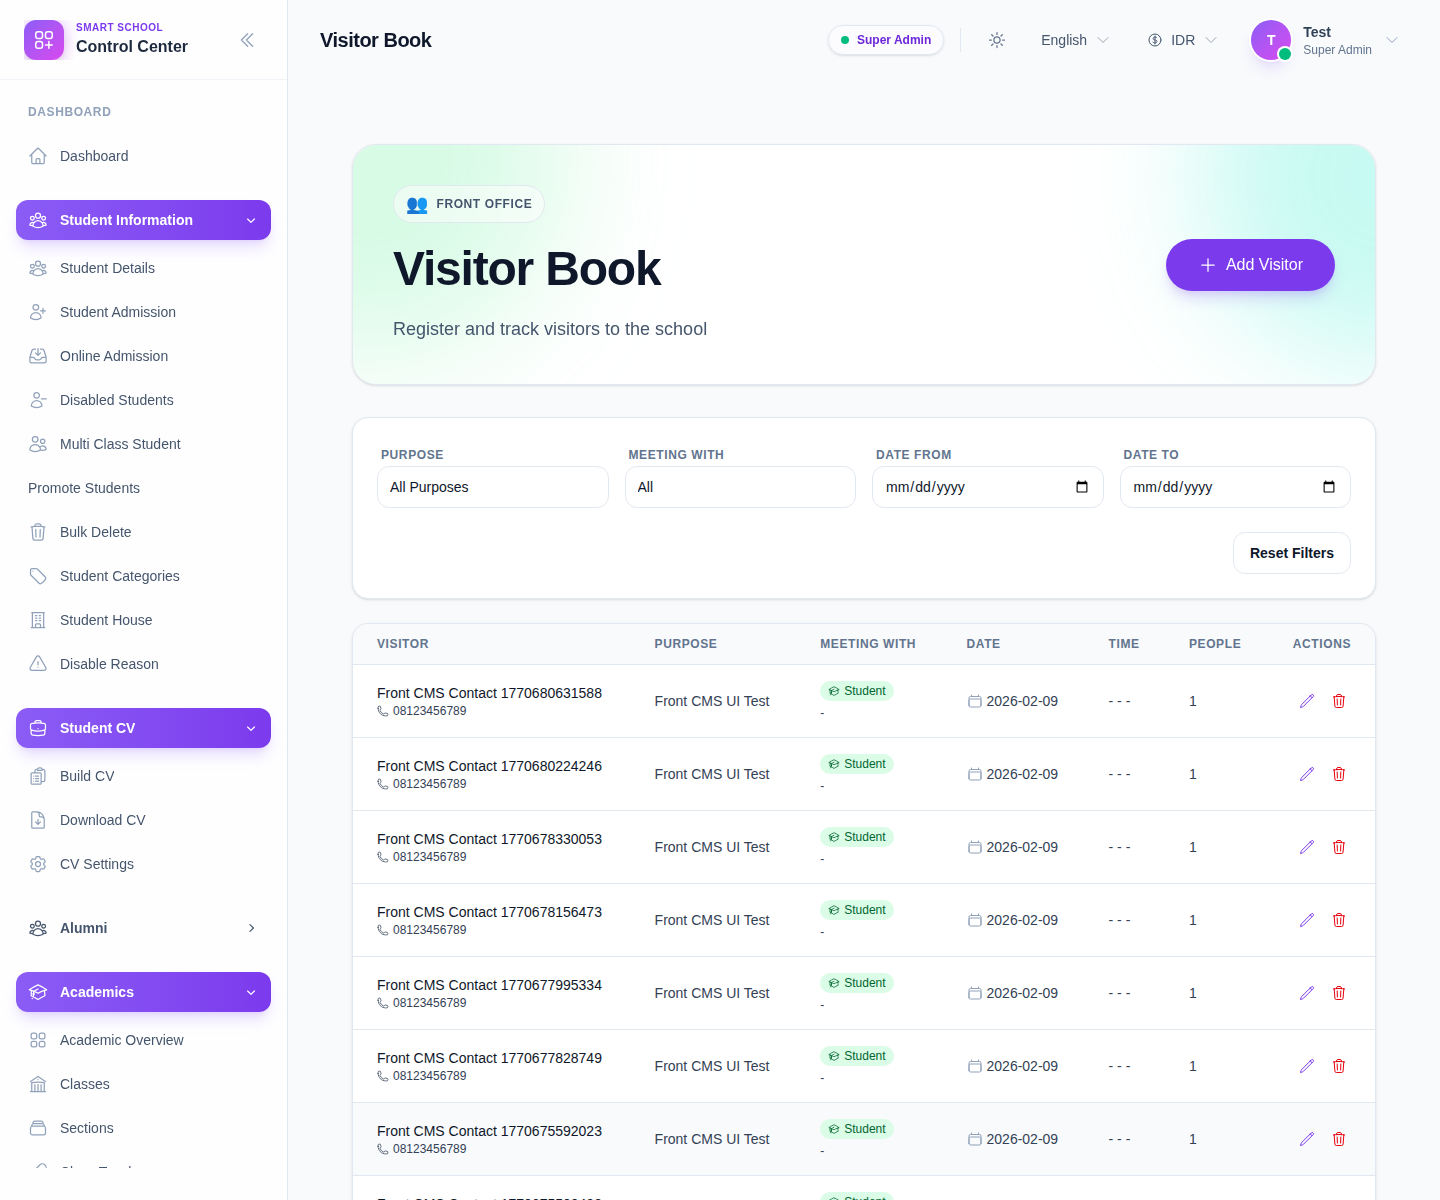
Click Add Visitor when a visitor arrives.
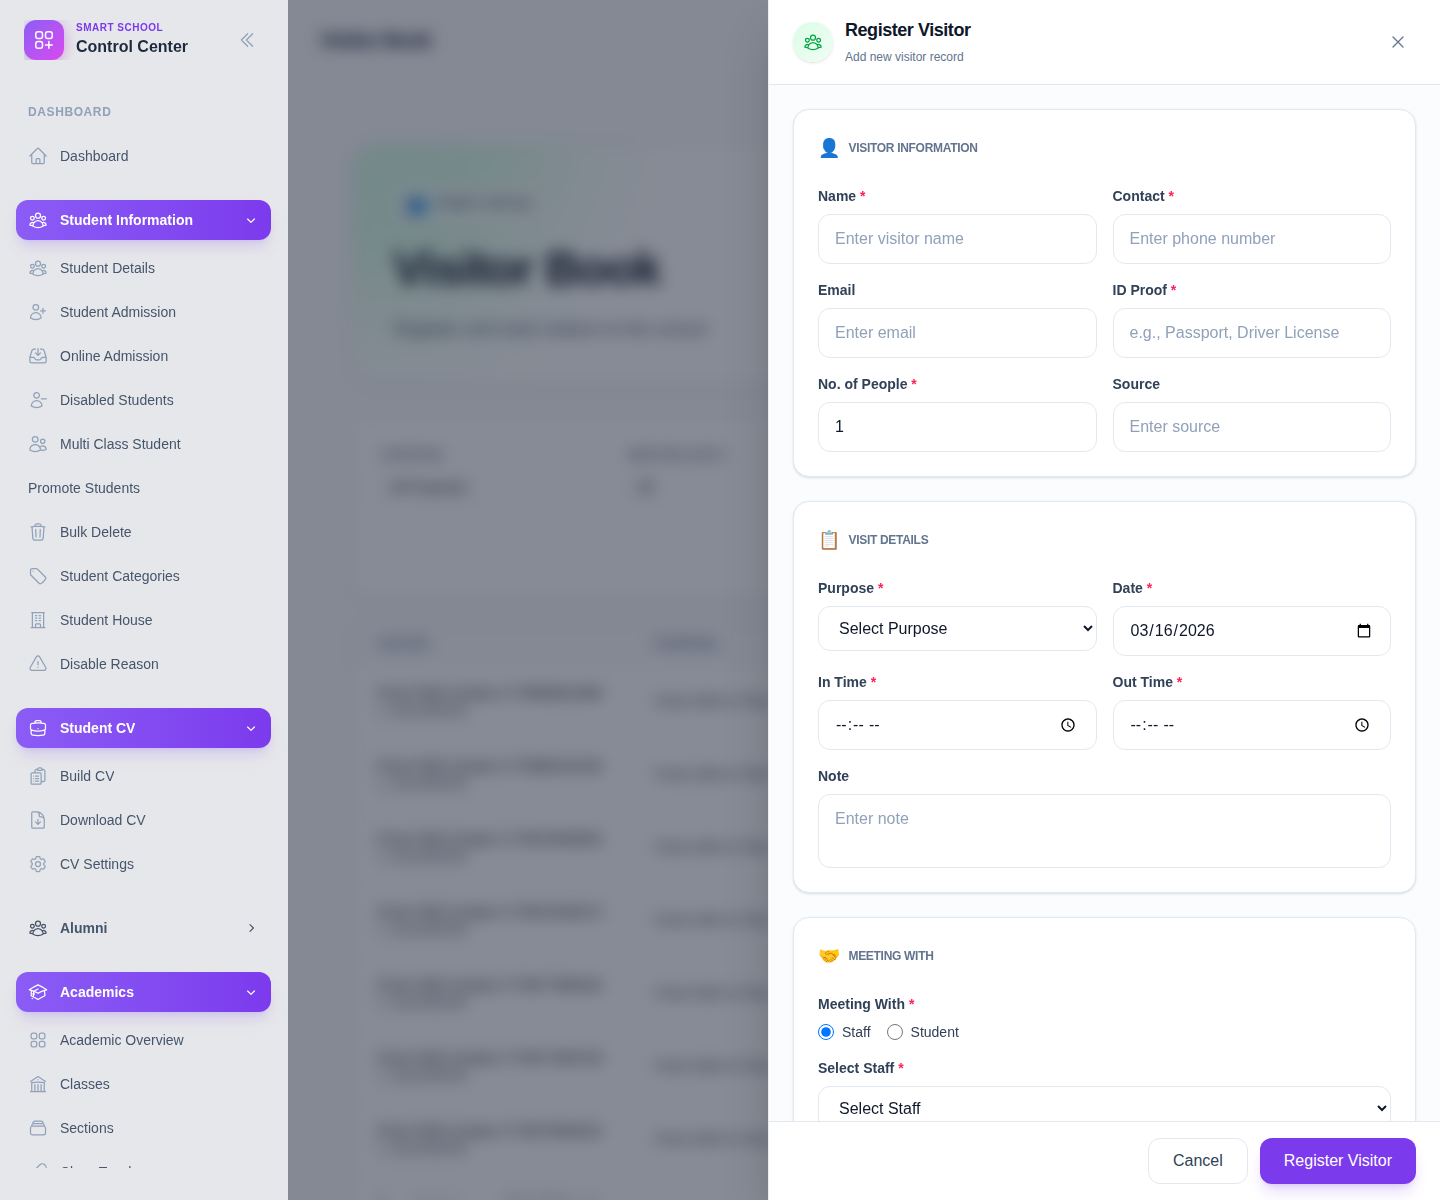
Fill the fields that match the visit:
- Name
- Contact
- ID Proof
- No. of People
- Source
- Purpose
- Date
- In Time
- Out Time
- Note
- Meeting With
- Select Staff or the student search path when meeting a student
- optional Photo/ID Proof Image
Save the entry to make it visible in the visitor table.
Step 4: Record complaints
Open Complaint from the Front Office menu when the school needs to log a grievance or issue.
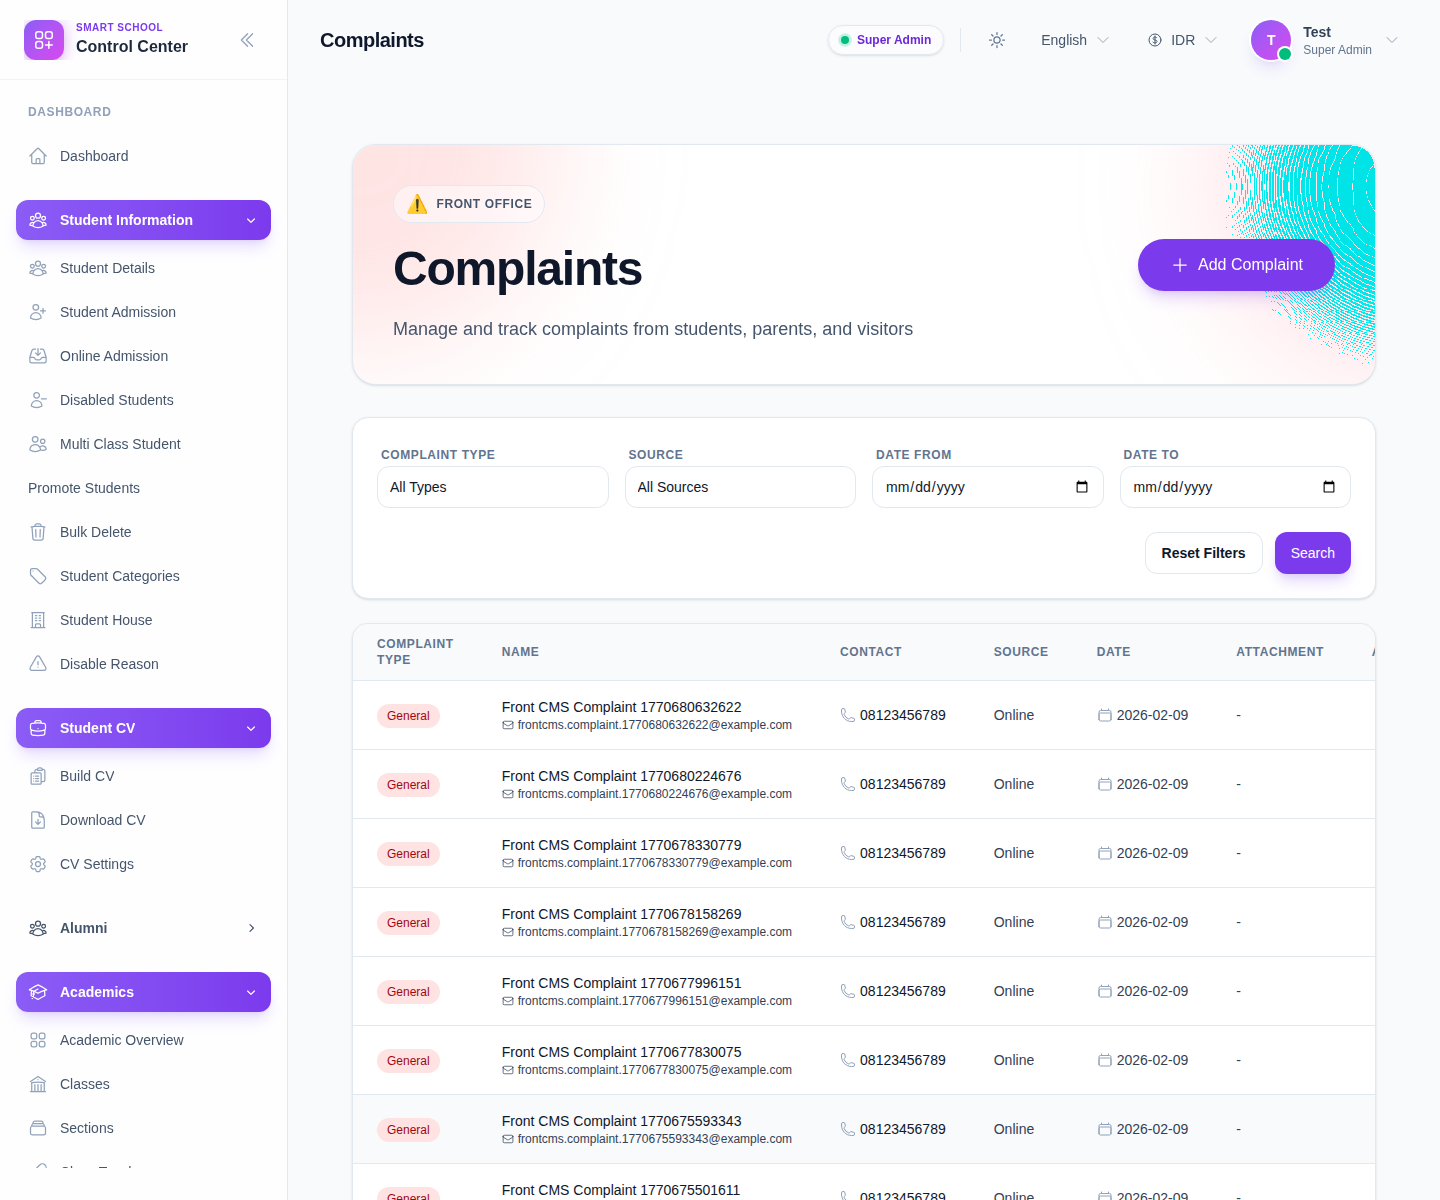
Click Add Complaint to open the complaint drawer.
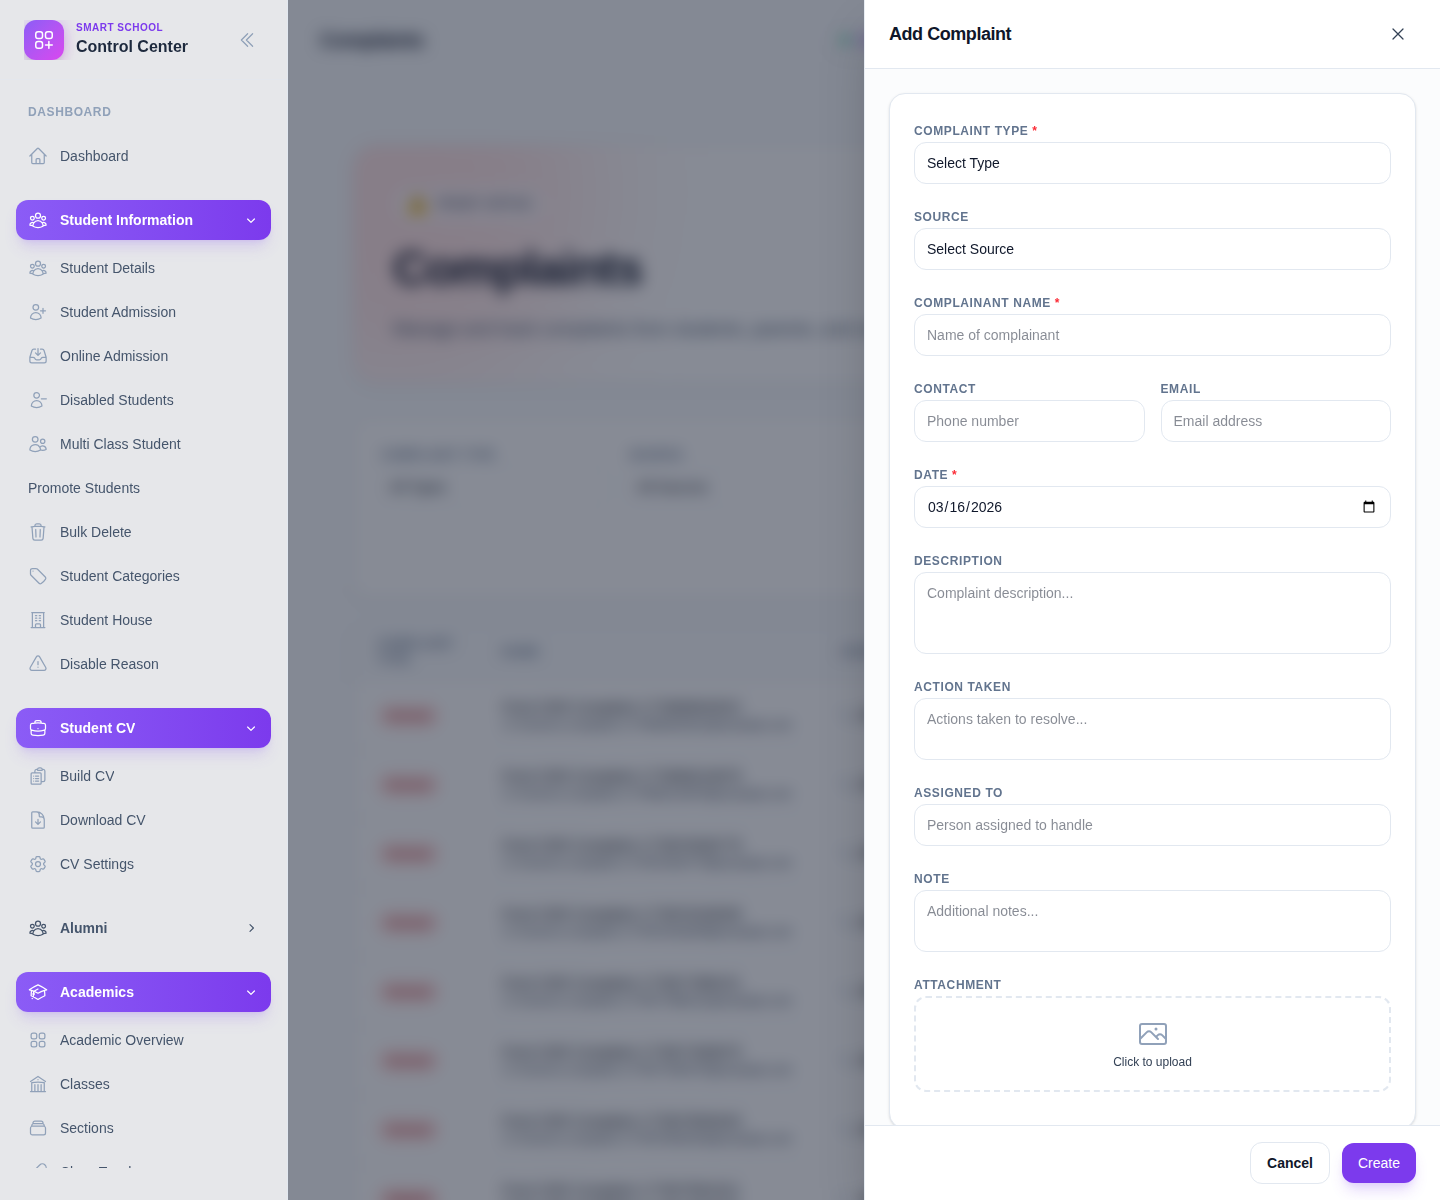
Complete the relevant fields:
- Complaint Type
- Source
- Complainant Name
- Contact
- Date
- Description
- Action Taken
- Assigned To
- Note
- optional Attachment
Use Create to save the complaint.
Step 5: Verify the right record landed in the right workspace
After saving any record:
- Return to the matching list page.
- Use filters or search to locate the new row.
- Confirm the status, source, and contact details are correct.
- Use row actions to edit, review, or delete the record if needed.
Important notes
Important: Front Office is an internal operations area. Public website enquiries or complaint forms can feed into these records, but staff should still review the internal Front Office tables before acting on them.
Verification checklist
- Enquiries include the correct owner, class context, and follow-up date.
- Visitor records show the correct meeting target and visit timing.
- Complaints include the right type, source, and issue summary.
- Each saved record appears in its corresponding workspace table.
Expected result: reception and intake records are stored in the correct Front Office workspace and are ready for follow-up or reporting.
Troubleshooting
| Issue | Likely cause | What to do |
|---|---|---|
| A save action fails | Required fields in the drawer are still empty | Complete the mandatory fields for that record type |
| Visitor student selection is empty | Class or section is not selected for student meeting mode | Select the student class and section first, then reload the student list |
| Complaint types or visitor purposes are missing | Front Office lookup setup is incomplete | Add the missing lookup values from Front Office setup before retrying |
| Duplicate enquiry warning appears | The contact number already exists in another enquiry | Review the existing record before creating a new lead |
Related guides
- Communications Reports And Operations
- How To Manage School FrontCMS Pages
- How To Conduct Student Admissions Offline
- How To Manage Admission Enquiries
- How To Manage Visitor Book
- How To Manage Phone Call Log
- How To Manage Postal Dispatch
- How To Manage Postal Receive
- How To Manage Complaints
- How To Configure Front Office