This guide explains how to use the Discount tab in Fees Setup to create discount records for the finance workflow.
Short summary
Use Fee Discounts when the school needs a reusable discount rule with a code, value rule, and expiry date. The current workspace keeps the create form and the discount table side by side.
Before you start
- Decide whether the discount is based on a flat amount or a percentage.
- Decide whether the discount should expire automatically.
- Set a discount limit before saving if the school caps the value.
- Keep discount names and codes understandable for later finance review.
Navigation path
Fees Setup -> Discount
Step 1: Open the Discount tab
In the sidebar, open Fees Setup, then choose Discount.
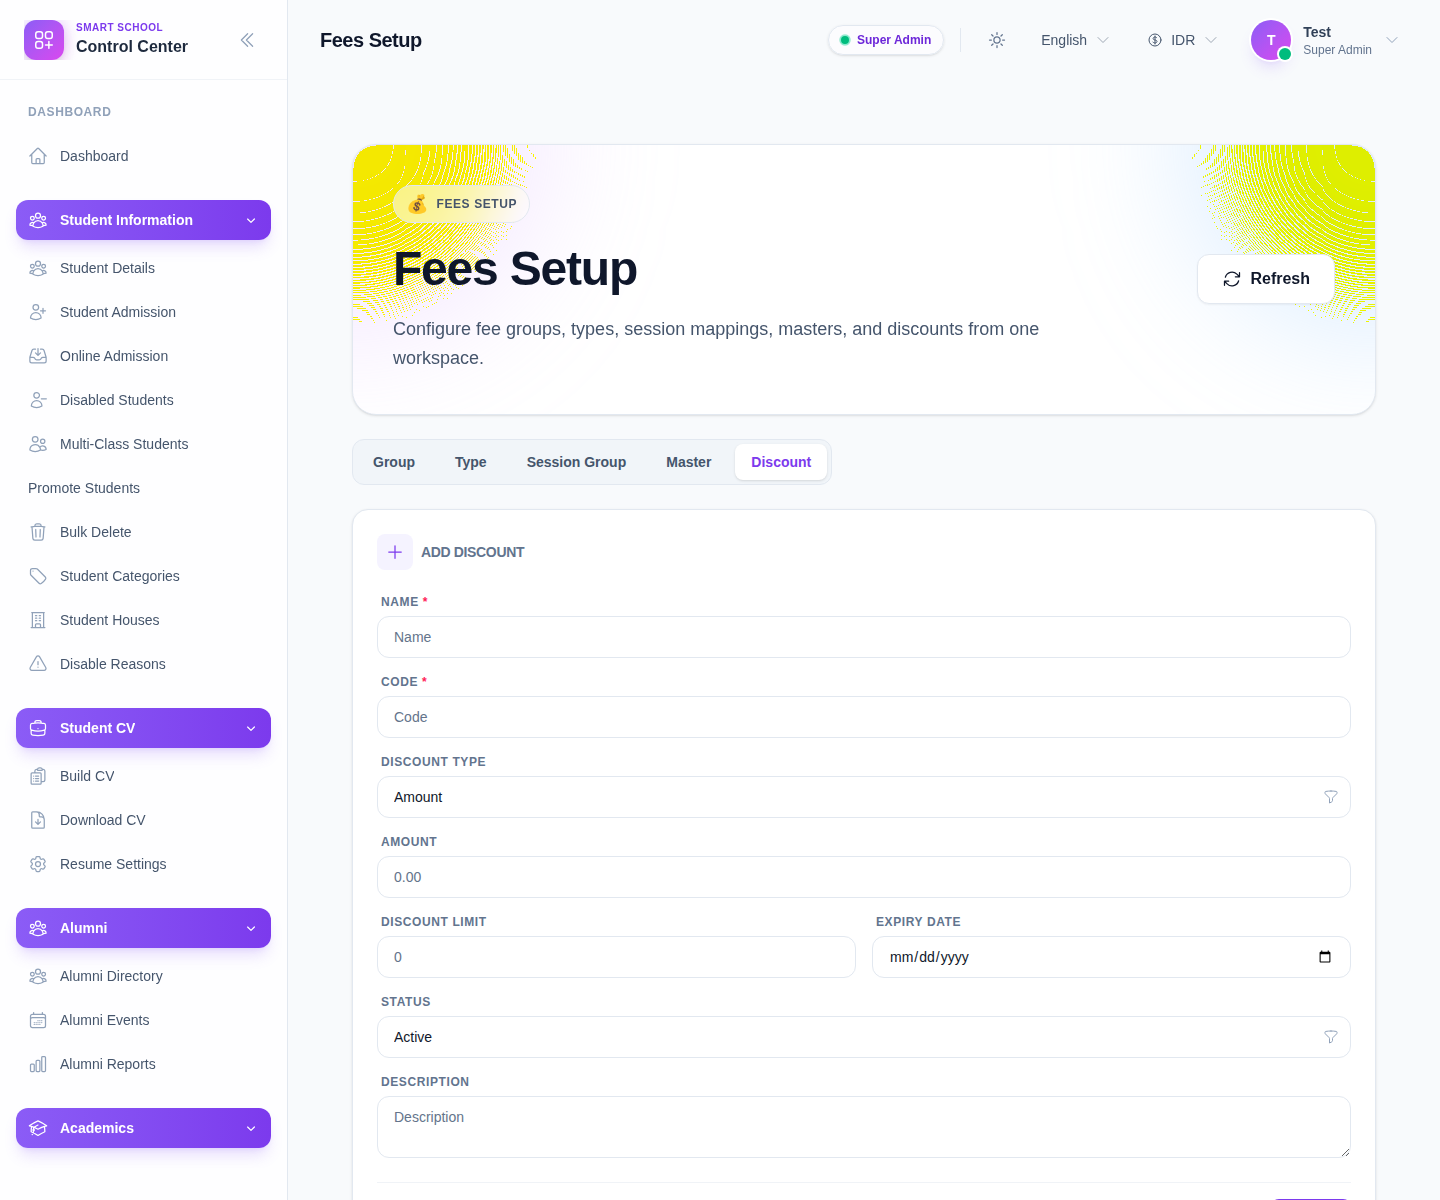
The visible form includes:
- Name
- Code
- Discount Type
- Amount
- Discount Limit
- Expiry Date
- Status
- Description
Step 2: Choose the discount structure
Start by deciding the policy model:
- enter Name
- enter Code
- choose Discount Type
The underlying setup supports both amount-based and percentage-based discounts. Use the type that matches the school policy rather than forcing every case into a flat amount.
Step 3: Complete the value and timing fields
After the type is chosen, complete the remaining controls:
- the discount value field
- Discount Limit
- Expiry Date
- Status
- optional Description
Use expiry intentionally. It is one of the simplest controls for preventing a temporary finance rule from lingering into the wrong billing cycle.
Step 4: Save and inspect the discount list
Click Save, then review the list table on the right.
The current columns are:
- Name
- Code
- Discount Type
- Value
- Expiry Date
- Status
- Actions
Review this table to confirm the discount reads clearly enough for later use.
Step 5: Filter and maintain the list
The workspace supports filtering by search context and discount status. Use those controls when the environment contains many fixtures or expired rows.
Use Edit when:
- the code should be corrected
- the expiry date changed
- the discount needs to be activated or retired
Delete only when the record should be removed entirely rather than preserved as history.
Verify the result
- the discount appears with the correct name and code
- the discount type matches the intended policy
- the value and limit are correct
- the expiry date reflects the intended validity window
- the row is in the correct active state
Troubleshooting
| Issue | Likely cause | What to do |
|---|---|---|
| Operators cannot tell what the discount means | Name or code is too vague | Rename it before using it in live operations |
| Discount lasts too long | Expiry date was left blank or set too far ahead | Edit the expiry date and review the policy |
| Wrong discount math is implied | The wrong discount type was chosen | Switch between amount and percentage before operational use |
| Discount list is difficult to scan | Too many old rows are present | Filter by search and active state, then retire obsolete rows |