This guide explains how to use Search Income to review previously recorded non-fee income entries.
Short summary
Use Search Income when finance staff need to locate prior income rows, filter them by category or date, and review the stored amount, invoice number, and note fields. The current UI uses a filter panel above a paginated results table.
Before you start
- Decide whether the review should be narrow by date range or broad across all records.
- Know the expected income head when searching a specific category.
- Use the search box for names or invoice references when the list is large.
Navigation path
Income Console -> Search Income
Step 1: Open Search Income
In the sidebar, open Income Console and choose Search Income.
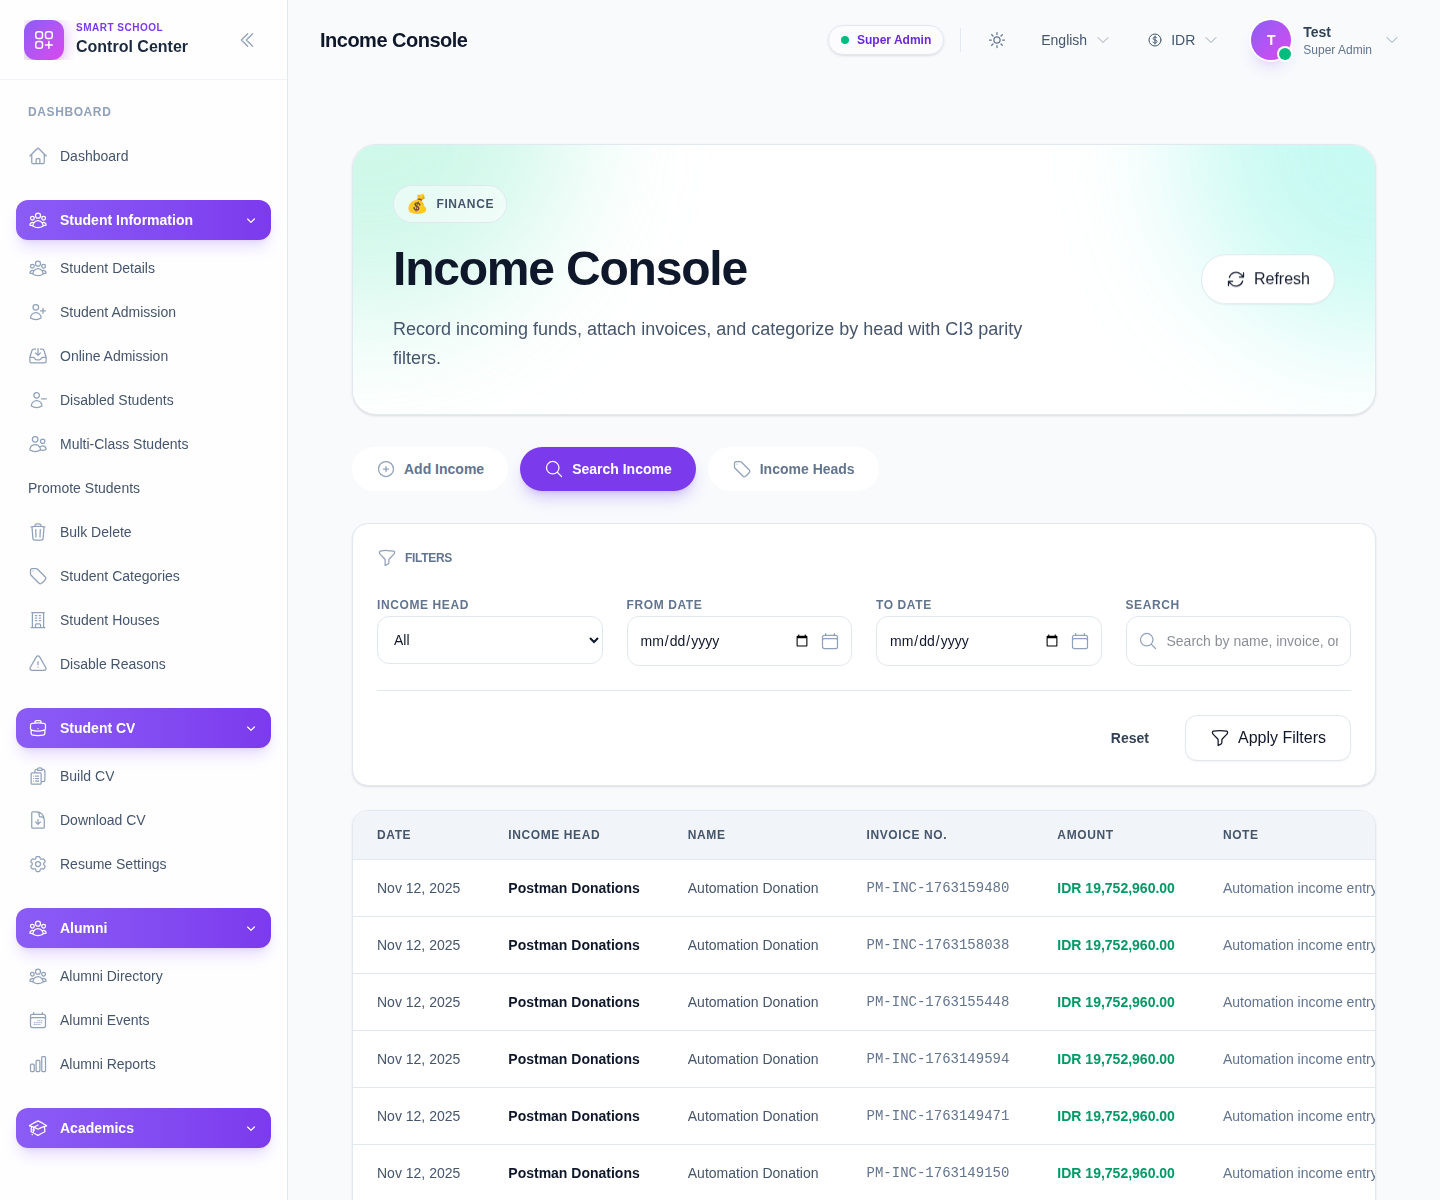
The current filters are:
- Income Head
- From Date
- To Date
- Search
Step 2: Apply the right filters
Use the filters that best match the review goal:
- choose Income Head when you already know the category
- narrow the date range with From Date and To Date
- use Search for the record name or invoice reference
- click Apply Filters
Use Reset when the current filter mix becomes too narrow or misleading.
Step 3: Review the results table
The current table shows:
- Date
- Income Head
- Name
- Invoice No.
- Amount
- Note
- Action
This is the main review surface for checking whether an income entry landed under the correct head and amount.
Step 4: Edit or remove a row when allowed
The current UI exposes row actions for:
- Edit
- Delete
You can also click the row to open its edit flow.
Use Edit when:
- the wrong head was selected
- the income name needs to be clarified
- the note or amount needs correction
Use Delete only when the row should be removed from the ledger and your finance process permits that cleanup.
Step 5: Use pagination for longer result sets
When the current filter set returns many records, the page exposes pagination controls:
- Previous
- Next
If a row seems missing, do not assume it failed to save. It may be on another page or hidden by the active filter combination.
Verify the result
- the correct filters are applied
- the expected record appears in the table
- the income head and amount match the original entry
- any edit or deletion action is reflected after the table refreshes
Troubleshooting
| Issue | Likely cause | What to do |
|---|---|---|
| No rows appear | Date range or head filter is too restrictive | Reset the filters and widen the search |
| The wrong rows dominate the table | The search term is too broad | Add an income head filter or narrow the dates |
| A saved row seems missing | Pagination or filters are hiding it | Check the next page and clear the search filters |
| Finance staff edit the wrong record | Similar names or invoice numbers are present | Verify date, head, and amount before changing the row |