This guide explains how to work directly in the QR Scanner attendance page in Migdafa Smart School.
Before you start
- Decide whether you will use camera mode or manual mode.
- Prepare the scanner identifier and optional device secret.
- Have one known-valid attendance QR code ready for testing.
- Expect camera mode to depend on browser permission and hardware availability.
Important: if the environment has no usable camera device, manual mode is the correct fallback. The local QR scanner page supports that fallback directly.
Navigation path
Attendance -> QR Scanner
Step 1: Open QR Scanner
Go to Attendance and choose QR Scanner.
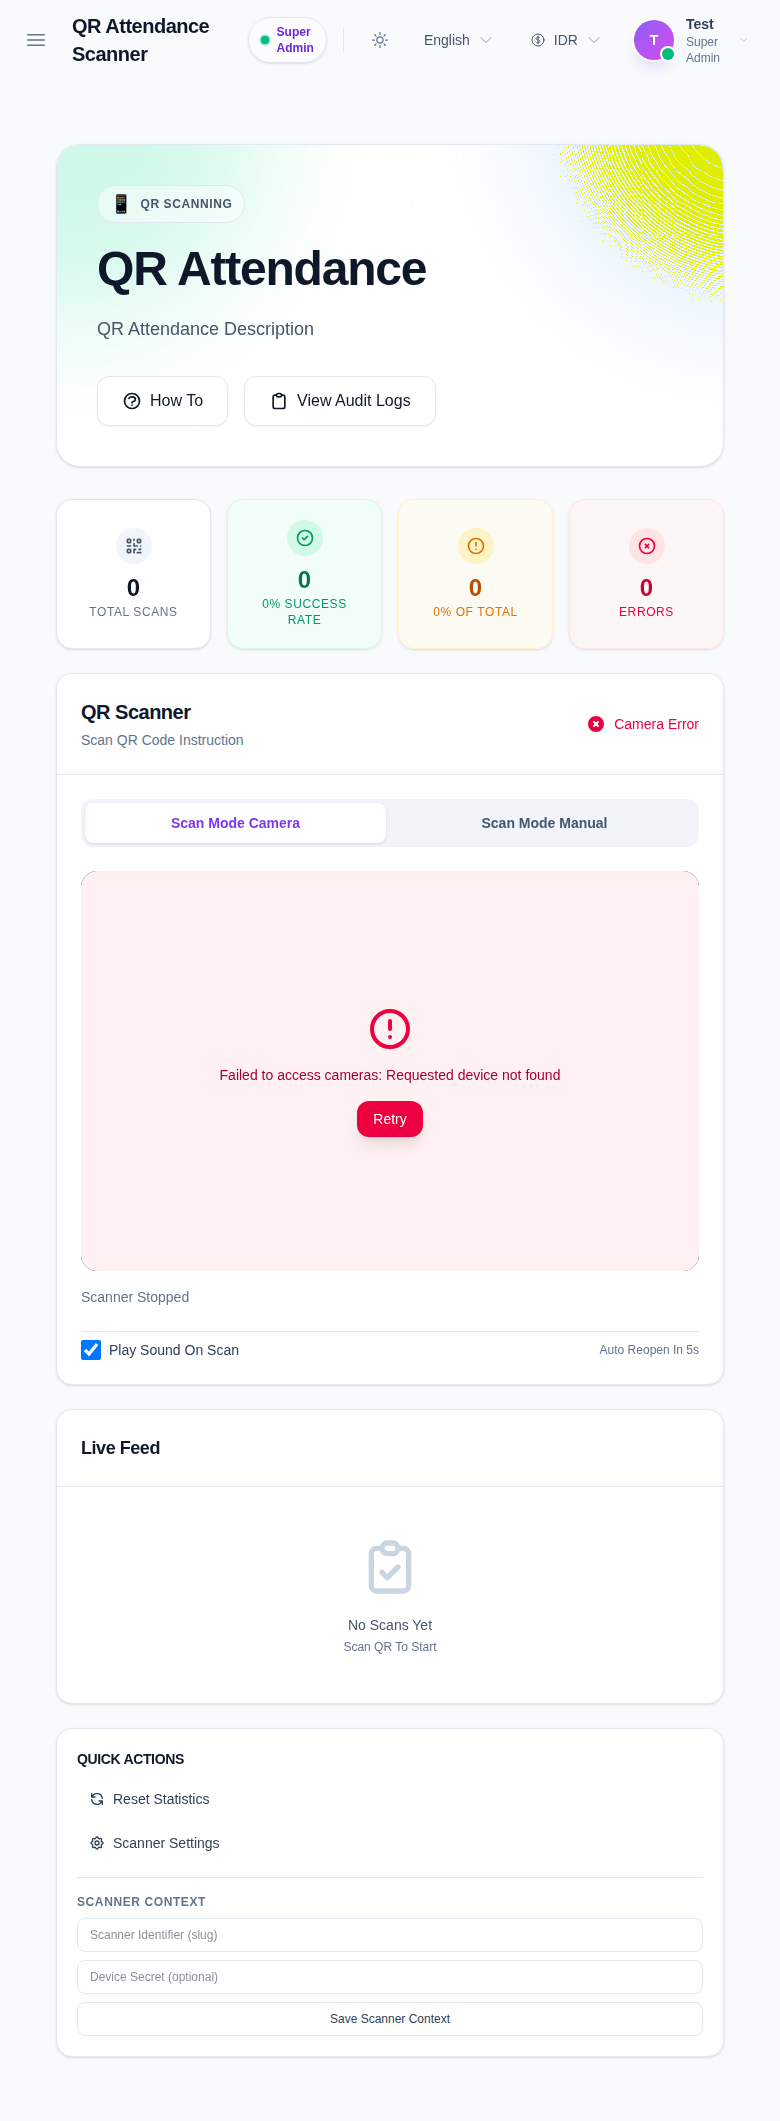
The current page includes:
- scan summary cards such as total scans, success rate, and errors
- Camera and Manual mode selectors
- Start
- Reset Statistics
- Save Scanner Context
- a live feed area and no-scans-yet state
Step 2: Save scanner context
Complete the scanner context fields before active use:
- Scanner Identifier (slug)
- Device Secret (optional)
Then click Save Scanner Context.
This ensures the scanner station is identified consistently for later audit review.
Step 3: Choose camera or manual mode
Use Camera when the browser can access the scanner device. Use Manual when:
- there is no working camera
- camera permission is blocked
- you need a controlled manual test
The page also includes a Play Sound On Scan toggle that can be left enabled when audible confirmation is useful at the scanner station.
Step 4: Start scanning
Click Start after the scanner context is ready and the mode is chosen.
What to watch:
- the live feed area when camera mode is active
- the scan result state
- the live scan counter cards
- the recent scan activity area
Step 5: Reset or switch modes when needed
Use Reset Statistics when you want to clear the current session counters on the page. Switch between Camera and Manual when testing or when a device problem forces a fallback.
Verify the result
Use this checklist after scanner setup:
- scanner context is saved
- the correct scan mode is selected
- start action is available
- live scan counters or activity feed change after a valid scan event
Expected result: the QR scanner page is ready for real-time attendance capture in camera or manual mode, and scan activity is visible in the live scanner workspace.
Troubleshooting
| Issue | Likely cause | What to do |
|---|---|---|
| Camera mode cannot be used | No device or browser permission is available | Switch to Manual mode and continue |
| The scanner station is hard to identify later | Scanner context was not saved | Enter the identifier and save the context before scanning |
| Counters do not change | A valid scan was not completed or the mode is not active | Recheck the mode, start the scanner again, and use a known-valid code |
| Local scan station is too noisy or too quiet | Sound feedback is configured incorrectly | Toggle Play Sound On Scan to match your station needs |