This guide explains how to use Assign Fees to attach one or more fee mappings to the right group of students.
Short summary
Use Assign Fees when the fee structure already exists and the next step is assigning those fee items to student records. The page combines student filters, fee-mapping selection, and batch assignment in one workspace.
Before you start
- Confirm the required fee groups and fee types already exist.
- Confirm the correct student cohort by session, class, and section.
- Decide whether the assignment should apply to a narrow class-section or a broader set of students.
- Avoid assigning fees before verifying the due date and amount shown on each mapping card.
Navigation path
Fees Collection -> Assign Fees
Step 1: Open Assign Fees
In the sidebar, open Fees Collection and choose Assign Fees.
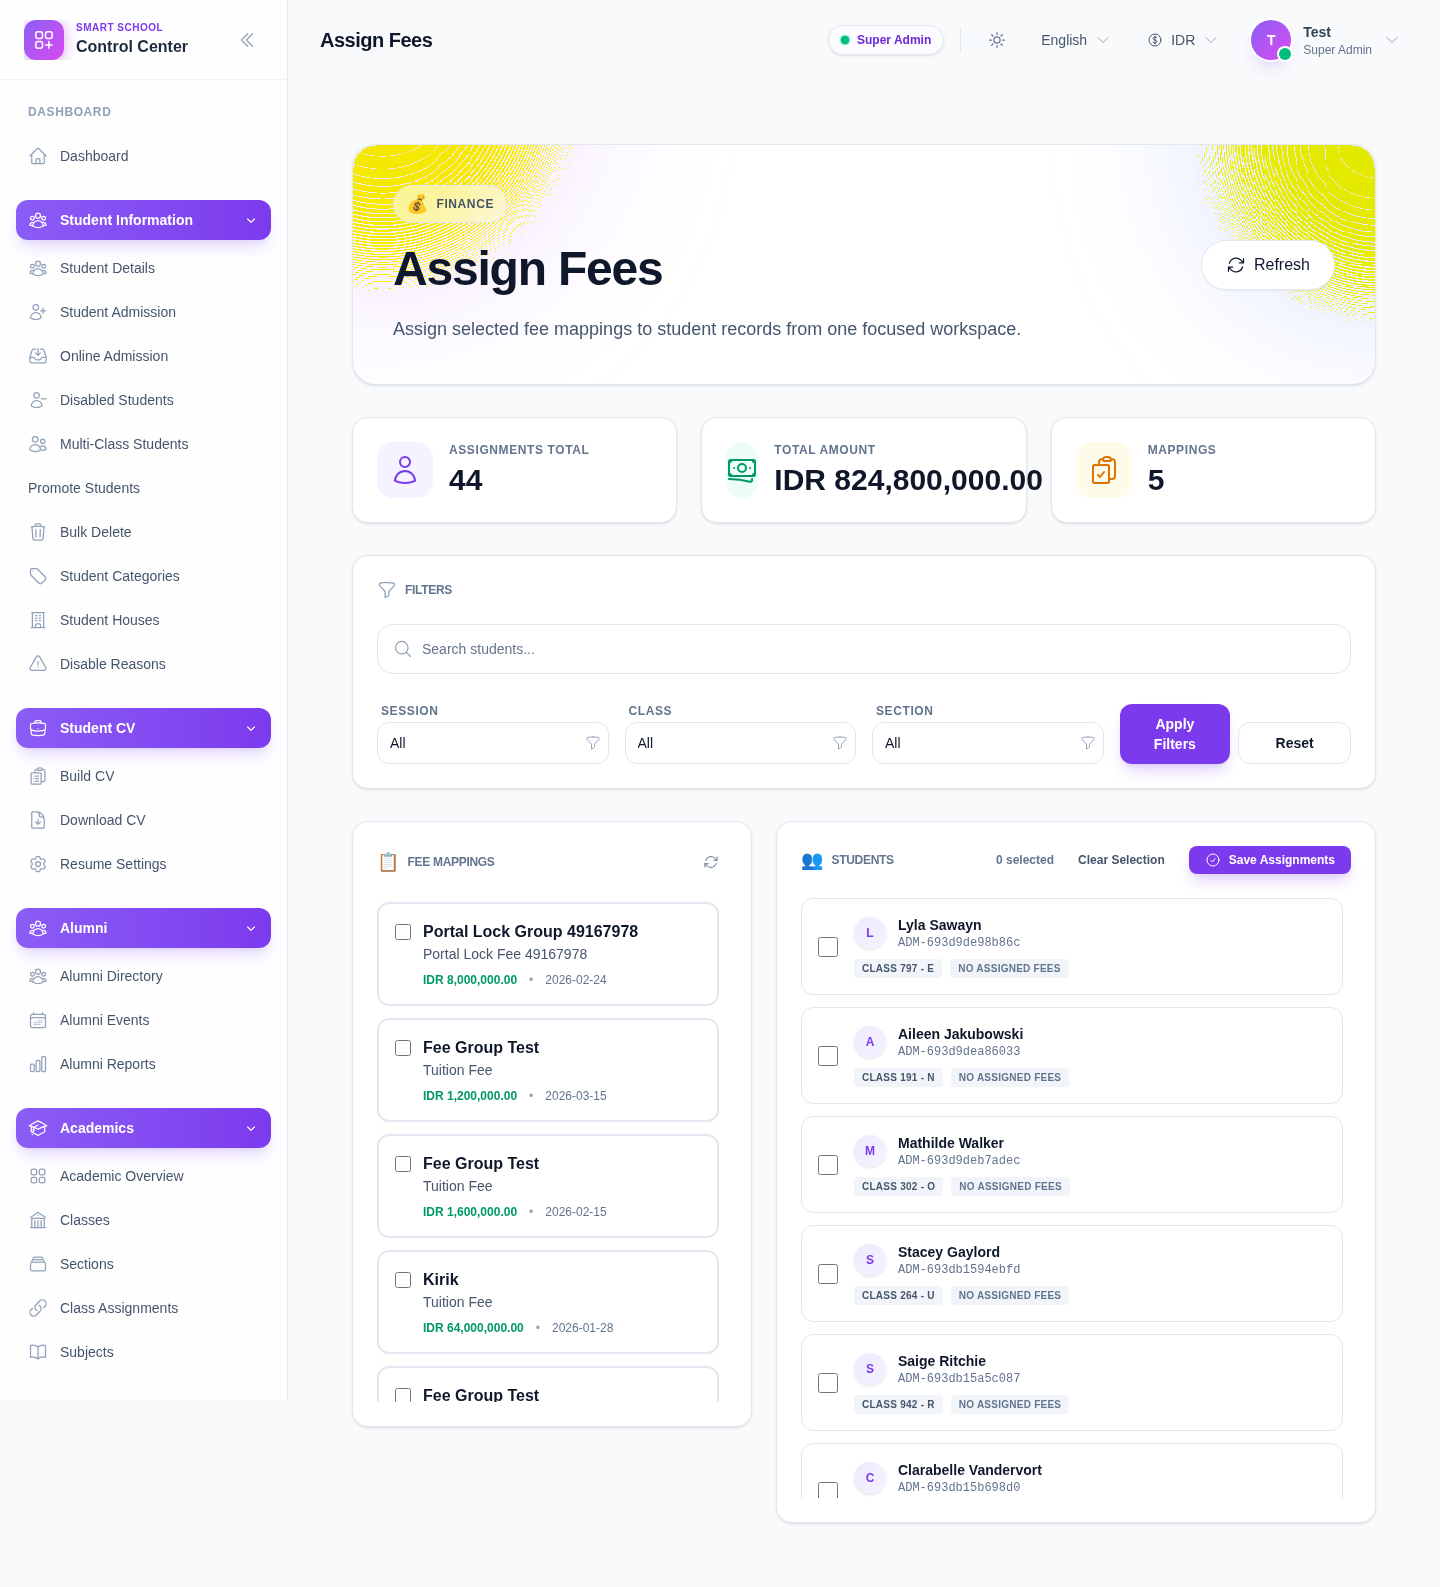
The page includes:
- assignment summary cards
- filters for Session, Class, and Section
- a fee-mapping panel
- a student-selection panel
- Save Assignments
Step 2: Narrow the student context first
Before selecting any fee mappings, use the filters to reduce the student list:
- Session
- Class
- Section
Then click Apply Filters.
This matters because the local environment contains many QA and test sessions, classes, and sections. Filtering first is the safest way to avoid assigning the wrong fees to the wrong cohort.
Step 3: Select the fee mappings to apply
In the Fee Mappings panel, review the available mapping cards.
Each mapping card currently exposes:
- fee group name
- fee type name
- amount
- due date
Select one or more mappings that belong together for the student set you are preparing.
Step 4: Select the target students
Move to the Students panel and choose the student cards that should receive the selected fees.
Use the student details on each card, such as:
- student name
- admission number
- class and section
- currently assigned fee entries where visible
If multiple students need the same fee set, keep the mapping selection stable and add all intended students before saving.
Step 5: Save the assignment batch
After both sides are selected:
- confirm the correct mappings are checked
- confirm the correct students are checked
- click Save Assignments
Use Clear Selection first if the current student selection no longer matches the intended batch.
Step 6: Verify and clean up if needed
After saving:
- confirm the assignments total updates or the student cards reflect the new attached items
- open the fee-collection workflow later to confirm the fees are now collectible
- use the unassign action only when a fee was attached to the wrong student record
Important notes
Local dataset note: the local Assign Fees workspace is populated with many test sessions, classes, and fee mappings. Treat filtering as a required control, not an optional convenience.
Operational note: assign fees before attempting collection. If a fee item has not been attached here, the fee-collection drawer may have nothing collectible for that student.
Verification checklist
- the correct session, class, and section are selected
- the selected fee mappings have the intended amount and due date
- only the intended students are selected
- the batch saves without selection mistakes
- the assigned fees are ready for later collection
Troubleshooting
| Issue | Likely cause | What to do |
|---|---|---|
| Students list looks too broad | Filters were not narrowed enough | Reapply session, class, and section before selecting students |
| The wrong fee appears on a student | The wrong mapping card was selected | Unassign the incorrect item and repeat the batch with the right mapping |
| Save Assignments is not ready to use | No mappings or no students are selected | Select both a fee mapping and at least one student |
| The workspace feels noisy | Local QA data is mixed into the list | Search and filter aggressively before saving |