This guide explains how to use Attendance Reports to move between five reporting branches, reuse route-backed attendance filters, and export the current attendance slice when needed.
Before you start
- Decide which report branch matches the question you need to answer.
- Confirm the academic session, class, and section before loading the report.
- Expect different filters by branch. For example, attendance-type reporting needs an attendance type, while student-sheet reporting needs one student.
- Use the report workspace shortcuts when you need to jump from reporting into the module-owned attendance workspaces.
Navigation path
Reports -> Attendance Reports
Step 1: Open Attendance Reports and identify the branch you need
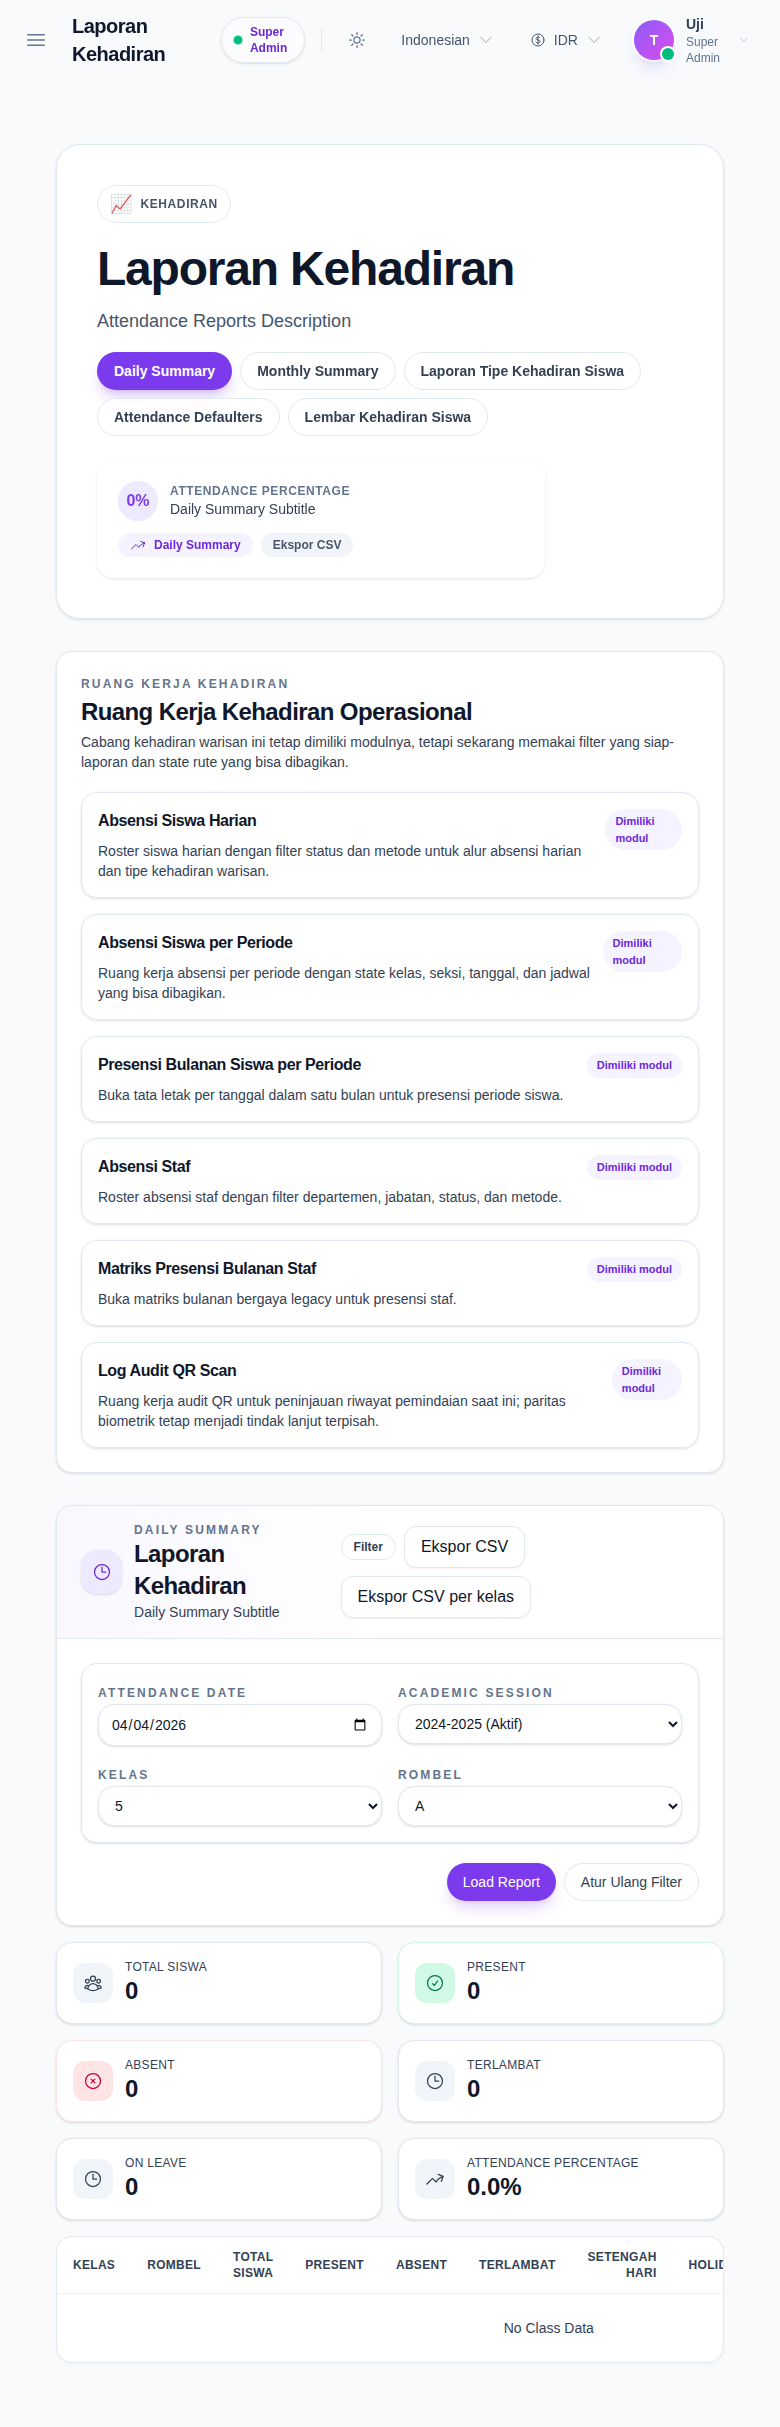
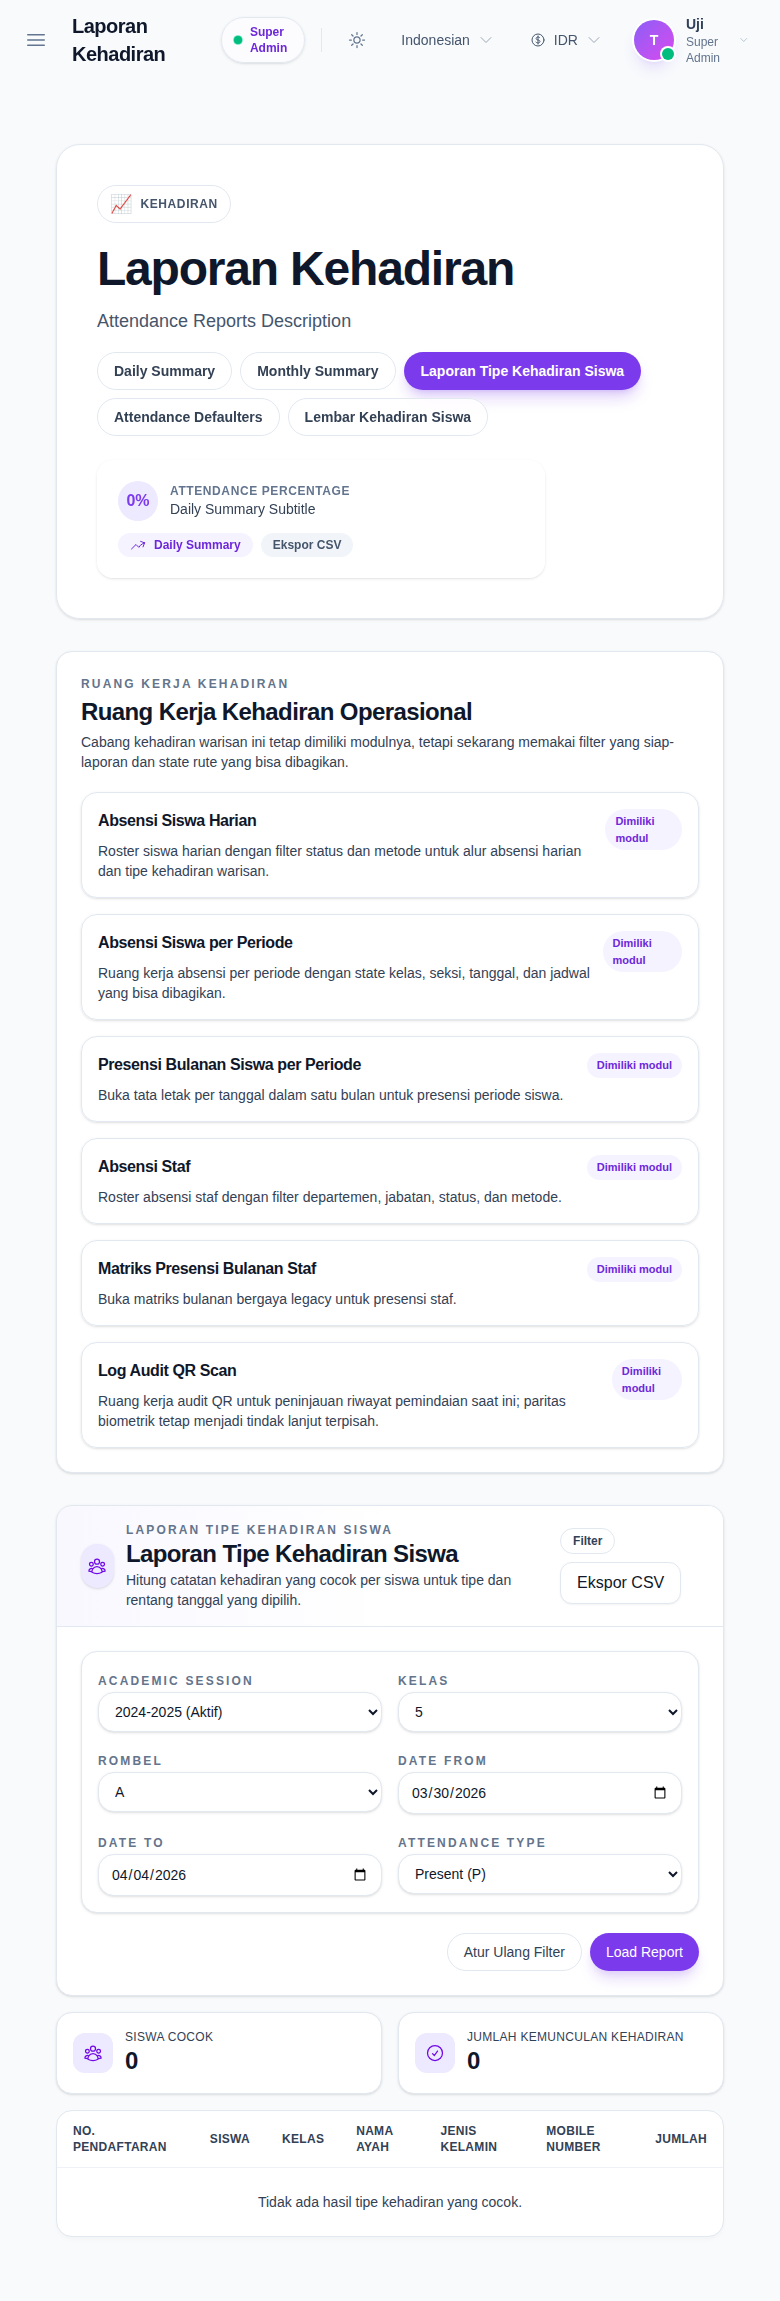
Open Attendance Reports from the Reports menu. The current workspace provides five report branches:
- Daily Summary
- Monthly Summary
- Student Attendance Type Report
- Attendance Defaulters
- Student Attendance Sheet
The hero area stays visible while you switch between these branches, and the route query updates so the reporting state can be shared.
Step 2: Use the workspace shortcuts when the report should hand off to an operational screen
Below the hero, the workspace shows shortcut cards into related attendance workspaces such as:
- daily student attendance
- period-wise attendance
- period-wise monthly student attendance
- staff attendance
- staff monthly attendance
- QR audit log
These shortcuts are useful when the report tells you what happened but you need the underlying operational workspace to continue the follow-up.
Step 3: Run the daily or monthly summary branch for broad attendance visibility
Use Daily Summary when you want a one-day class view with:
- total students
- present
- absent
- late
- on leave
- attendance percentage
- class-level breakdown rows
Use Monthly Summary when you want a longer attendance trend for the same academic context. That branch focuses on month-level breakdown and trend visualization rather than one-day cards.
The daily branch can also expose:
- Export CSV
- Export CSV by class
Step 4: Use the secondary branches for targeted analysis
Use the other branches when the reporting question is narrower:
- Student Attendance Type Report for one attendance type across a chosen date range
- Attendance Defaulters for students below the configured attendance threshold
- Student Attendance Sheet for a single student across a chosen date range, with the sheet shown in a drawer
These branches add the filters they need, such as:
- threshold for defaulters
- attendance type for attendance-type analysis
- student selection for the student-sheet branch
Step 5: Export the current branch only after the filters are final
The attendance workspace supports CSV export across the report branches when the signed-in role has export permission.
Examples from the current workspace:
- daily summary export
- class-wise daily export
- monthly summary export
- attendance-type export
- defaulter export
- student-sheet export
Always confirm the selected branch and filters before exporting, because the exported CSV follows the current report state.
Verify the result
Use this checklist after loading a report:
- confirm the selected tab matches the reporting goal
- confirm the academic session, class, and section match the intended cohort
- confirm branch-specific filters such as attendance type, threshold, or student selection are correct
- confirm the visible cards, tables, or drawer content match the branch you loaded
- confirm the CSV export matches the current report state
Expected result: you can move between attendance summary and follow-up branches, load the correct attendance slice, and export the current report without losing the academic context.
Troubleshooting
| Issue | Likely cause | What to do |
|---|---|---|
| The report loads with zero values | The current academic context has no matching attendance data | Confirm that attendance records exist for the selected session, class, section, and date range |
| The wrong filters are visible | A different branch is active | Recheck the selected tab because each branch exposes a different filter set |
| Student Attendance Sheet cannot load | A student has not been selected yet | Pick the session, class, section, and then a valid student before loading the sheet |
| The defaulter list is empty | No students fall below the current threshold | Lower the threshold or broaden the date range |
| Export is unavailable | The role lacks export permission or the branch state is incomplete | Confirm permissions and finish the required branch filters before exporting |